Checkering a gunstock is an art all by itself. Each pattern is a series of hundreds of lines cut parallel to each other, one by one. It is both decorative and functional.
There are no shortcuts to getting good at checkering. Your skill level directly correlates to the time spent in the checkering cradle. There is no one way to checker either; everyone you will talk to has a different way of doing this or that. While reading through this, keep in mind that this is what works for me. You may find something totally different that works much better!
Affiliate Disclosure: This article may contain affiliate links. When you use these links, I earn a small commission from each sale generated at no cost to you. This commission helps me continue to put out free content. I work a full-time job that I am very happy with; therefore, I don’t need this commission and am not obligated to speak highly of any product. Everything written is my own opinion: the good, the bad, and the ugly.

What Does a Perfect Checkering Pattern Look Like?
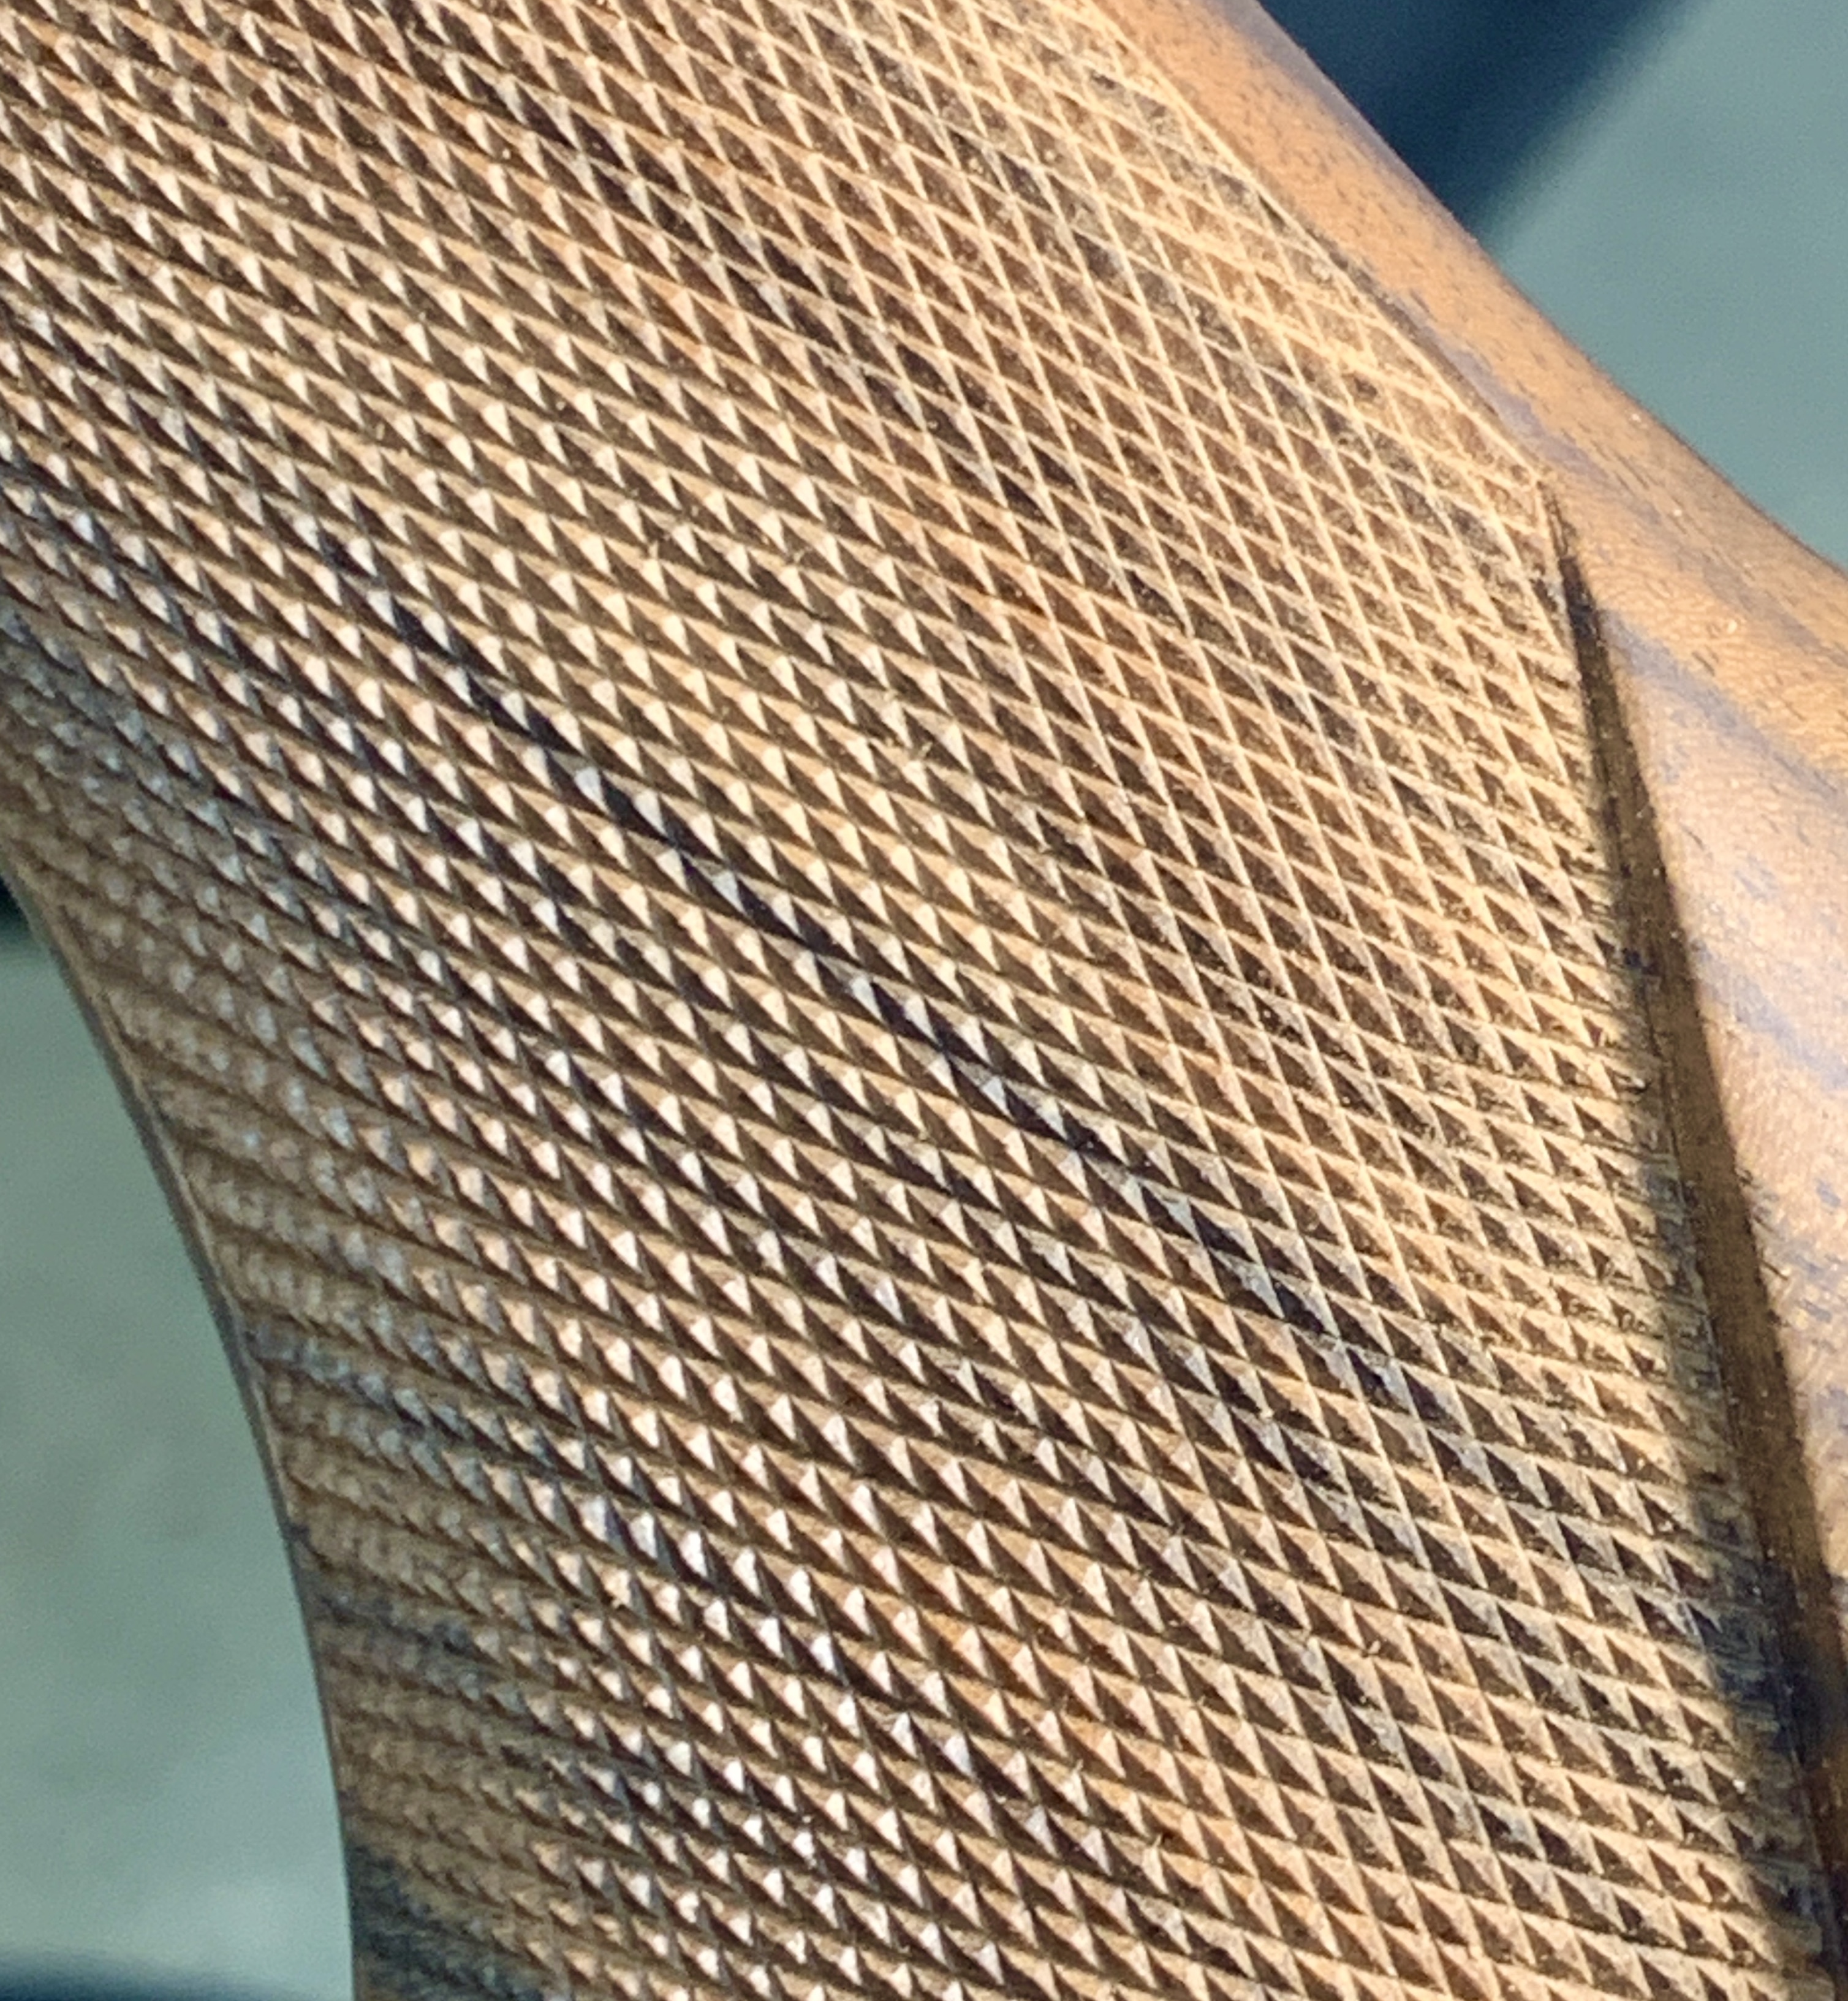
Before diving into some tips and tricks that have helped me improve my checkering, let’s establish what the “Perfect” checkering pattern looks like.
Every line will be straight and parallel on the perfect checkering pattern, meaning no bends or bellys. All diamonds will be sharp(including the ones close to the borders), and there won’t be any “shiners” or flat tops(Unless it is intended to be English flat top styling). There won’t be any overruns or times where a line runs past the border. The pattern will be even on each side of the stock and will match the aesthetics of the rest of the gun.
It is important to note that a poorly done checkering job can ruin a perfectly inletted and shaped stock. Plain and simple.

Lighting
First, is the lighting used for checkering. This will vary from gunsmith to gunsmith, but all will agree that the right lighting will make it easier. Most gunsmiths I’ve talked to prefer a combination of one or multiple architect-style lamps. Most of these lamps come with LED bulbs which work for some people, but with the amount of time spent checkering, your eyes will be really tired using it. Using a warm or soft light-colored bulb reduces eye strain and allows me to checker much longer than using LEDs.
Use coupon code KTG10 to get 10% off your order of $150 or more at Brownells.
Magnification
Another common item you will find on a professional checkerers’ bench is a magnifier or optivisor of some sort. The optivisor is worn on your head and provides the right amount of magnification. There are many different magnification levels and focus distances, but I like Optivisor No. 5. The No. 5 provides 2.5x magnification at a focus distance of 8″. Also, the optivisor is adjustable to fit just about any head.
Always Checker a Finished Stock
Next, to achieve the best results in checkering, you must do it on a finished stock. A finished stock should have the grain filled and provide a nice even surface to checker. On unfinished stocks, the wood grain tends to grab the checkering tool and pull it one way or another. This will inevitably result in lines that aren’t straight or parallel. For those just starting out, every piece of scrap wood that you are practicing on should also be finished to avoid frustration.
The Basics of Lines Per Inch, the Wood Matters!
Lines per inch or LPI refers to the coarseness of the checkering pattern. The lower the LPI, the coarser the diamonds are, and vice versa. The LPI also plays a big part in the strength of each diamond. Each individual piece of wood will have its limitations as to what can be achieved.
Click Here for a Good Starter Set of Checkering Tools
It really takes a special piece of tight-grained wood to go above 24 LPI. If the checkering is too fine for that piece of wood, you will see the diamonds start to break or chip off as you get close to the end. If you are just starting out, 16 or 18 LPI is a great place to start because it will hold on to just about every type of walnut out there.
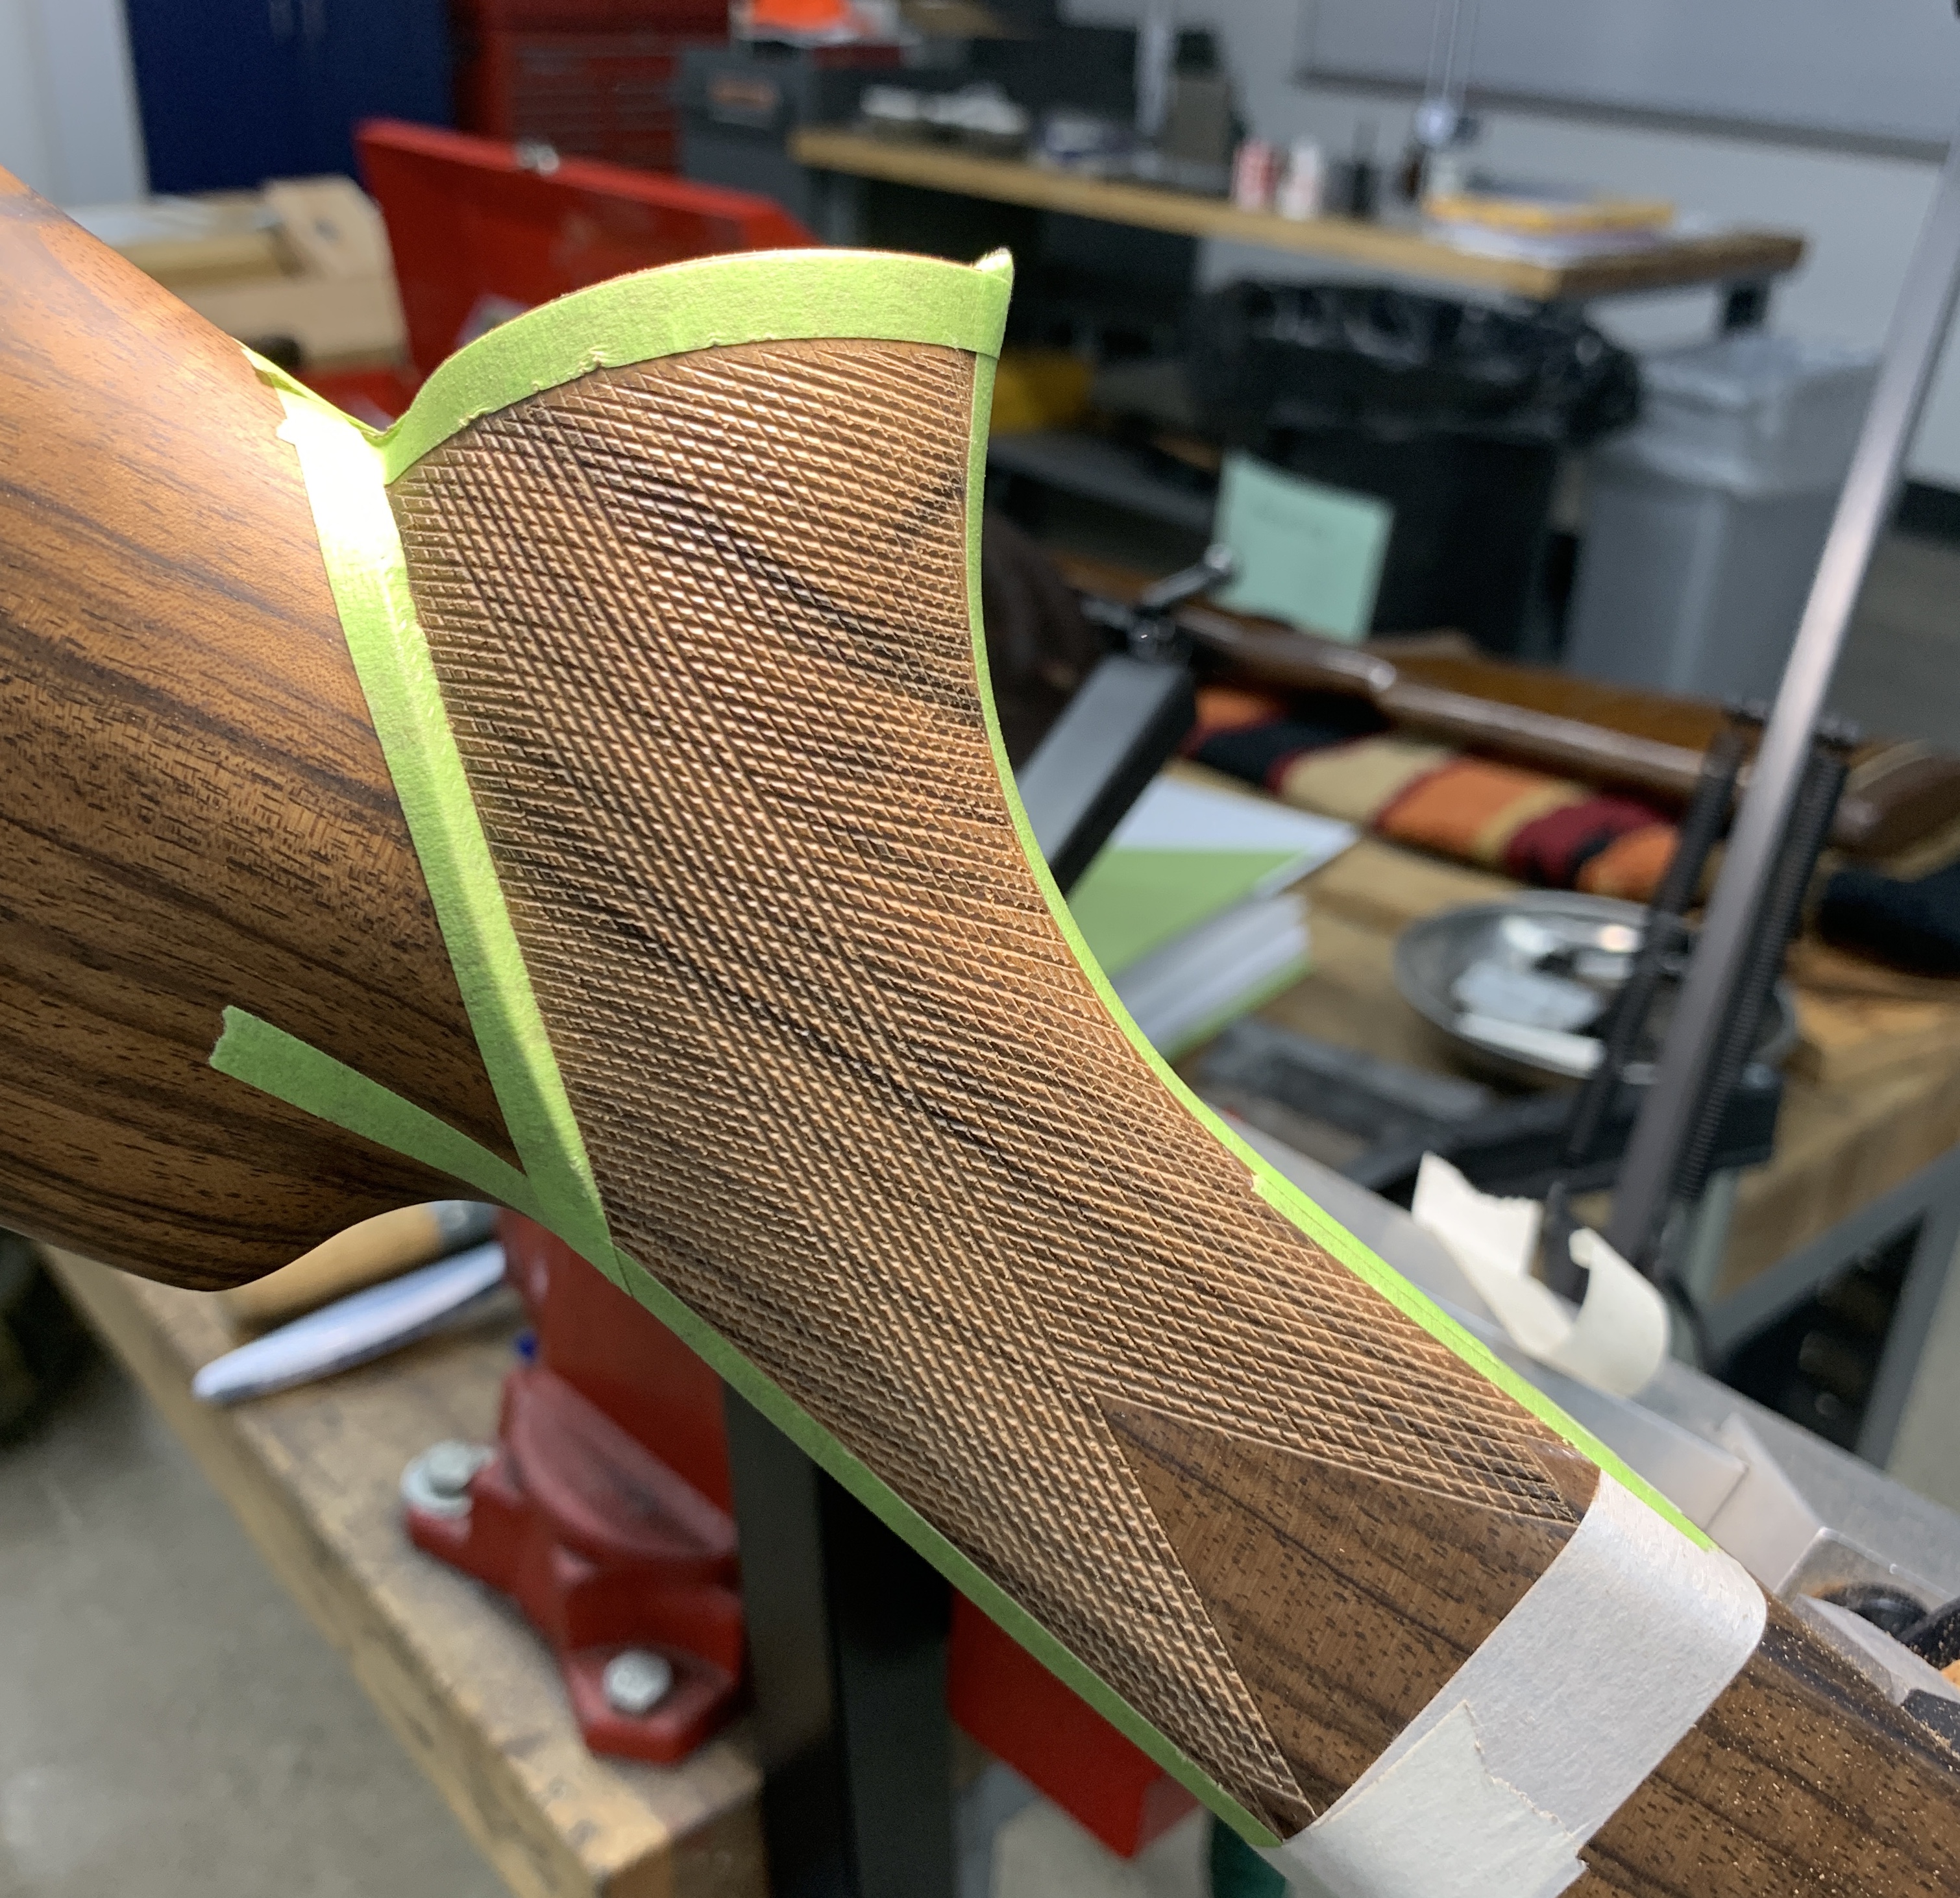
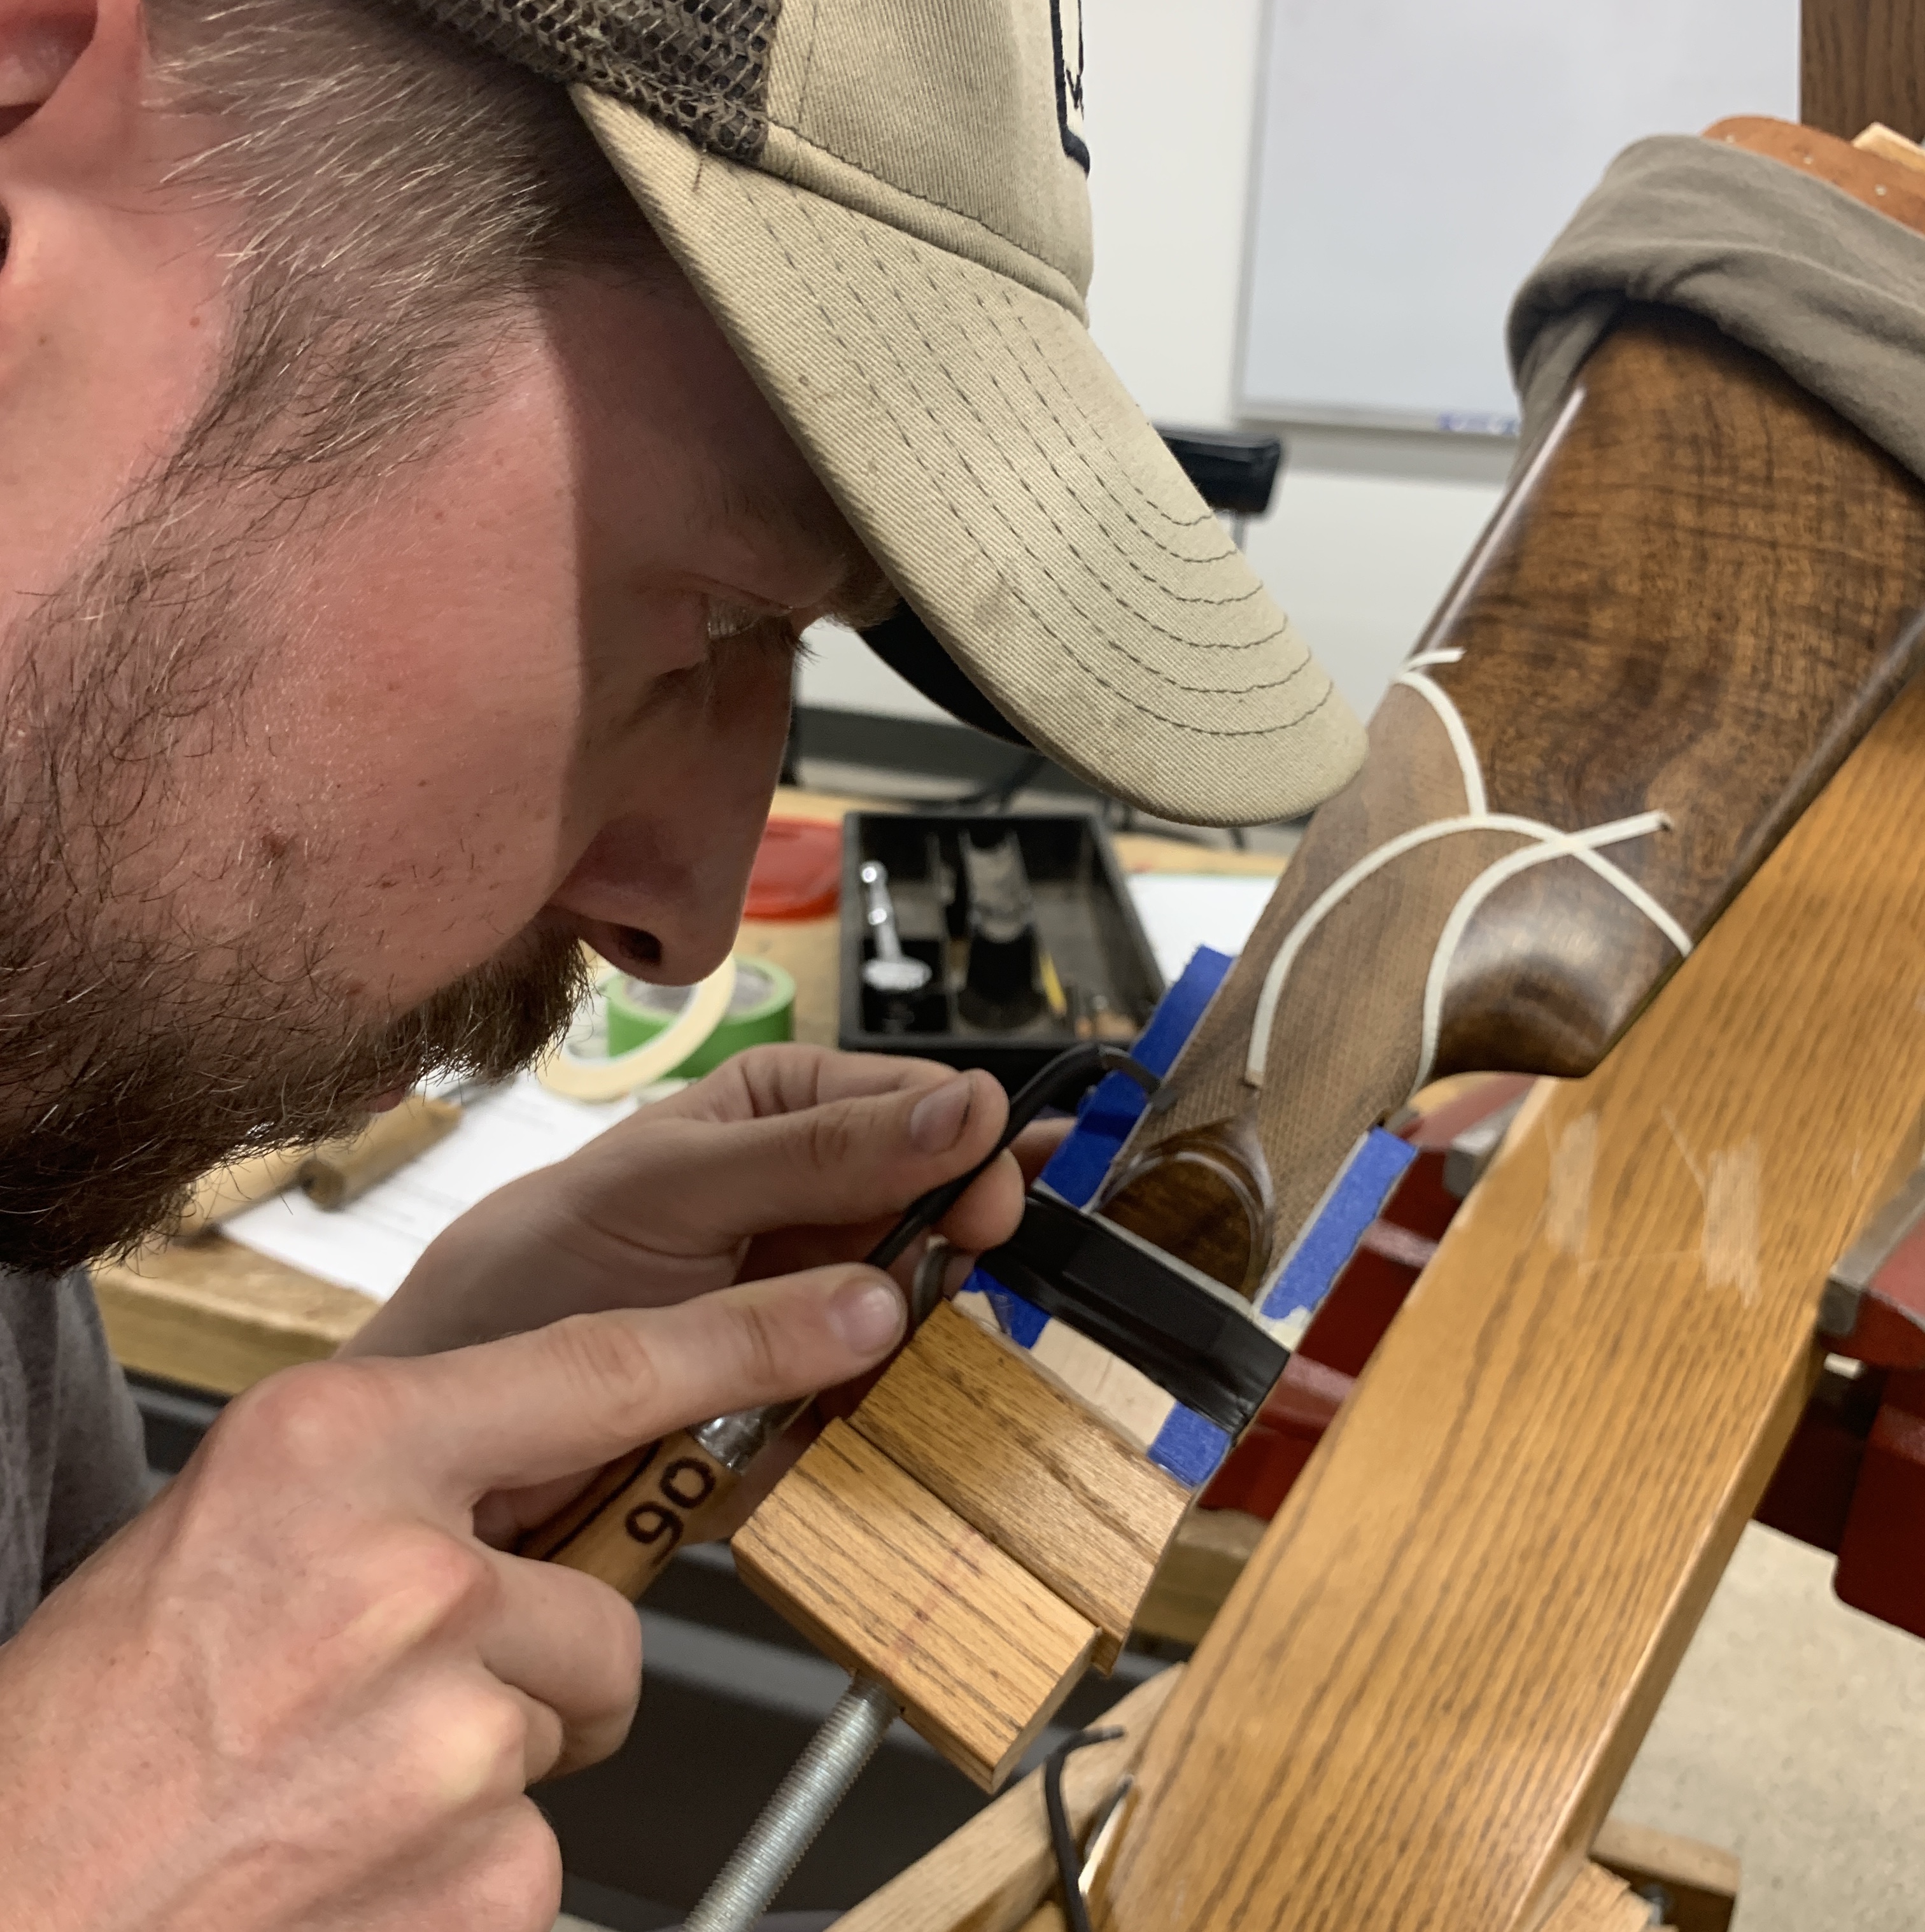
Painters Tape is Your Friend When Checkering
Last but not least is the painter’s tape. I didn’t start out using masking or painter’s tape. My checkering significantly improved once I began using it. Not only will it help you keep your lines straight, but it also creates a visual barrier for the termination of your lines. For example, when laying out a checkering pattern, the outer edge of my pattern is covered in tape so that I know when I’m getting close to the border. This has minimized my overruns and really helped me keep a clean pattern. The tape will not stop an overrun, but it will minimize the damage.
How to Recut Checkering on a Rifle Stock
Mark-on-Anything Pencils
Mark-on-anything pencils are great when planning a checkering layout on a stock. These pencils won’t scratch or gouge a stock and are easily removed. This combination makes for the perfect tool when planning and drawing a layout. Your uncheckered stock becomes a blank canvas and allows you to plan out your pattern to make sure it looks how you want before making any cuts. They are just great tools to have around the shop in general.
7 of the Most Essential Stockmaking Tools For the Beginner
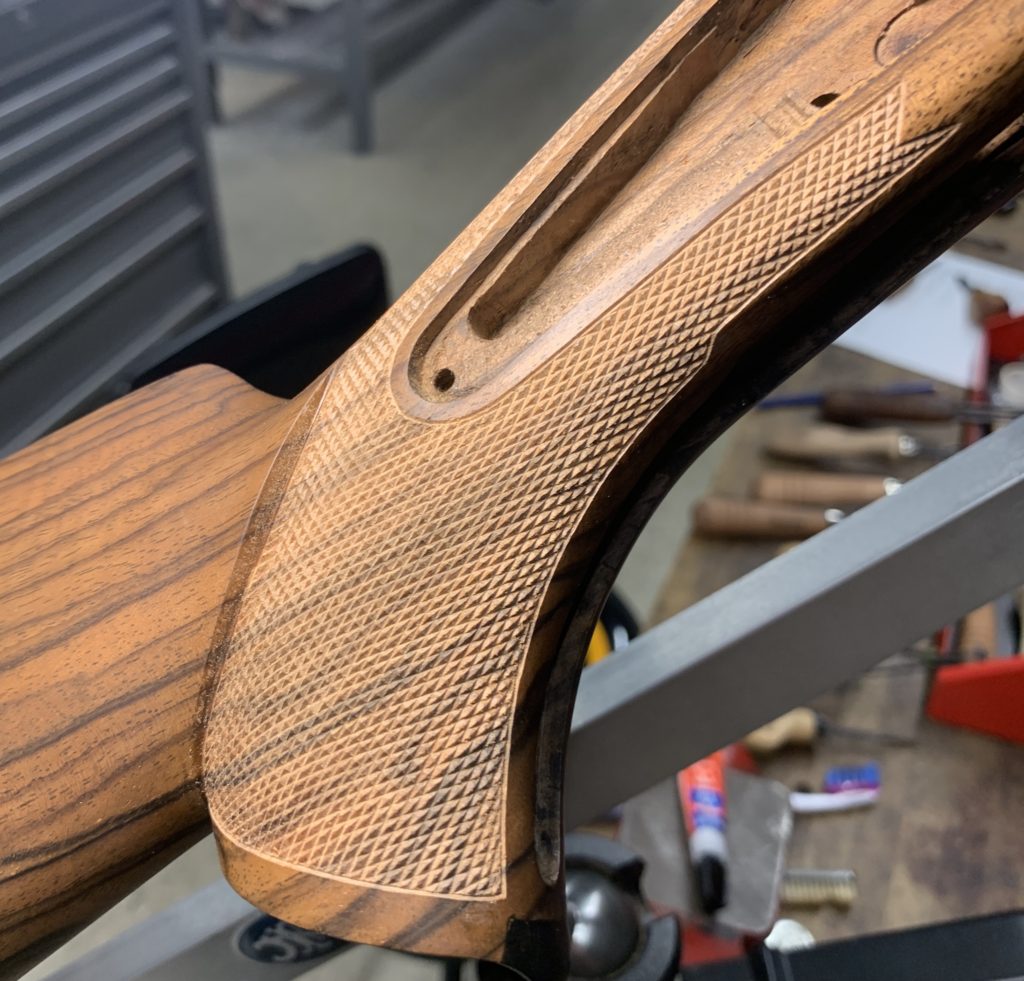
Checkering is Hard!
Checkering is hard, so don’t be discouraged by your first few tries at it. There is a lot of odd geometry in gunstocks, especially on rifle pistol grips, that will try to screw you up. These little tips and tricks should help you get a good start. If you find any other good tricks, share them below in the comments! If anyone has any questions, feel free to reach out to me!

Written by: Kurt Martonik
Kurt is a Gunsmith, Reloader, Hunter, and Outdoorsman. He grew up in Elk County, Pennsylvania, where he became obsessed with the world of firearms. Following high school, Kurt enlisted in the United States Air Force as a Boom Operator, where he eventually rose to the position of Instructor. After his military service, he attended the Colorado School of Trades(CST) in Lakewood, CO for gunsmithing. Following graduation, he accepted a job at C. Sharps Arms in Montana, where he worked as a full time stockmaker and gunsmith.
Haven’t tried it yet because I haven’t even purchased my tools yet (lol), but I have a die cutting machine that cuts patterns into vinyl, which is, of course, pretty flexible stuff even going around curved surfaces. I’m wondering if that might work for developing patterns for checkering. I’m 76 and have had my share of selling, using and repairing guns all my life. But the one thing I always wanted to try was checkering. I do a lot of woodworking and even some carving both hand and power. Anyway I thought I’d throw that die-cutter idea out there for shitz and giggles. Hoping to get into it when I go into hibernation this winter. Wish me luck and thanks for the informative article. ~Pete
Peter, I’m sure that would work well! Sounds like a great winter project, and good luck! If you have any questions feel free to reach out.