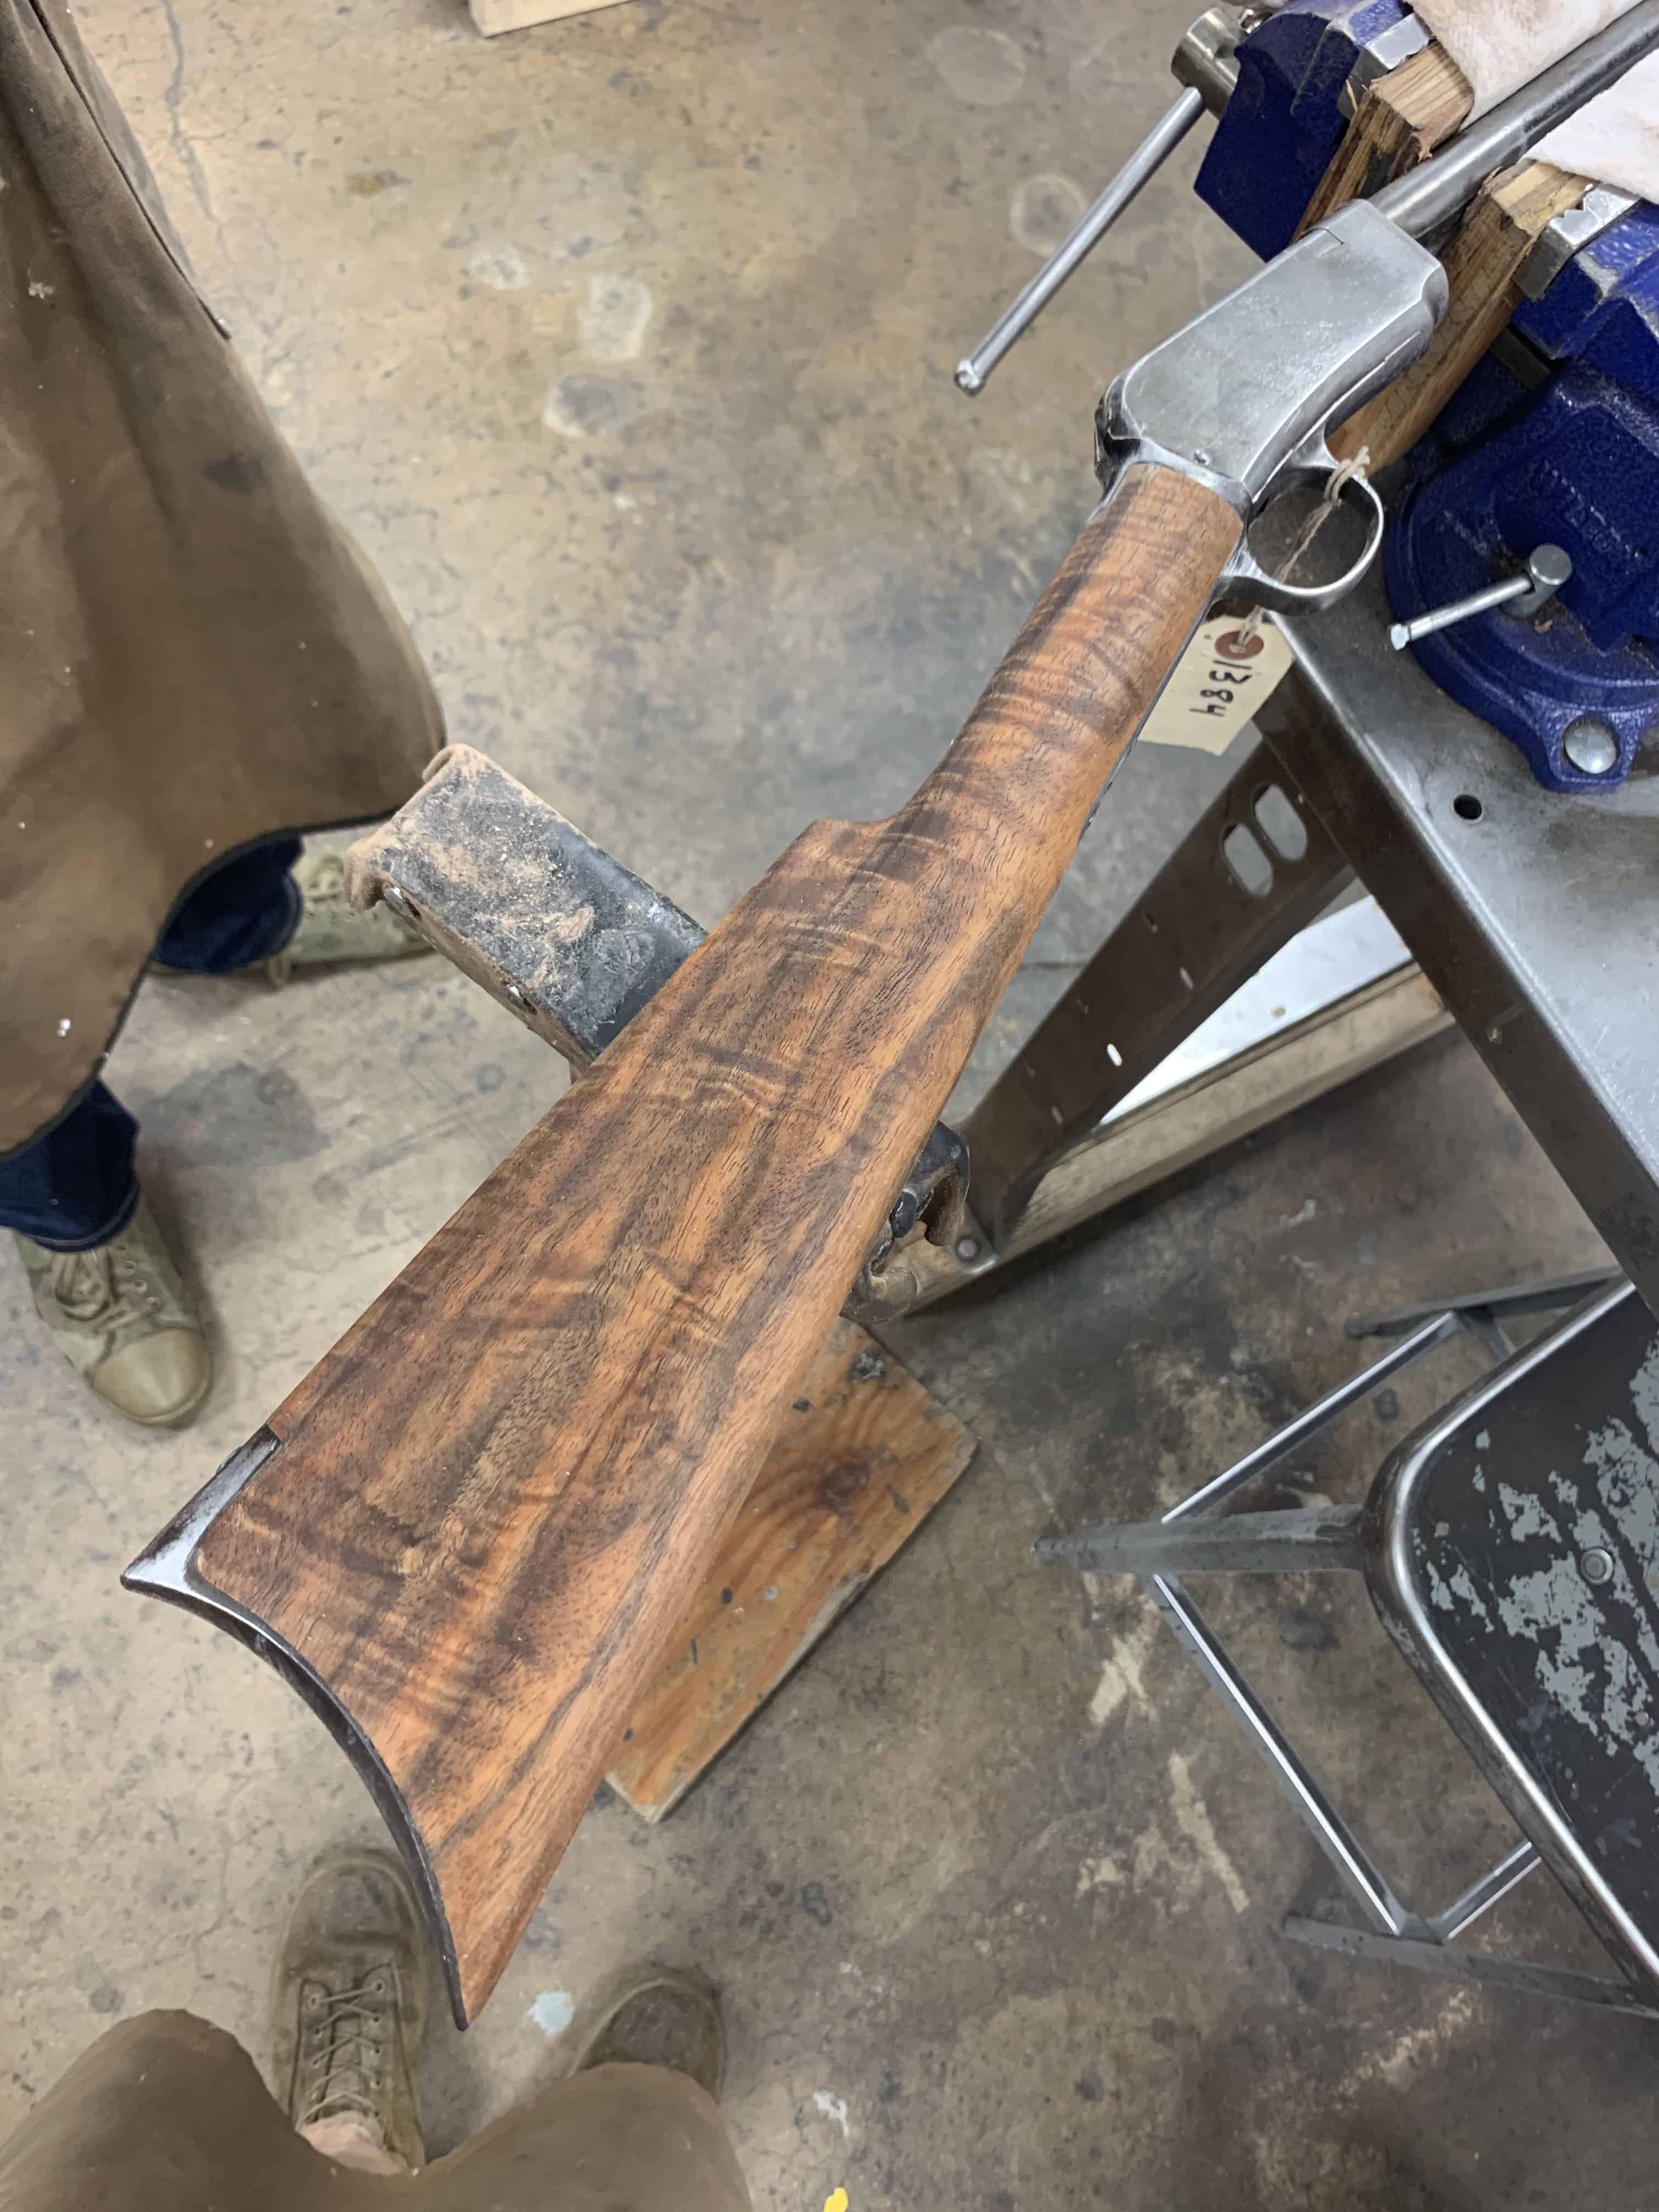
Making a gunstock from a blank is no easy undertaking. It takes many hours of dedication to complete and is very challenging. The tools needed to make a gunstock are endless. However, there are a few that I frequently recommend to people that are essential to the stockmaking process.
Here are 7 essential stockmaking tools for the beginner. These tools are used extensively on every stock that I do and have proved themselves to be essential, always being within arms’ reach of my vise.
At some point, you will need other tools to do specific jobs, but that never ends. You can complete a stock using these tools.
Affiliate Disclosure: This article may contain affiliate links. When you use these links, I earn a small commission from each sale generated at no cost to you. This commission helps me continue to put out free content. I work a full-time job that I am very happy with; therefore, I don’t need this commission and am not obligated to speak highly of any product. Everything written is my own opinion: the good, the bad, and the ugly.
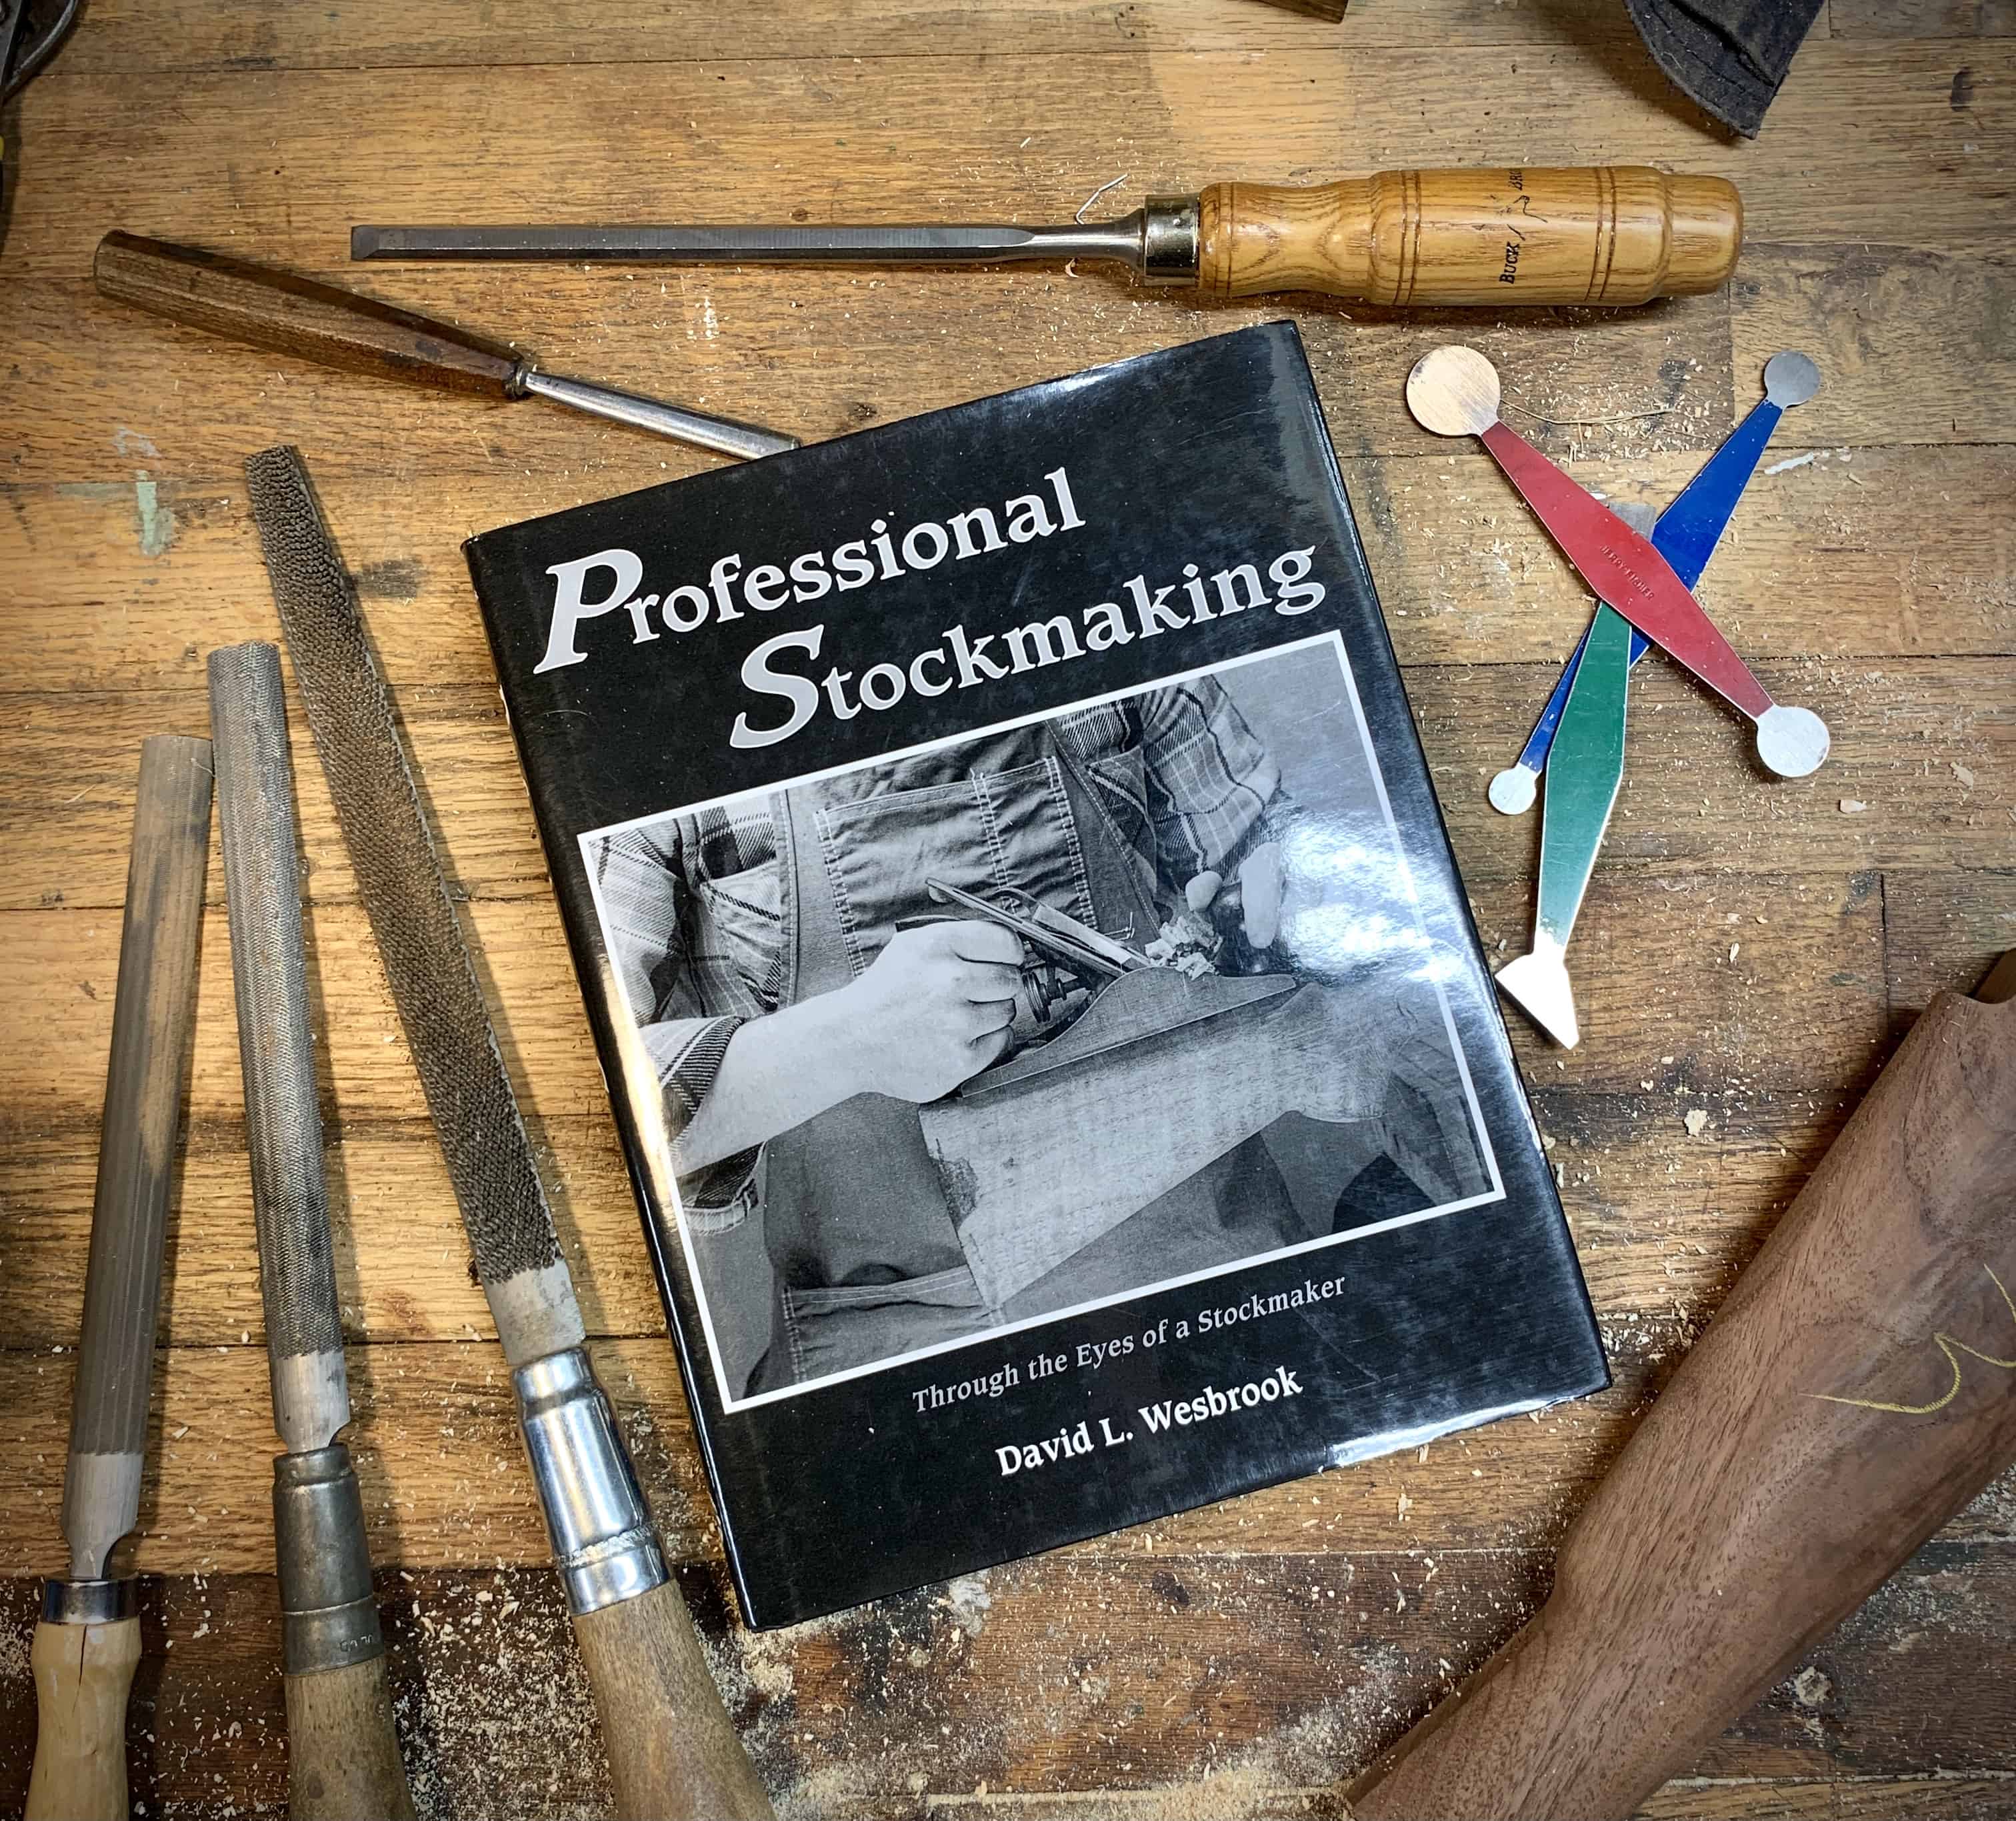
1. Professional Stockmaking
Professional Stockmaking: Through the Eyes of a Stockmaker by David L. Westbrook should be the first tool you pick up. I am asked several times a month what tools are needed to make a stock. I think they are surprised when the first tool I send them is a book over $50. I like this book so much that I have two, one that I keep clean on the shelf and one that lives on my bench.
This book is an excellent resource that I am constantly referencing. I would consider this the stockmaking bible for one-piece rifle stocks. It has excellent pictures and great information on the ins and outs of a good rifle stock design. It is one thing to make a gunstock yourself. It is another thing to make that gunstock look good. This book will help you do that.
While it is primarily for one-piece rifle stocks, most of it applies to other style stocks as well. The book is organized weirdly and sometimes feels out of order. Once you familiarize yourself with it, you’ll be able to find what you are looking for quickly. So yes, the first tool you need is a book.
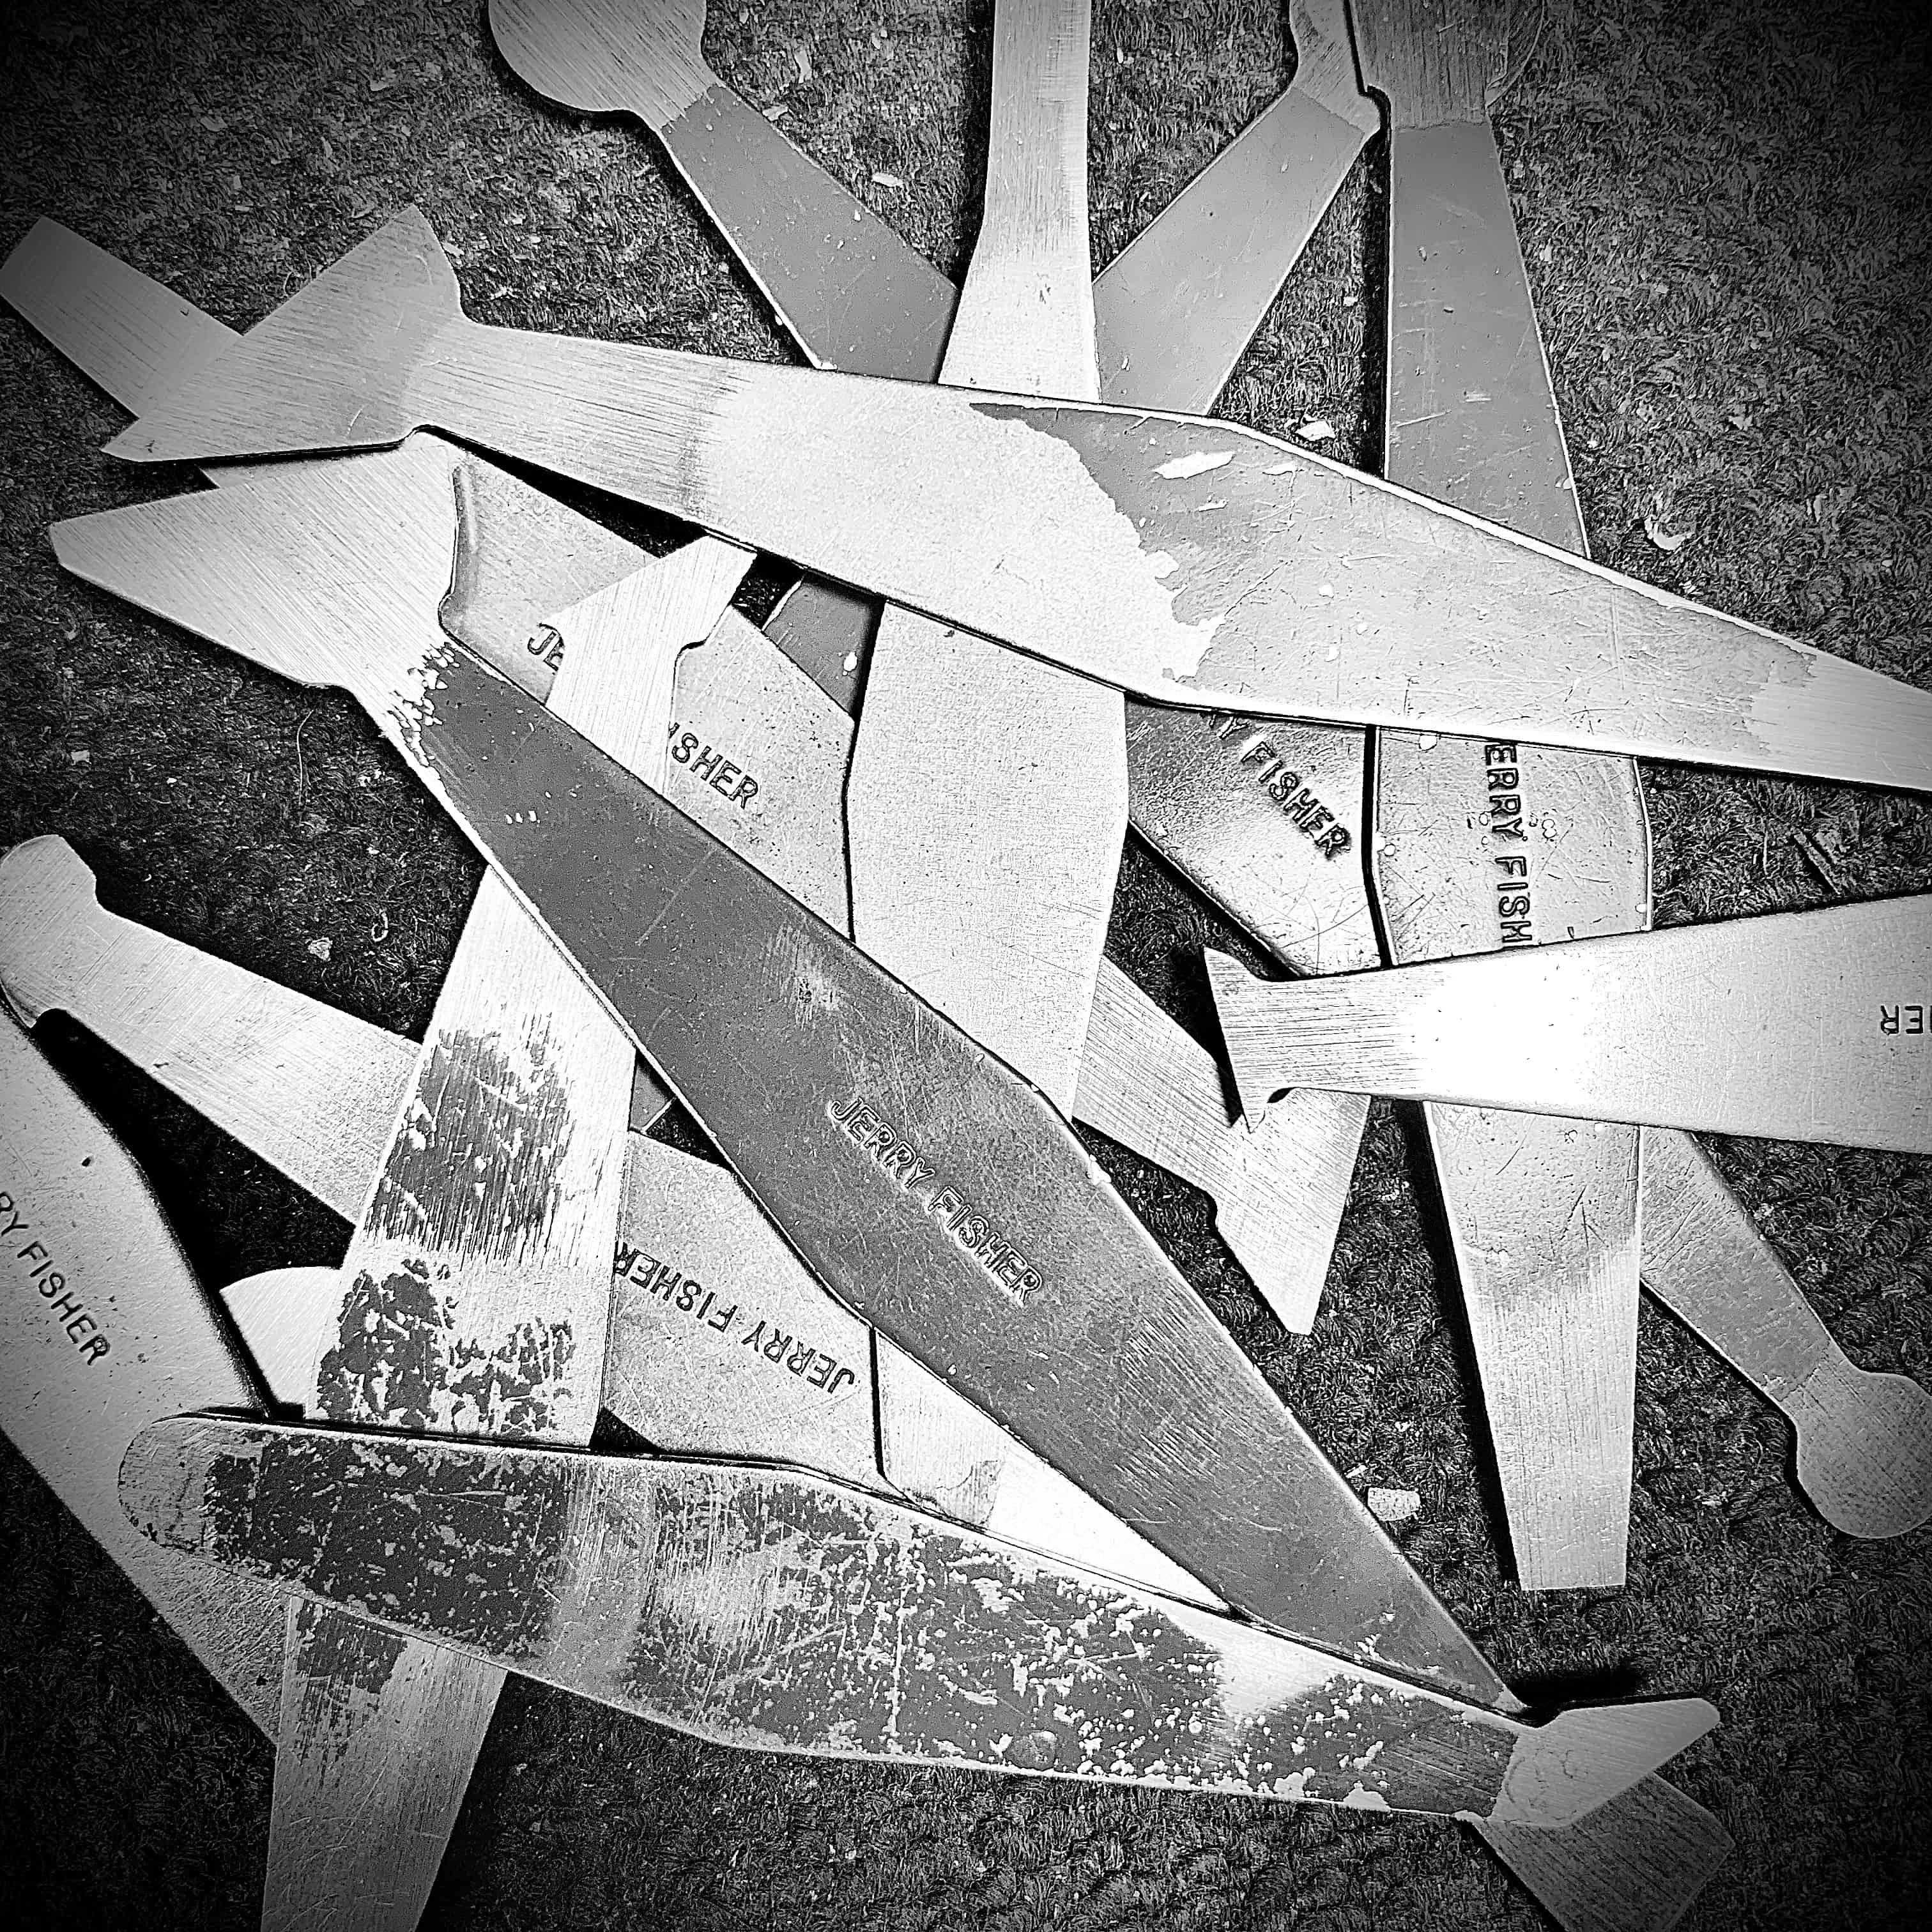
2. Jerry Fisher Scrapers
The Jerry Fisher scrapers are one of the few tools found on every gunsmith’s bench. That isn’t by accident. These are extremely useful in every aspect of inletting both semi-inlets and full blanks. They are very easy to use and, when sharp, are capable of giving you that 1:1 fit you need for inletting.
There are three different sizes available: large, small, and octagon. The small and large ones are perfect for inletting round barrel channels or round receivers, like the Remington 700. The octagon tool works well for octagon barrels, but I find it most useful on inletting receiver faces on two-piece stocks.
You may not need all three immediately, but eventually, you will find uses for all of them. I mainly do two-piece stocks with curved steel buttplates and use the octagon one 99% of the time.
Find them on Brownells here.
3. Chisel
If you’ve ever seen a picture of a stockmaker’s bench, you are likely to see a multitude of chisels of every different size and shape. The chisel that gets used for almost everything I do is this little swiss one made by Pfiel. It is a short “Butt chisel” and 1/4″ wide. The chisel is expensive and ultra-sharp.
I don’t recommend starting out with that one, though. Go to the hardware store and pick up a cheaper 1/4″ one to start out with and learn the basics. You won’t cry when you damage the edge on that one. Once you learn the basics and know where to apply them, you can move to more expensive ones.
I have paring chisels that are over a foot long for some applications, like hogging material away under a cheekpiece. They are extremely useful when sharpened properly. The list of chisels could go on forever. Once you find one you like, you will fall in love with it.
I highly recommend spending the time and learning how to sharpen chisels properly. They are much more effective and easier to use when they are sharp.
Use coupon code KTG10 to get 10% off your order of $150 or more at Brownells.
4. Gouges
Gouges are mainly used to help remove large amounts of material in barrel channels and to help cut the bevel in a cheekpiece. Once you learn how to read wood grain direction, they are an excellent tool. It is invaluable if you work from a full wood blank and inletting a round barrel.
Think of gouges as curved chisels. They can remove a lot of material fast and must be used sparingly. These work best for round receiver and barrel channels. They also can be extremely useful when working around the curves of a cheekpiece.
This gouge is one that I have come to like.
5. Nicholson #49 Rasp
The #49 Cabinet Maker’s Rasp is the workhorse of my bench. It removes material fast when shaping and leveling your stock. It is very aggressive and can get you in trouble if you are unfamiliar with using it. Once you are comfortable with it, it will always be within arms reach when working on a stock.
When working around the inletted areas of a stock, use this rasp to push away from where the metal is to avoid tear-outs.
Find the Nicholson #49 on Brownells here.
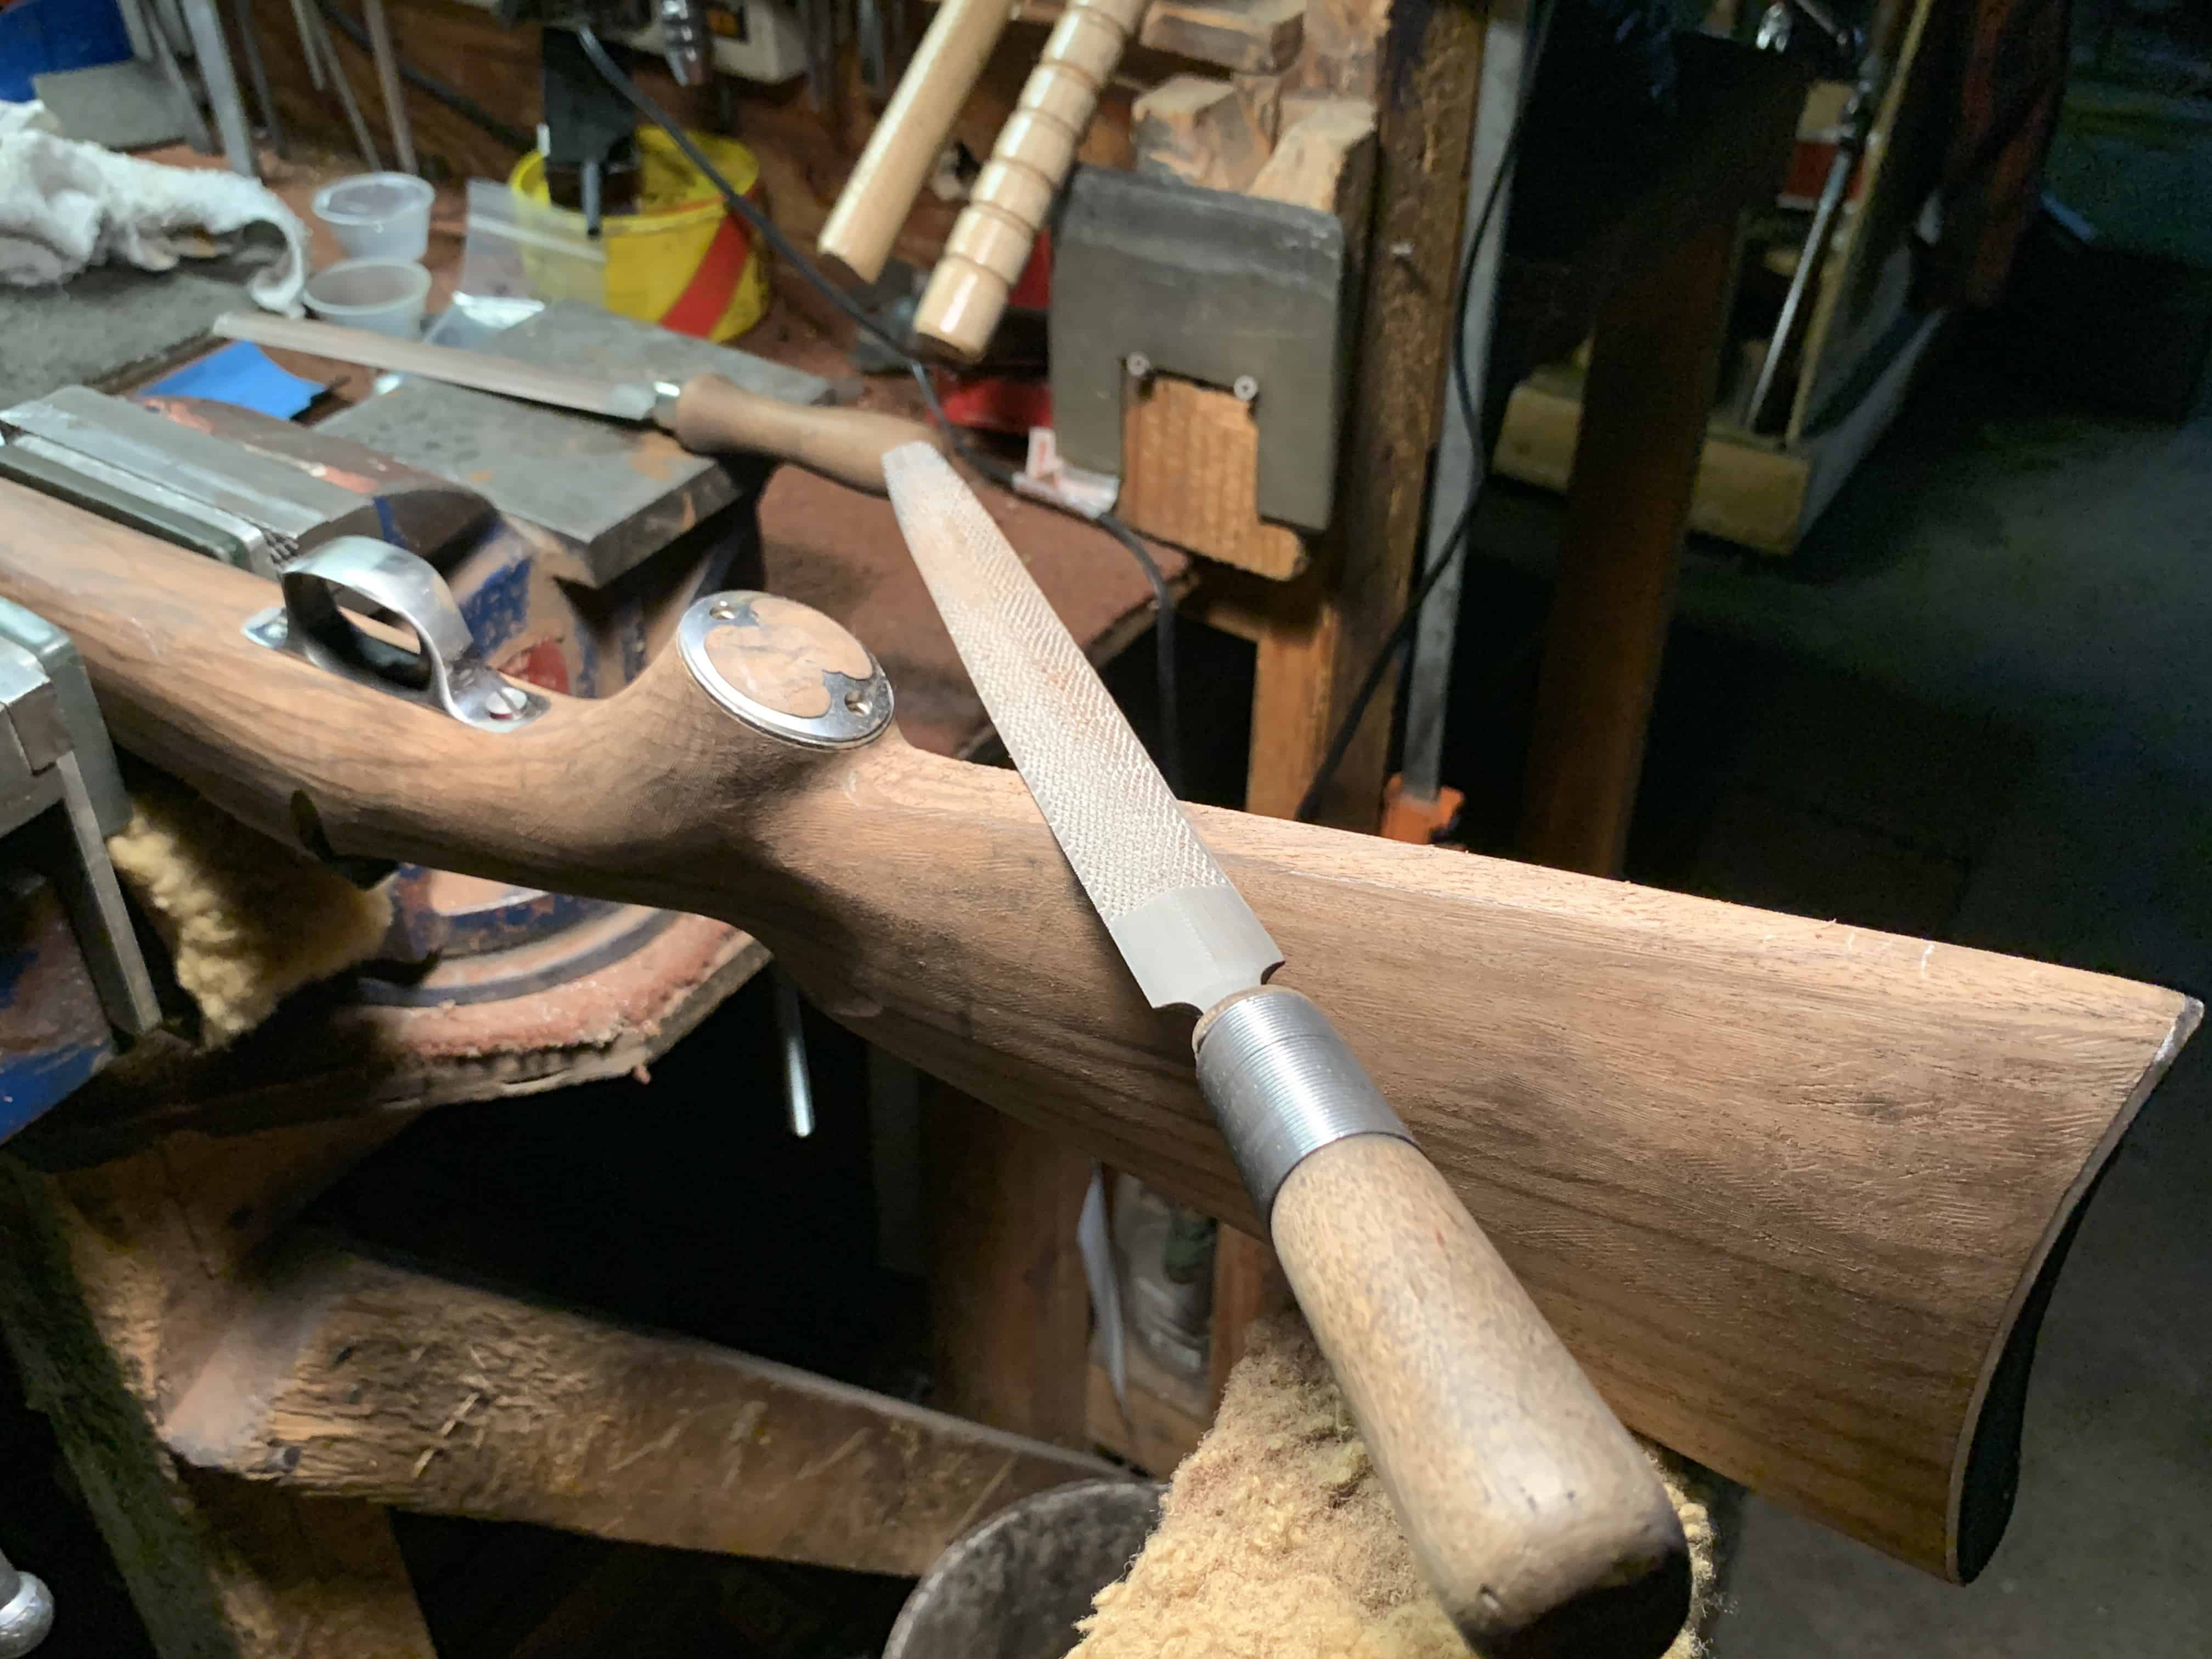
6. Bastard File
The half-round 8-inch bastard file is used to smooth out the rasp marks and any minor changes in shaping. Between this and the rasp mentioned above, I will get the shape and profile finalized. This file isn’t aggressive but will make a low spot if you spend too much time in one place. I have found it very helpful to angle the file while using it to eliminate the possibility of high and low spots.
Find the 8-inch Bastard File here.
7. Smooth File
The 8-inch half-round smooth file is a great tool to save time sanding. This removes any of the file marks left from the previous files. This file is not aggressive enough to change the shape or create any low spots in your stock. Depending on the type of wood you are using, you will need to clean the teeth often using a file cleaning brush.
Find the 8-inch smooth file here.
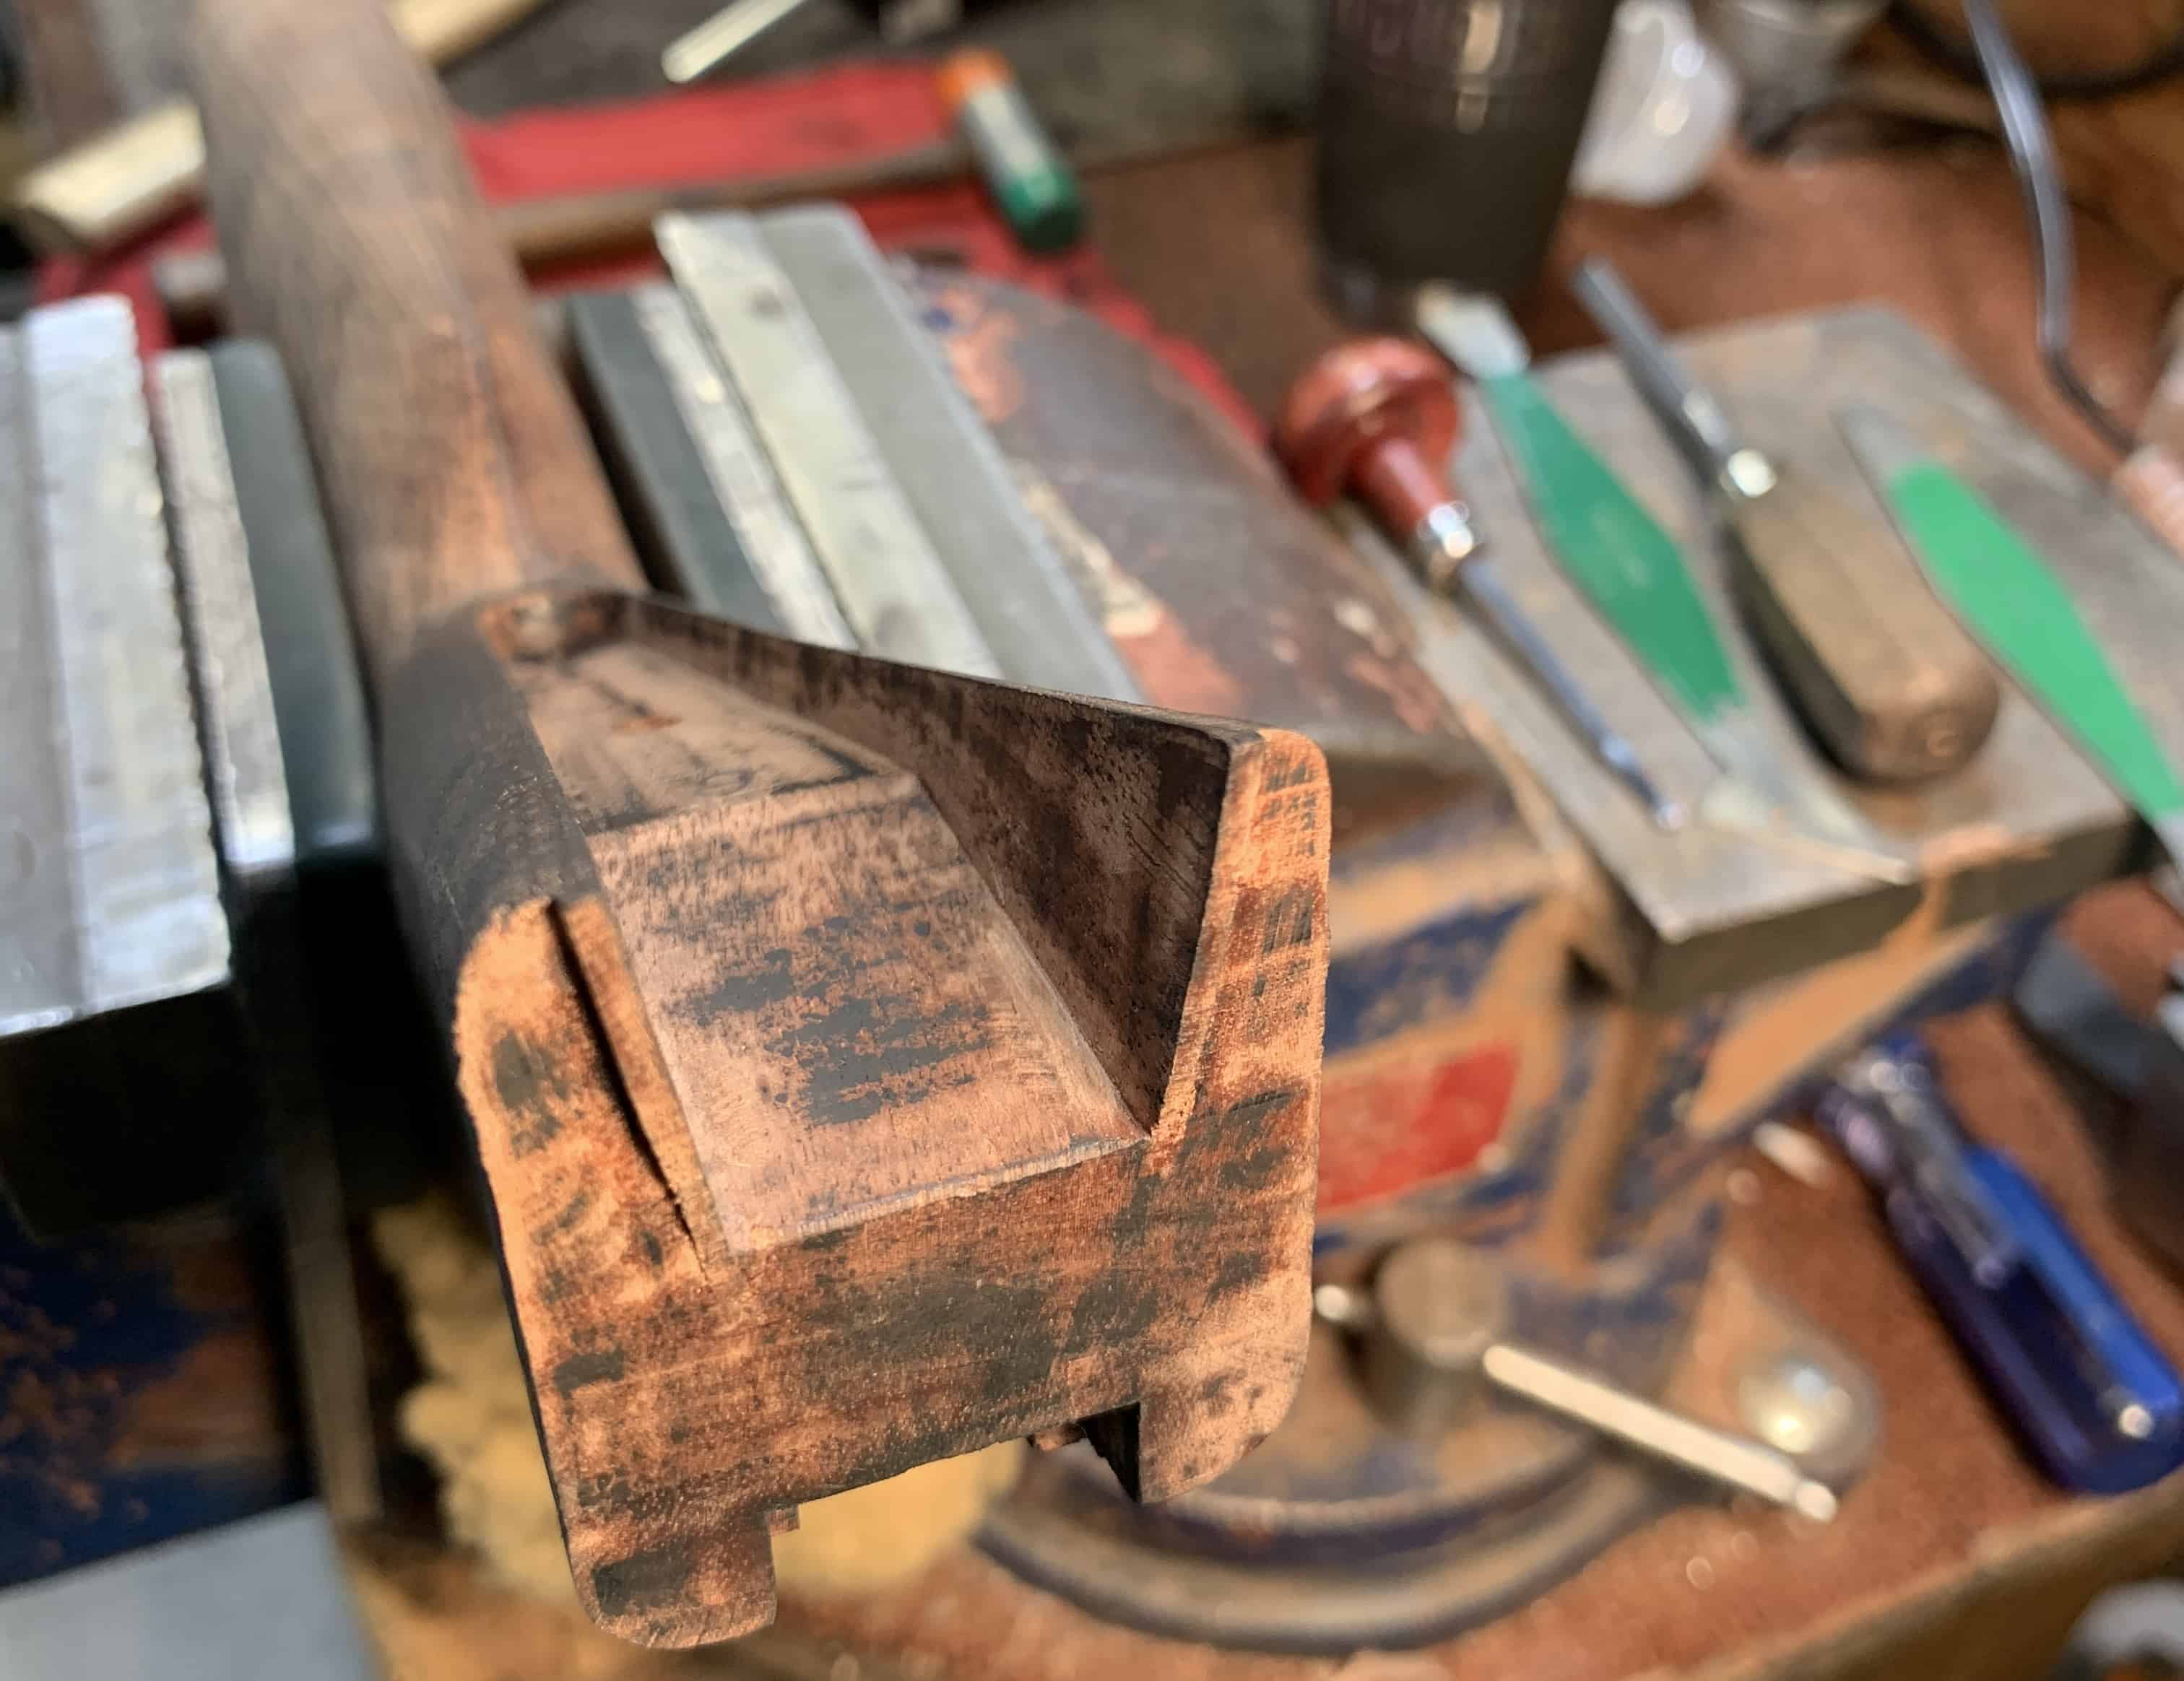
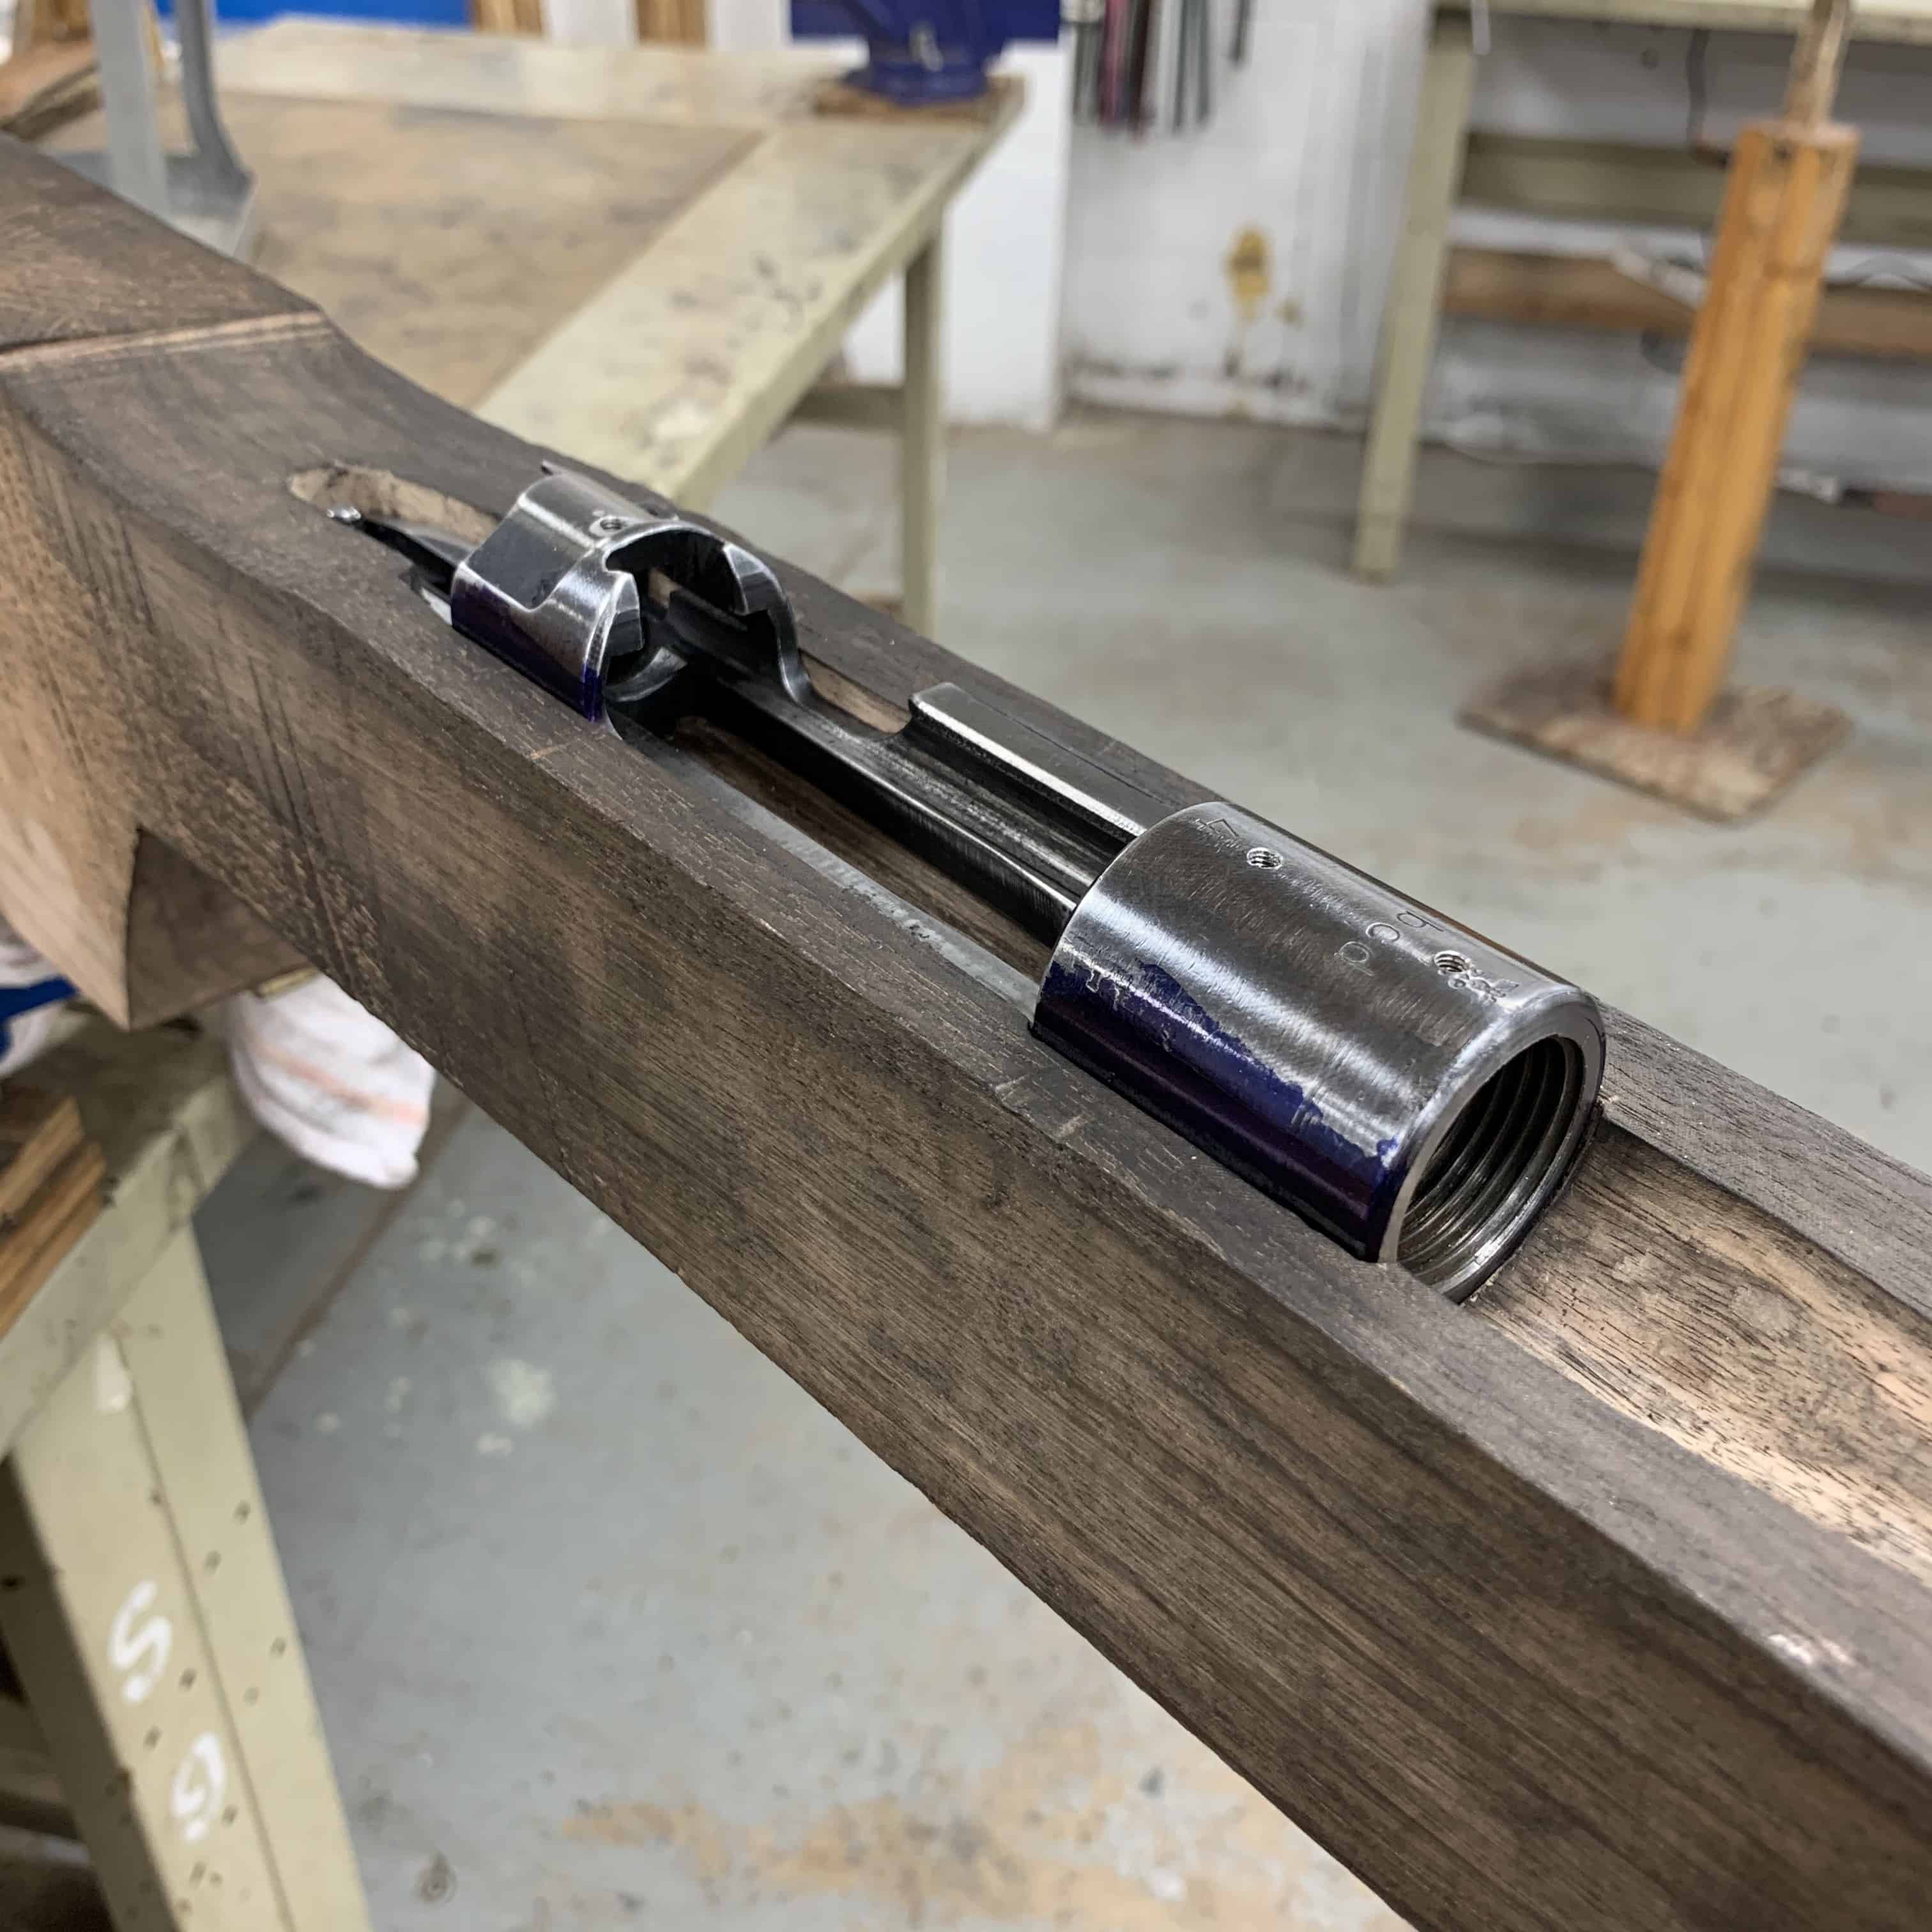
Notes on Inletting
Inletting is essentially making a reverse imprint of your metal into the wood. This is a very time-consuming process for the beginning stockmaker, who is overly careful about the material they are removing. My first stock took me over a week to inlet. I completely relied on my scrapers to do the job. It worked and turned out ok, but it took way too long.
Reading Your Inletting Black: How to Make the Perfect Stock
The more and more exposure you get to stockmaking, the more you will learn what can be taken away using a chisel and gouge to save significant amounts of time. My chisel does most of my inletting, and the scrapers are used to get that final seamless fit.
Notes on Shaping
When working from a semi-inlet, I shape the stock using a progression of tools. I start with the Nicholson #49 to get it rough-shaped and slimmed down. Then move to the bastard file, draw filing the wood to remove the Nicholson #49 Rasp marks. Wet the stock to raise the grain, then once dry, move to the smooth file. Do the same thing you did with the bastard file, only this time remove all of the bastard file marks. Raise the grain, then start your sanding.
Using this progression when shaping greatly reduces the time spent sanding at the end.
The Art of Stockmaking
Stock making is a skill that is best learned from exposure. Unfortunately, none of these tools will make you a better stockmaker(An exception can be made for the book). These are tools and don’t replace experience. In the last year, I have stocked over 150 rifles and can honestly say that I learn something new every single time and show improvement with each one. I still screw up, but I know how to fix and hide those mistakes.

Written by: Kurt Martonik
Kurt is a Gunsmith, Reloader, Hunter, and Outdoorsman. He grew up in Elk County, Pennsylvania, where he became obsessed with the world of firearms. Following high school, Kurt enlisted in the United States Air Force as a Boom Operator, where he eventually rose to the position of Instructor. After his military service, he attended the Colorado School of Trades(CST) in Lakewood, CO for gunsmithing. Following graduation, he accepted a job at C. Sharps Arms in Montana, where he worked as a full time stockmaker and gunsmith.