Everyone likes the idea of having one rifle to do it all. That rifle that you invest a good amount of money into and travel all over the world with, hunting and taking it on adventures of a lifetime. “A Mountain Rifle.”
I took this dream seriously and set out to do just that.
Affiliate Disclosure: This article may contain affiliate links. When you use these links, I earn a small commission from each sale generated at no cost to you. This commission helps me continue to put out free content. I work a full-time job that I am very happy with; therefore, I don’t need this commission and am not obligated to speak highly of any product. Everything written is my own opinion: the good, the bad, and the ugly.


| Dimensions | |
| Caliber: | 270 Winchester |
| Overall Length: | 43″ |
| Barrel Length : | 22″ |
| Length of Pull: | 13 3/4″ |
| Weight w/ Scope: | 8.2 lbs |
| Weight w/o Scope: | 7.3 lbs |
| Capacity: | 3+1 |
Your initial thought process probably looks something like this. You look at all the calibers on the market and imagine what you’d get it chambered in and how you could tweak it at the reloading bench to cover every hunting scenario.
Do you chamber it in one of the many wildcats? Or in the classic 30-06? You definitely want something versatile. Lightweight, flat-shooting bullets to hunt coyotes or maybe someday take it out to the sage flats of the west for Pronghorn Antelope. A bullet in the middleweight class for taking deer, elk, and likely even caribou someday. Maybe you could even load some of those new heavy bullets if you ever made it into Moose Country. The possibilities are endless.
Use coupon code KTG10 to get 10% off your order of $150 or more at Brownells.
Next, you think about how you would have it made to your measurements so that it fits you perfectly and feels like an extension of your body. A carbon fiber stock is ultra-light and durable, but you’ve always wanted a rifle made out of that walnut blank in the shed from the family farm. Either way, it would balance just right and be light enough to carry on those long multi-day mountain hunts.
After all of that thought, you google custom rifle makers and get a little bit shocked at the price of a custom rifle. Slowly, you start to justify it. After all, it is the last rifle you’ll ever need, right?
I think every serious hunter, including myself, has gone through parts of this process at one time or another. I’m very fortunate to be able to bring this sorta thing to reality, having access to the tools and machines necessary and having people who were able to help me through the process when needed.
The Birth of the Project
While thumbing through the “Guns & ammo” section of a local Pennsylvania Craigslist-type website, I noticed an ad that listed six Mauser actions. With these getting harder to come by, I immediately called the guy and started having a conversation with him. He was a retired gunsmith slowly getting rid of his stock of old parts and pieces. I could tell he really liked the Mauser.
In this lot, there were three commercial FN actions, two Argentines, a Polish, and a G33/40. These were all outfitted with Argentine hinged floorplates and had a mixture of Timney and Canjar Triggers. The G33/40 immediately caught my eye. The bolt handle had been welded at just the right angle, and it was outfitted with that legendary Canjar Trigger. On top of that, the G33/40 has an incredible history of being a mountain rifle that can’t be overlooked. After some wheeling and dealing, I had those actions sent to my local FFL.
When they arrived, they were better than I could have ever imagined. Immediately, I started to visualize all of the projects I could make with them. The G33/40 would be reserved for a personal build, as they are very rare to come across in this form. It had already been drilled and tapped and had a bolt handle welded on. Therefore, there was no bringing this Mauser back to its original glory, making it a perfect candidate for a sporter build.
G33/40 History
The G33/40 was a German military rifle built in Czechoslovakia between 1940 and 1942. It was built for the Gebirgsjäger alpine troops or German mountain troops, hence the G in G33/40. These mountain troops spent much of their time in the alpine regions of Europe fighting. The Germans had this rifle designed for the purpose of being used in the mountains and immediately recognized the importance of weight savings.
It had some very interesting features to it; First and most noticeable was the steel buttplate that wrapped around the side of the stock. This was intended to reinforce the stock and protect it when being used as a trekking pole while climbing. Second, a small ring receiver was chosen to save weight. If you are into custom rifles, you’ll probably understand the excitement of having a small ring 98. Lastly, found under the stock line, a series of lightning cuts were machined to reduce weight again, saving mere ounces.
The history combined with the lightweight design made these rifles extremely desirable for custom American hunting rifle projects. Many of these were sporterized and made into lightweight mountain rifles. While I do not condone sporterizing military rifles in the present time, what’s in the past is in the past, and all we can do is make any poorly done sporter we come across, into a work of art. If you would like to do a Mauser sporter, do your best to find one of the many sporter rifles out there and leave the full-stocked military rifles for the collectors.

Building a Mountain Rifle
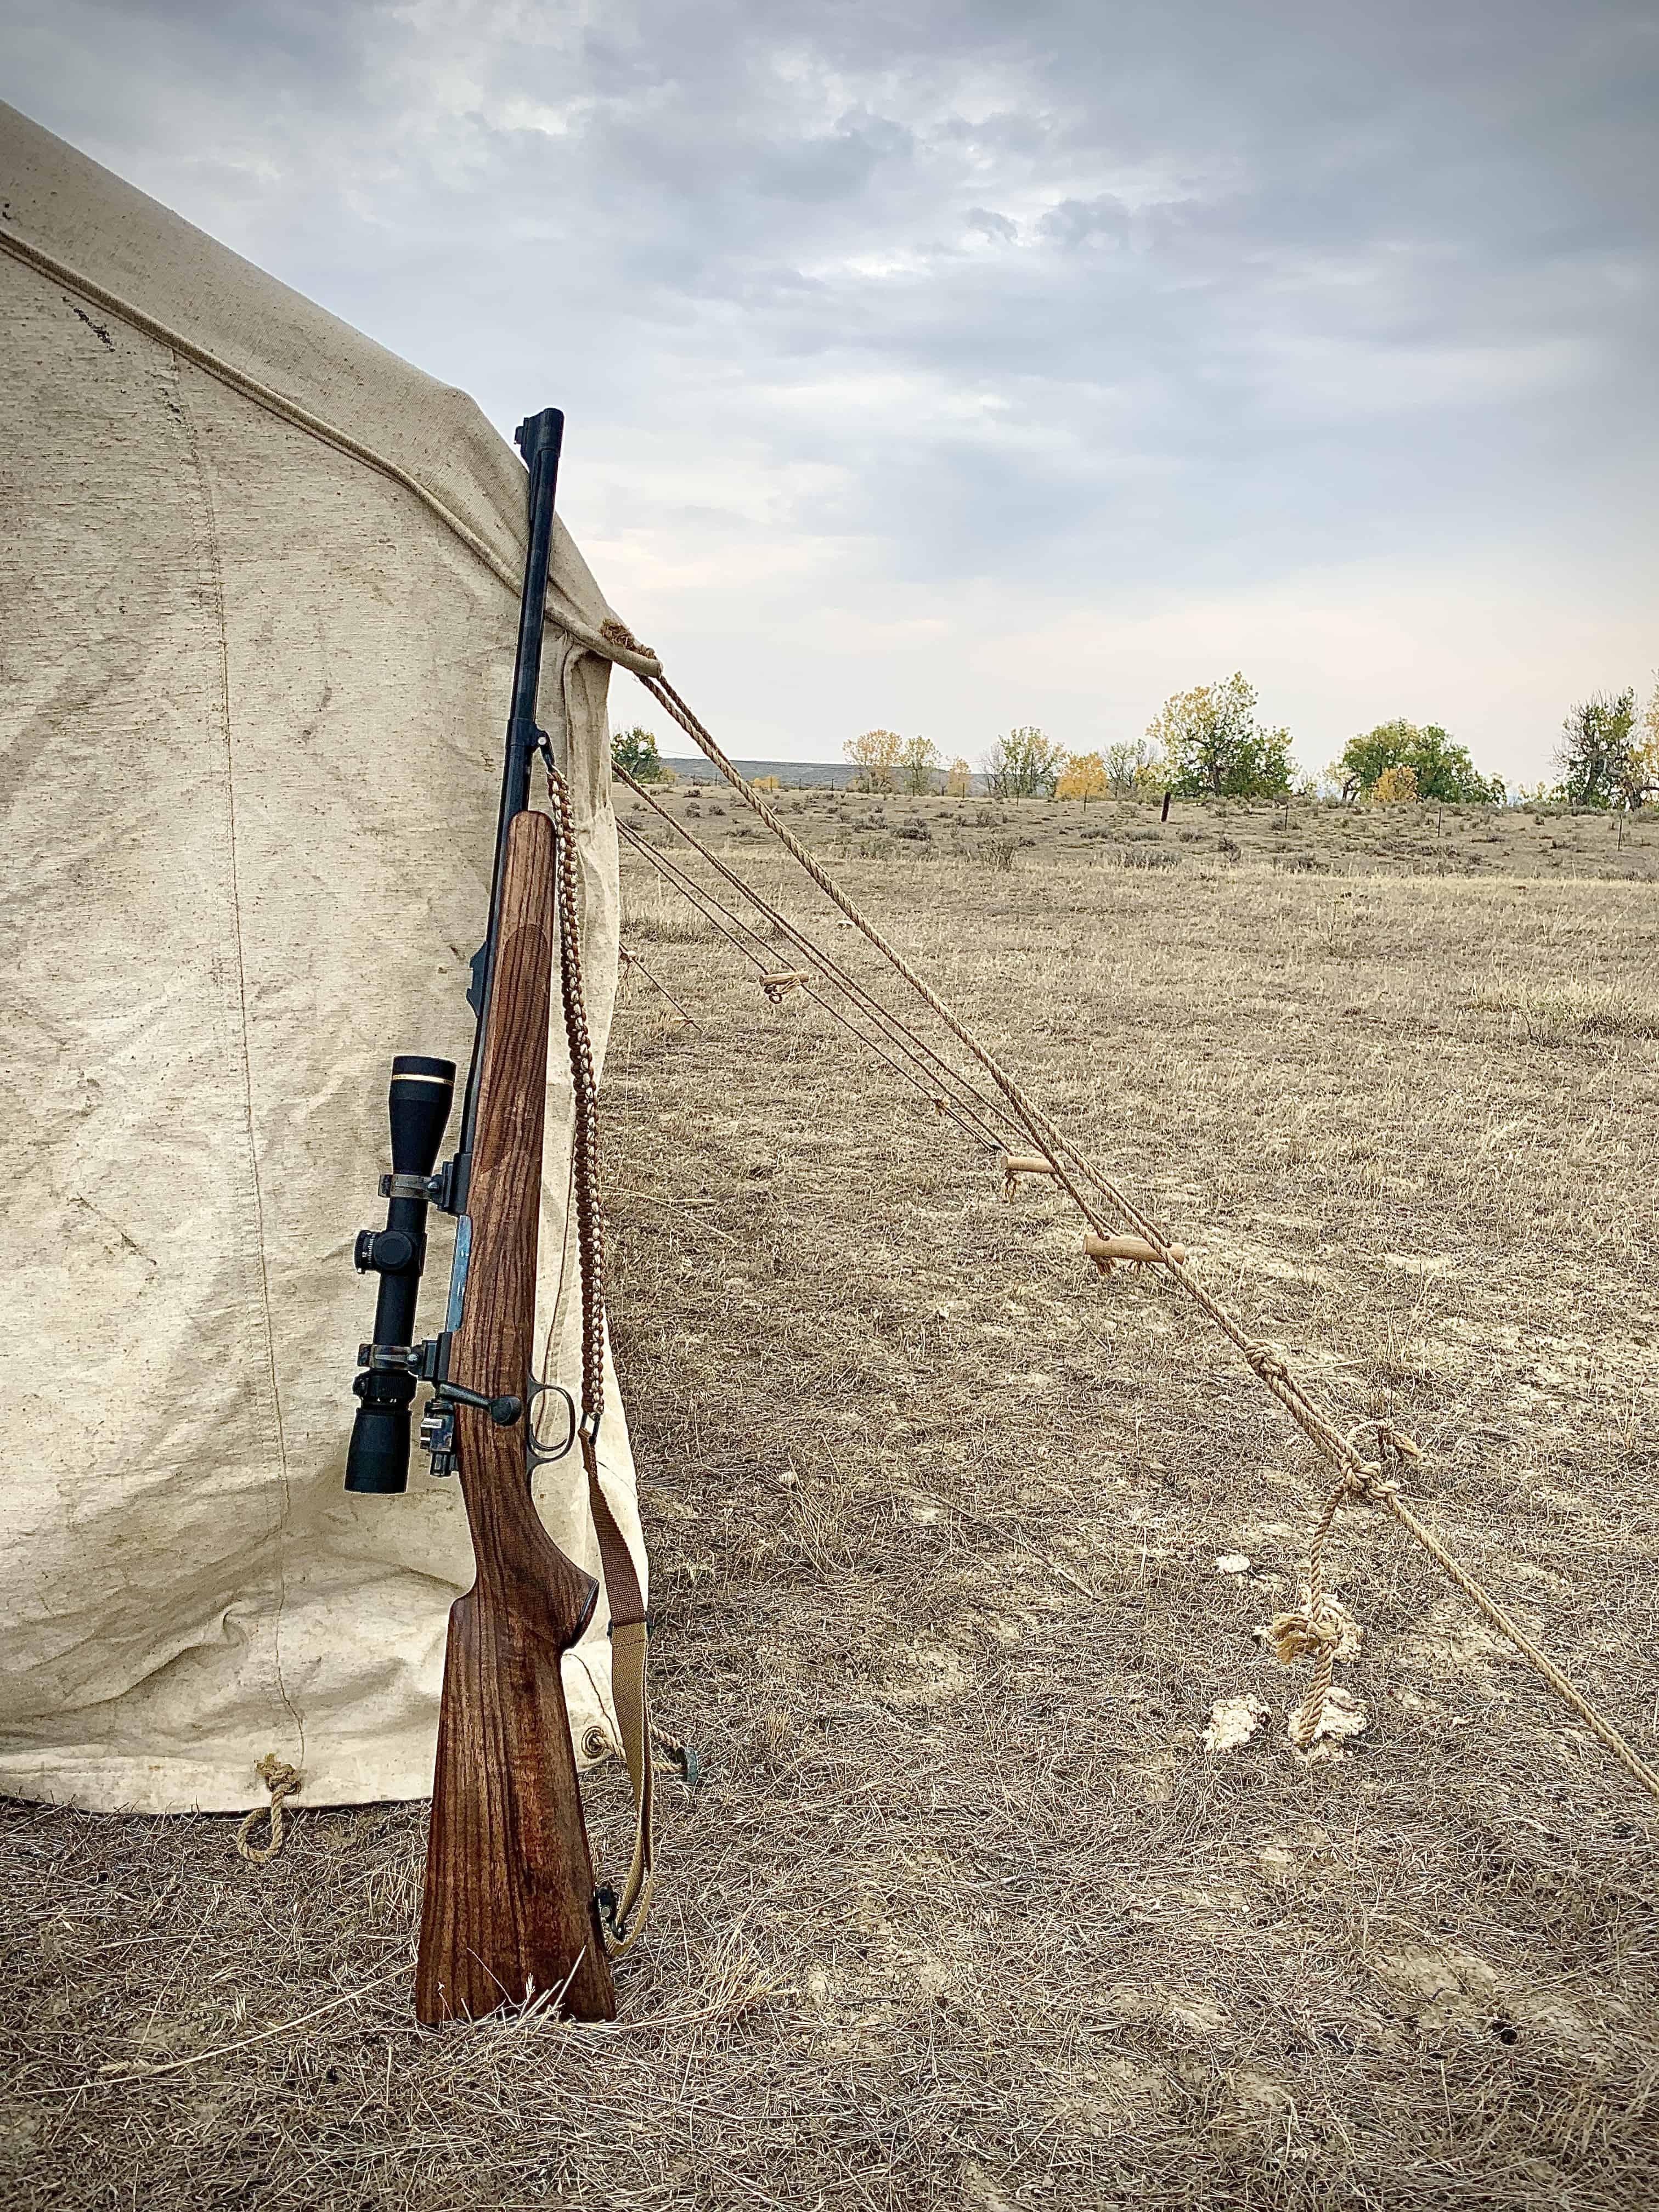
With an enthusiastic goal of a sub-seven-pound Mauser, weight savings were important. But at no time would I sacrifice function or even aesthetics to reach this goal. I labeled this build my “Sheep Rifle” as it was to be built with lightweight mountain hunting in mind. I am well aware of the many lightweight actions on the market that would fit the bill better than this; however, there is some nostalgia involved, as I have always been in love with old rifles.
I decided on the 270 Winchester cartridge as it is an American classic cartridge and very capable of taking most big game animals in North America. There are probably better cartridges out there, but I was pretty set on the 270. It is an excellent flat shooting cartridge that has a lot of versatility with today’s modern bullet choices. Thinking ahead and trying to save as much time as possible, I ordered a barrel first, as I knew this would take a couple of months to come in. I chose a Chromoly, #2 contour, McGowen barrel with a 1:10 twist rate.
Metal Work
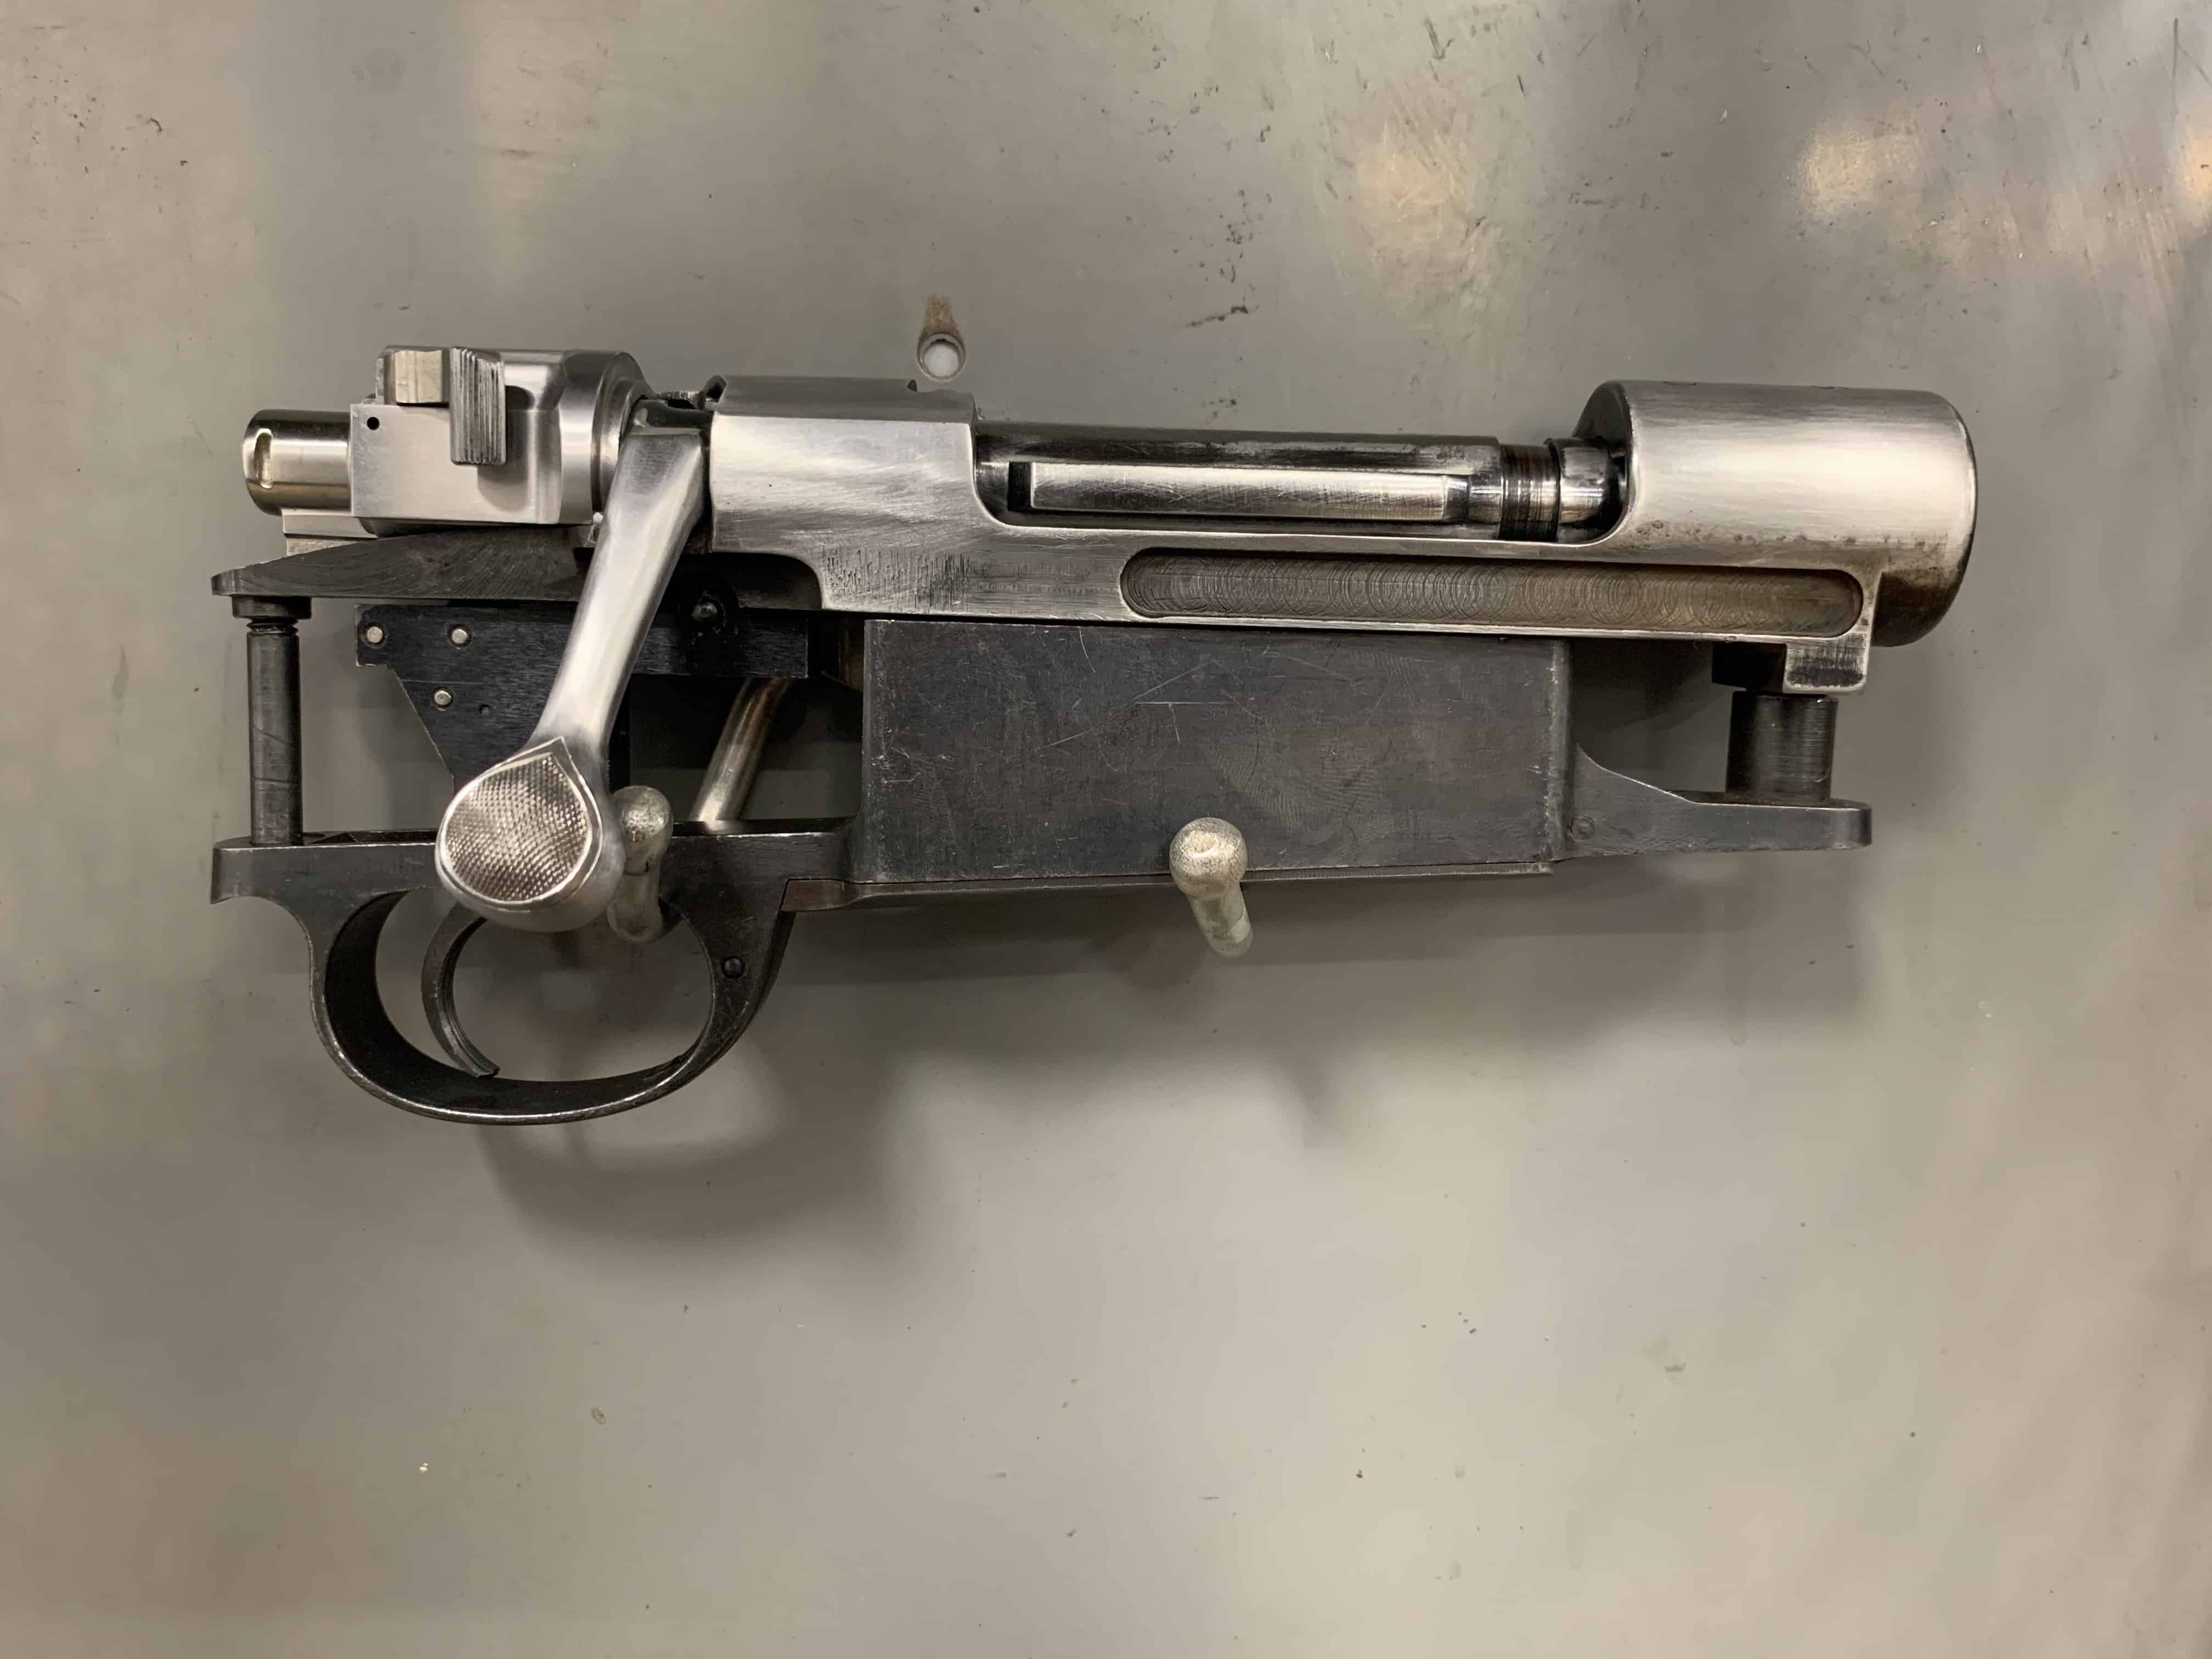
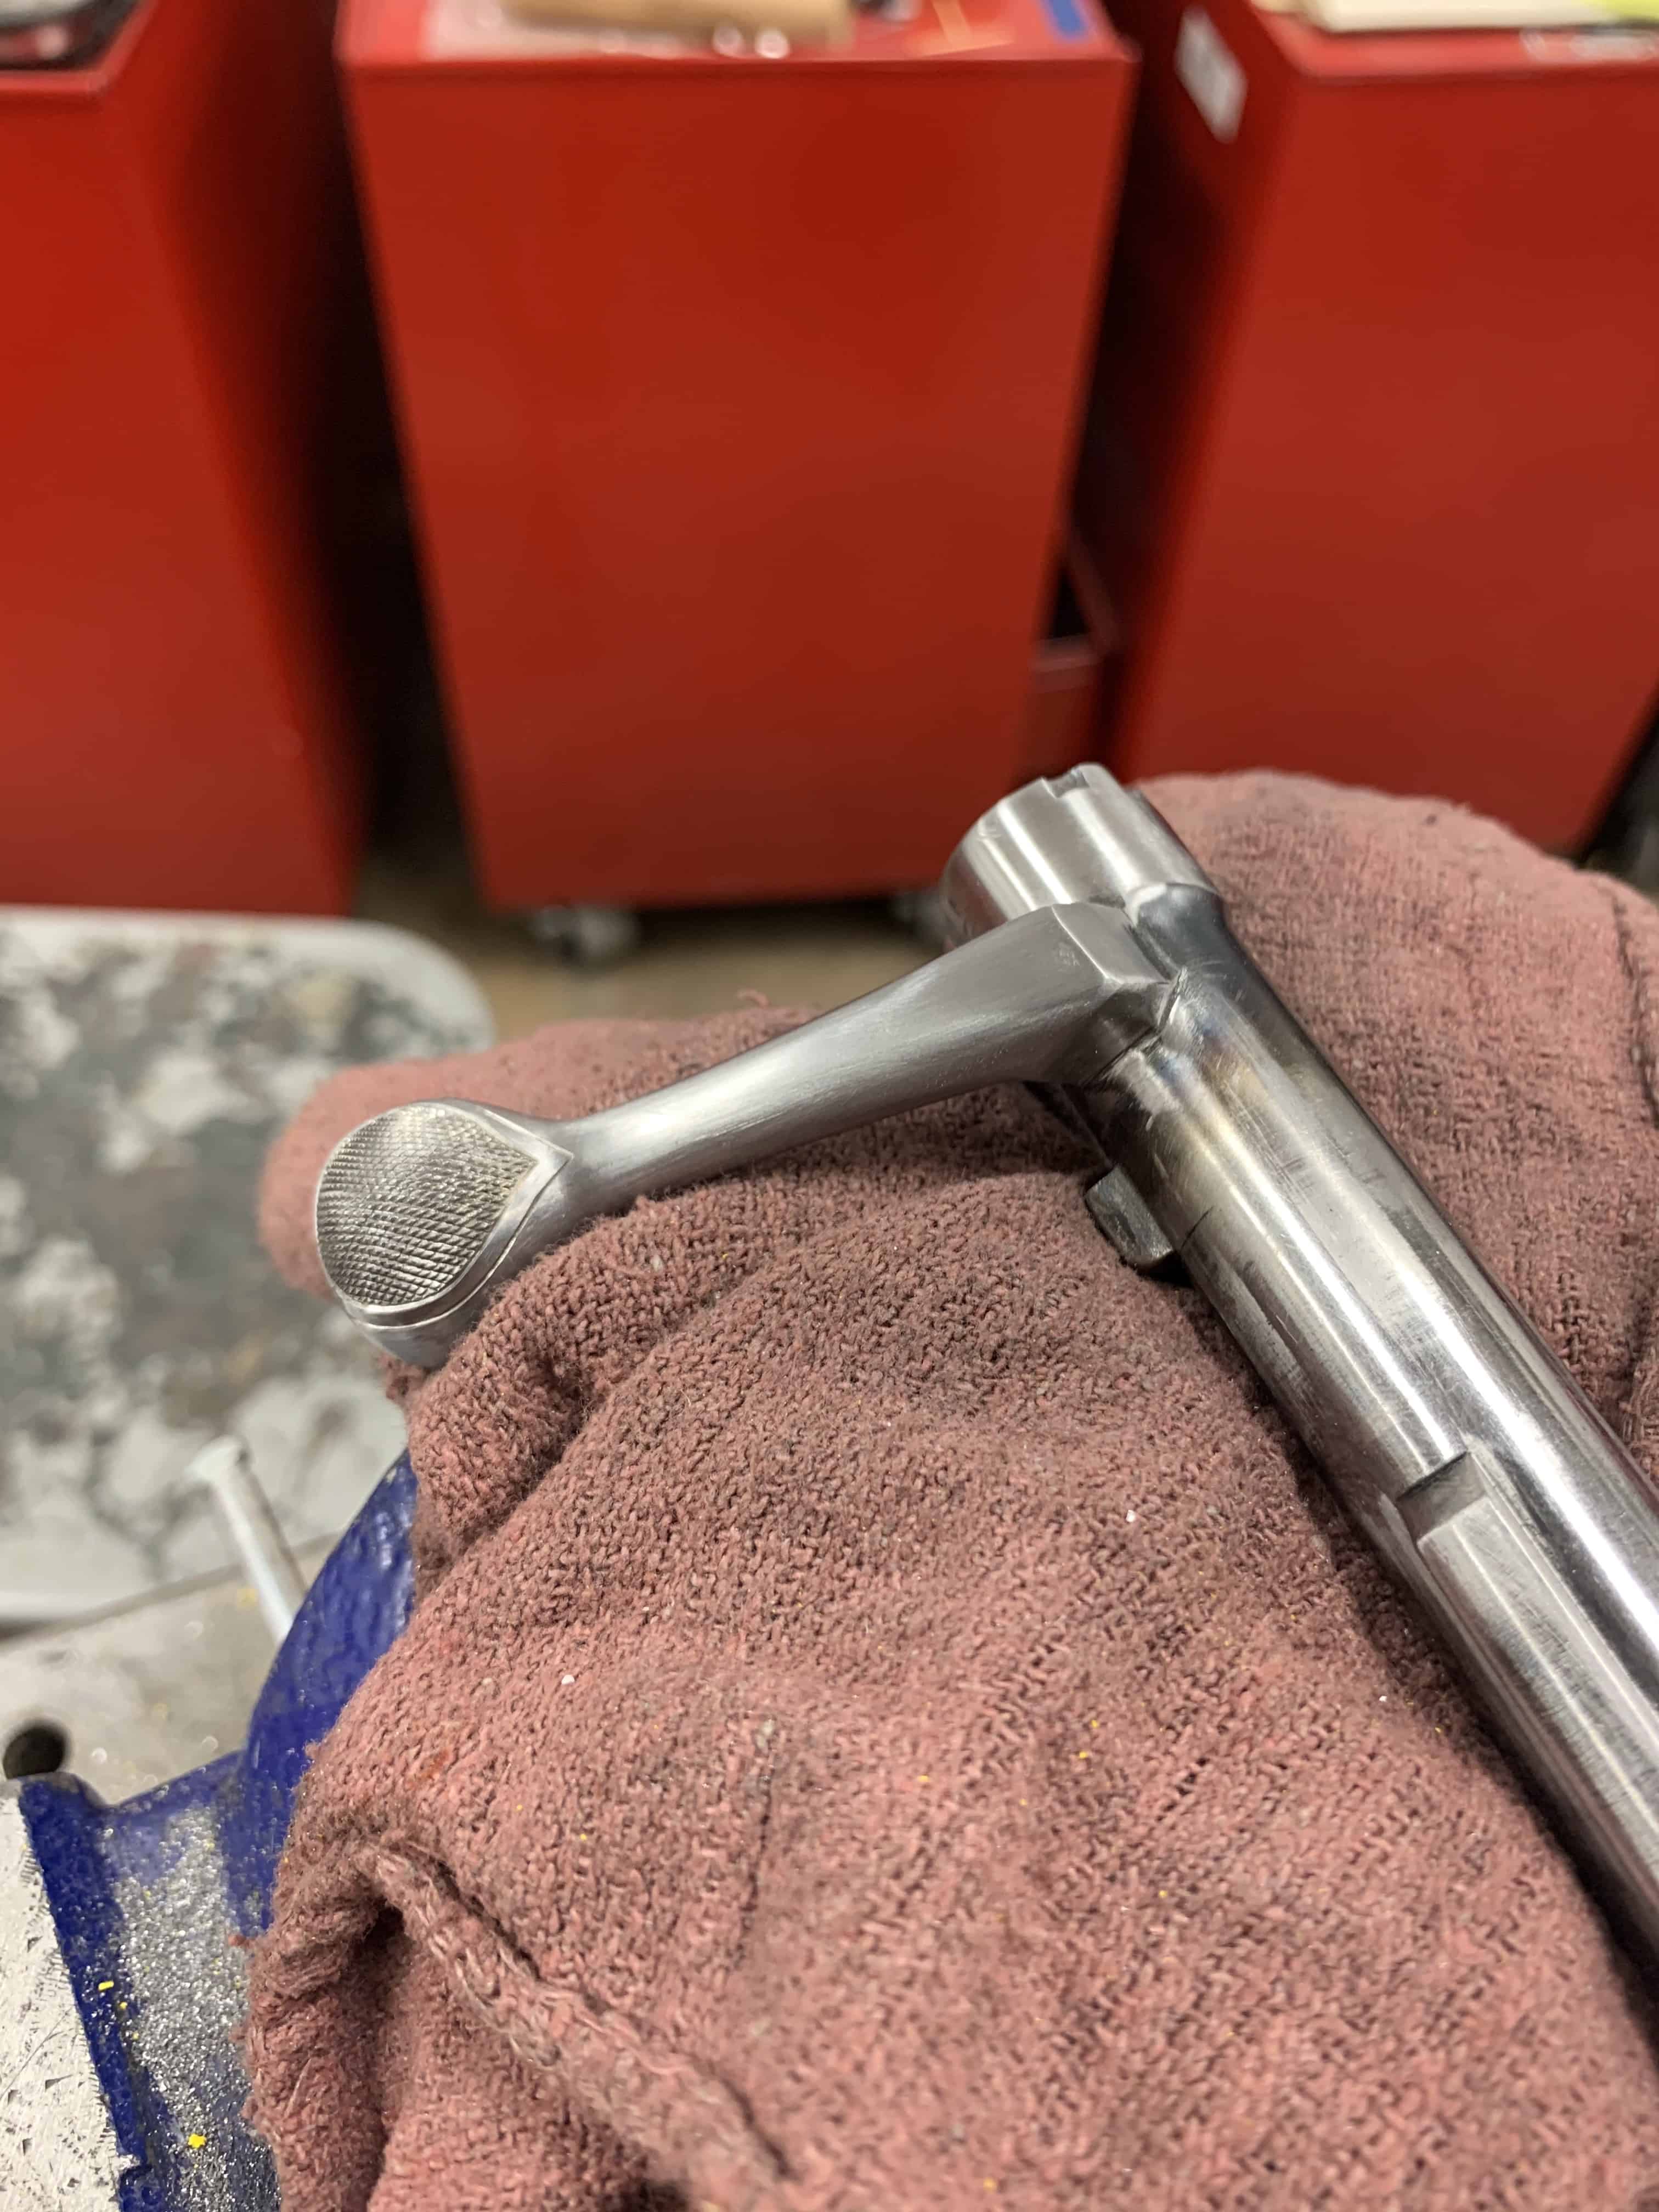
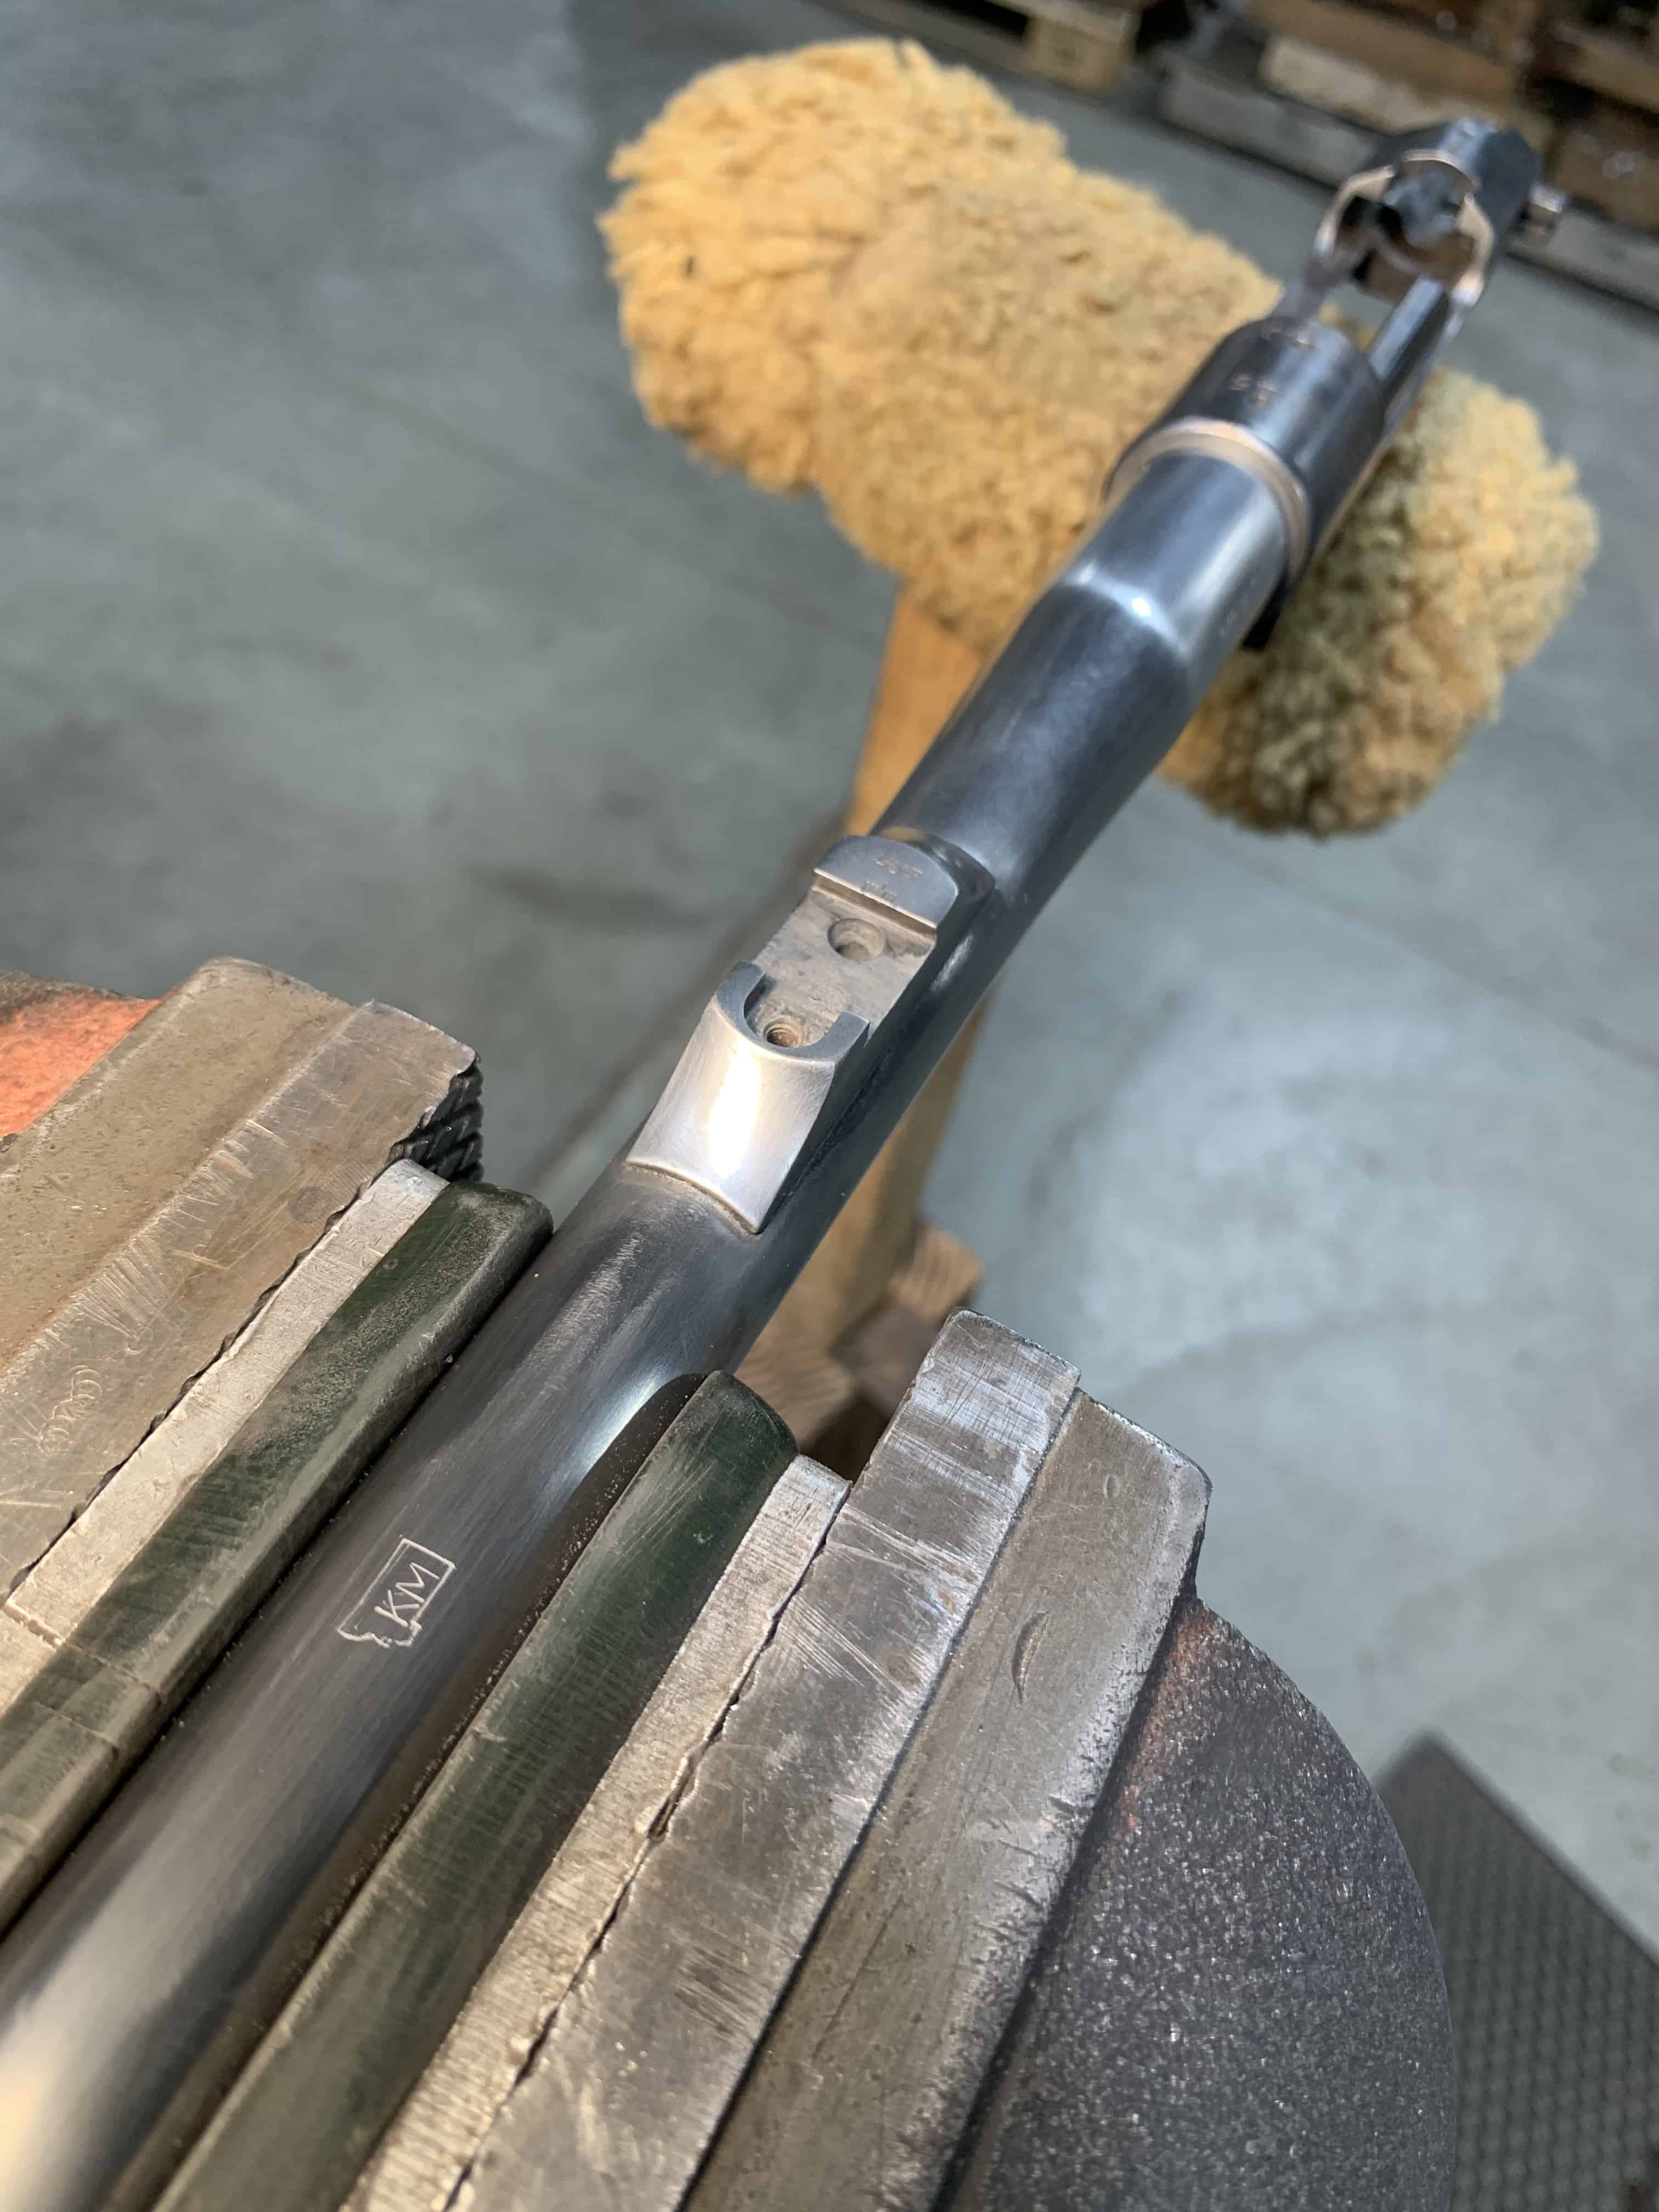
As with all builds, I started with the metalwork. While waiting on the barrel, I knew this would be a good opportunity to get the action cleaned up and sent off to Blanchard’s for heat treatment. I cut and rewelded the bolt handle as it was too long the way it came. I welded a few small spots to touch up where a tang sight had been drilled and plugged on the back of the receiver and reprofiled the tang. Next, I lapped the bolt lugs to ensure I had good contact with the receiver and faced off the receiver, truing it up.
I knew I wanted a Pre-64 Model 70 style 3-position safety but wasn’t happy with some of the ones I tried previously. When I came across the Satterlee Arms safety I was really excited as it was just what I wanted. It is machined to have a very similar profile to the original safety that came on the military Mauser. Fitting it was made easy with the use of a milling machine.
I measured the existing screw holes and was happy to find that Talley had bases that would fit it perfectly. I had to do minimal work when leveling the scope bases.
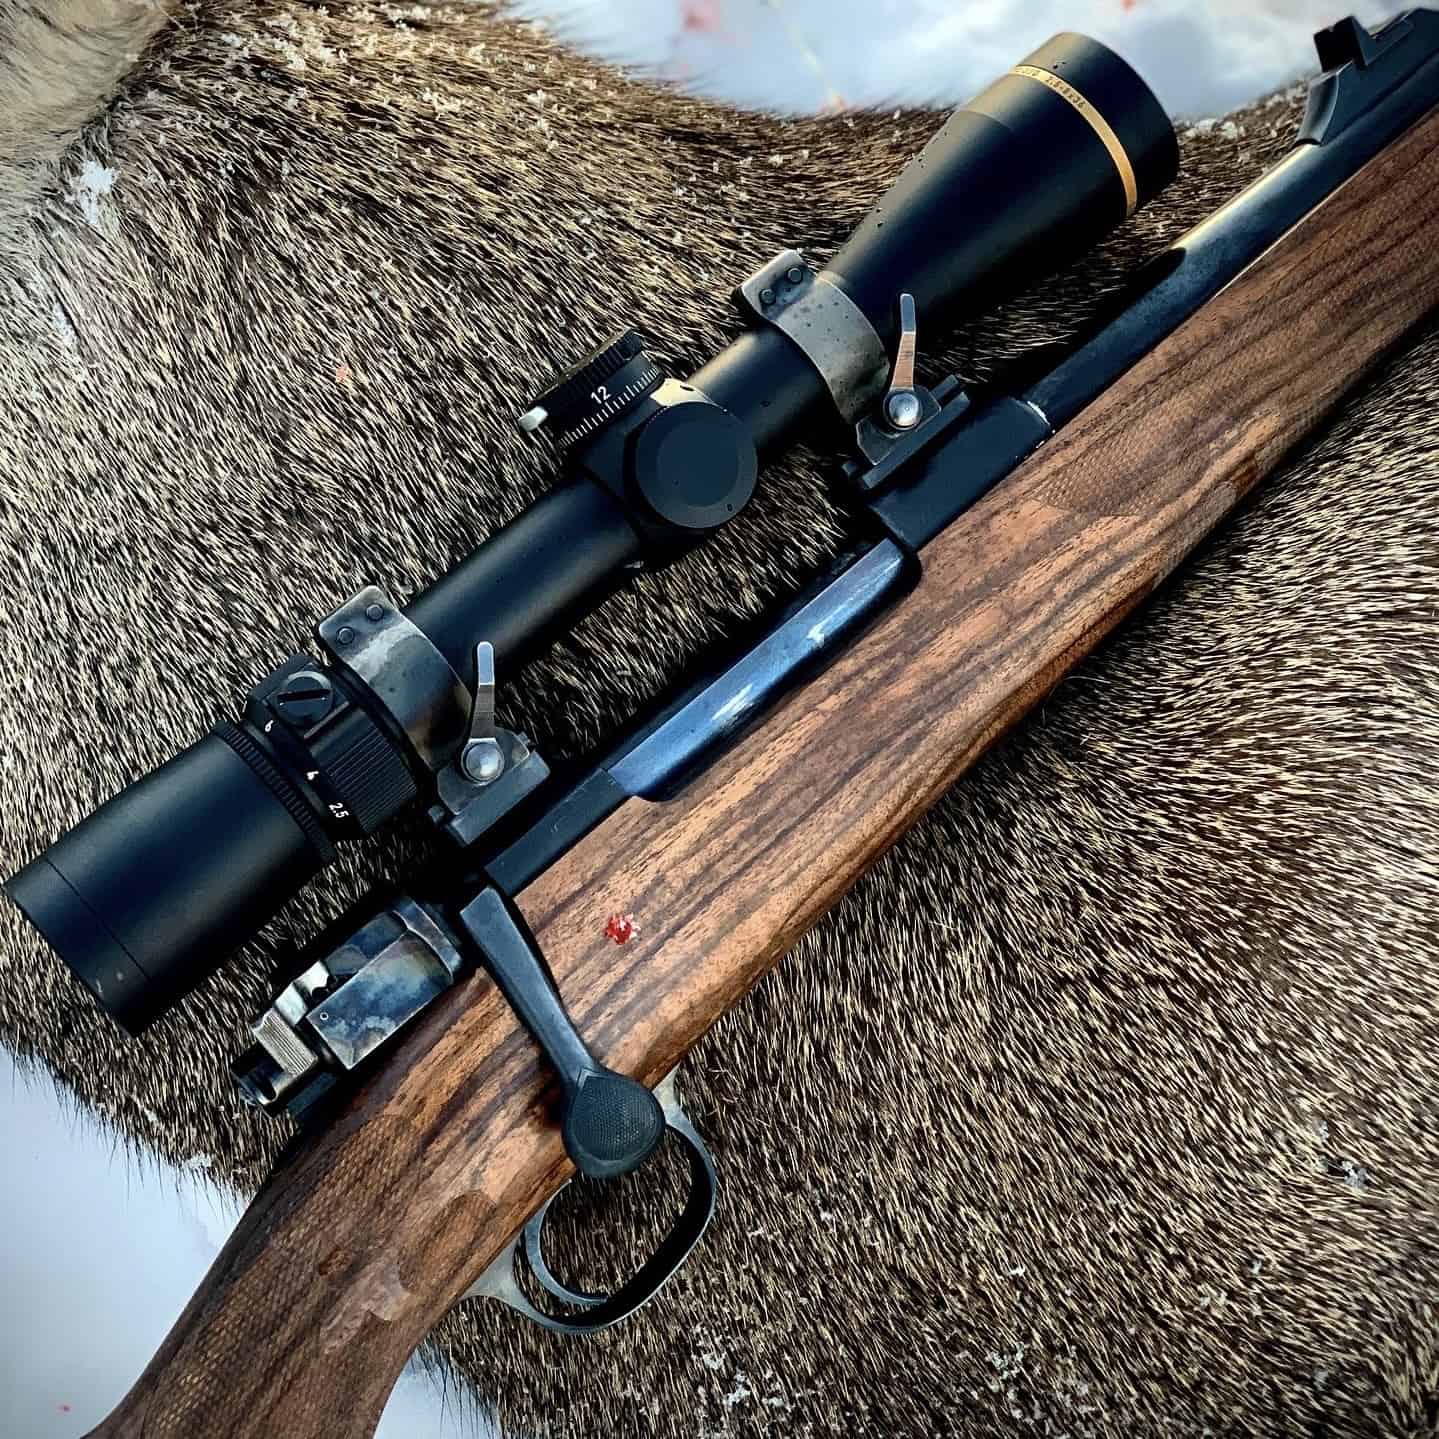
Once the barrel arrived, I threaded and chambered it for the 270 Winchester. I turned a section of the barrel down to allow for a soldered-on banded sling swivel and banded front sight. Lastly, I soldered on a rear sight ramp to accommodate a two-leaf express sight. All from New England Custom Gun.
For the trigger guard, I used a surplus Krag Jorgenson trigger guard that was in pretty rough shape. I reprofiled it and milled it out to fit the Canjar trigger I was using. For the forward action screw, I machined a pillar that served a dual purpose as the escutcheon.
Stockwork
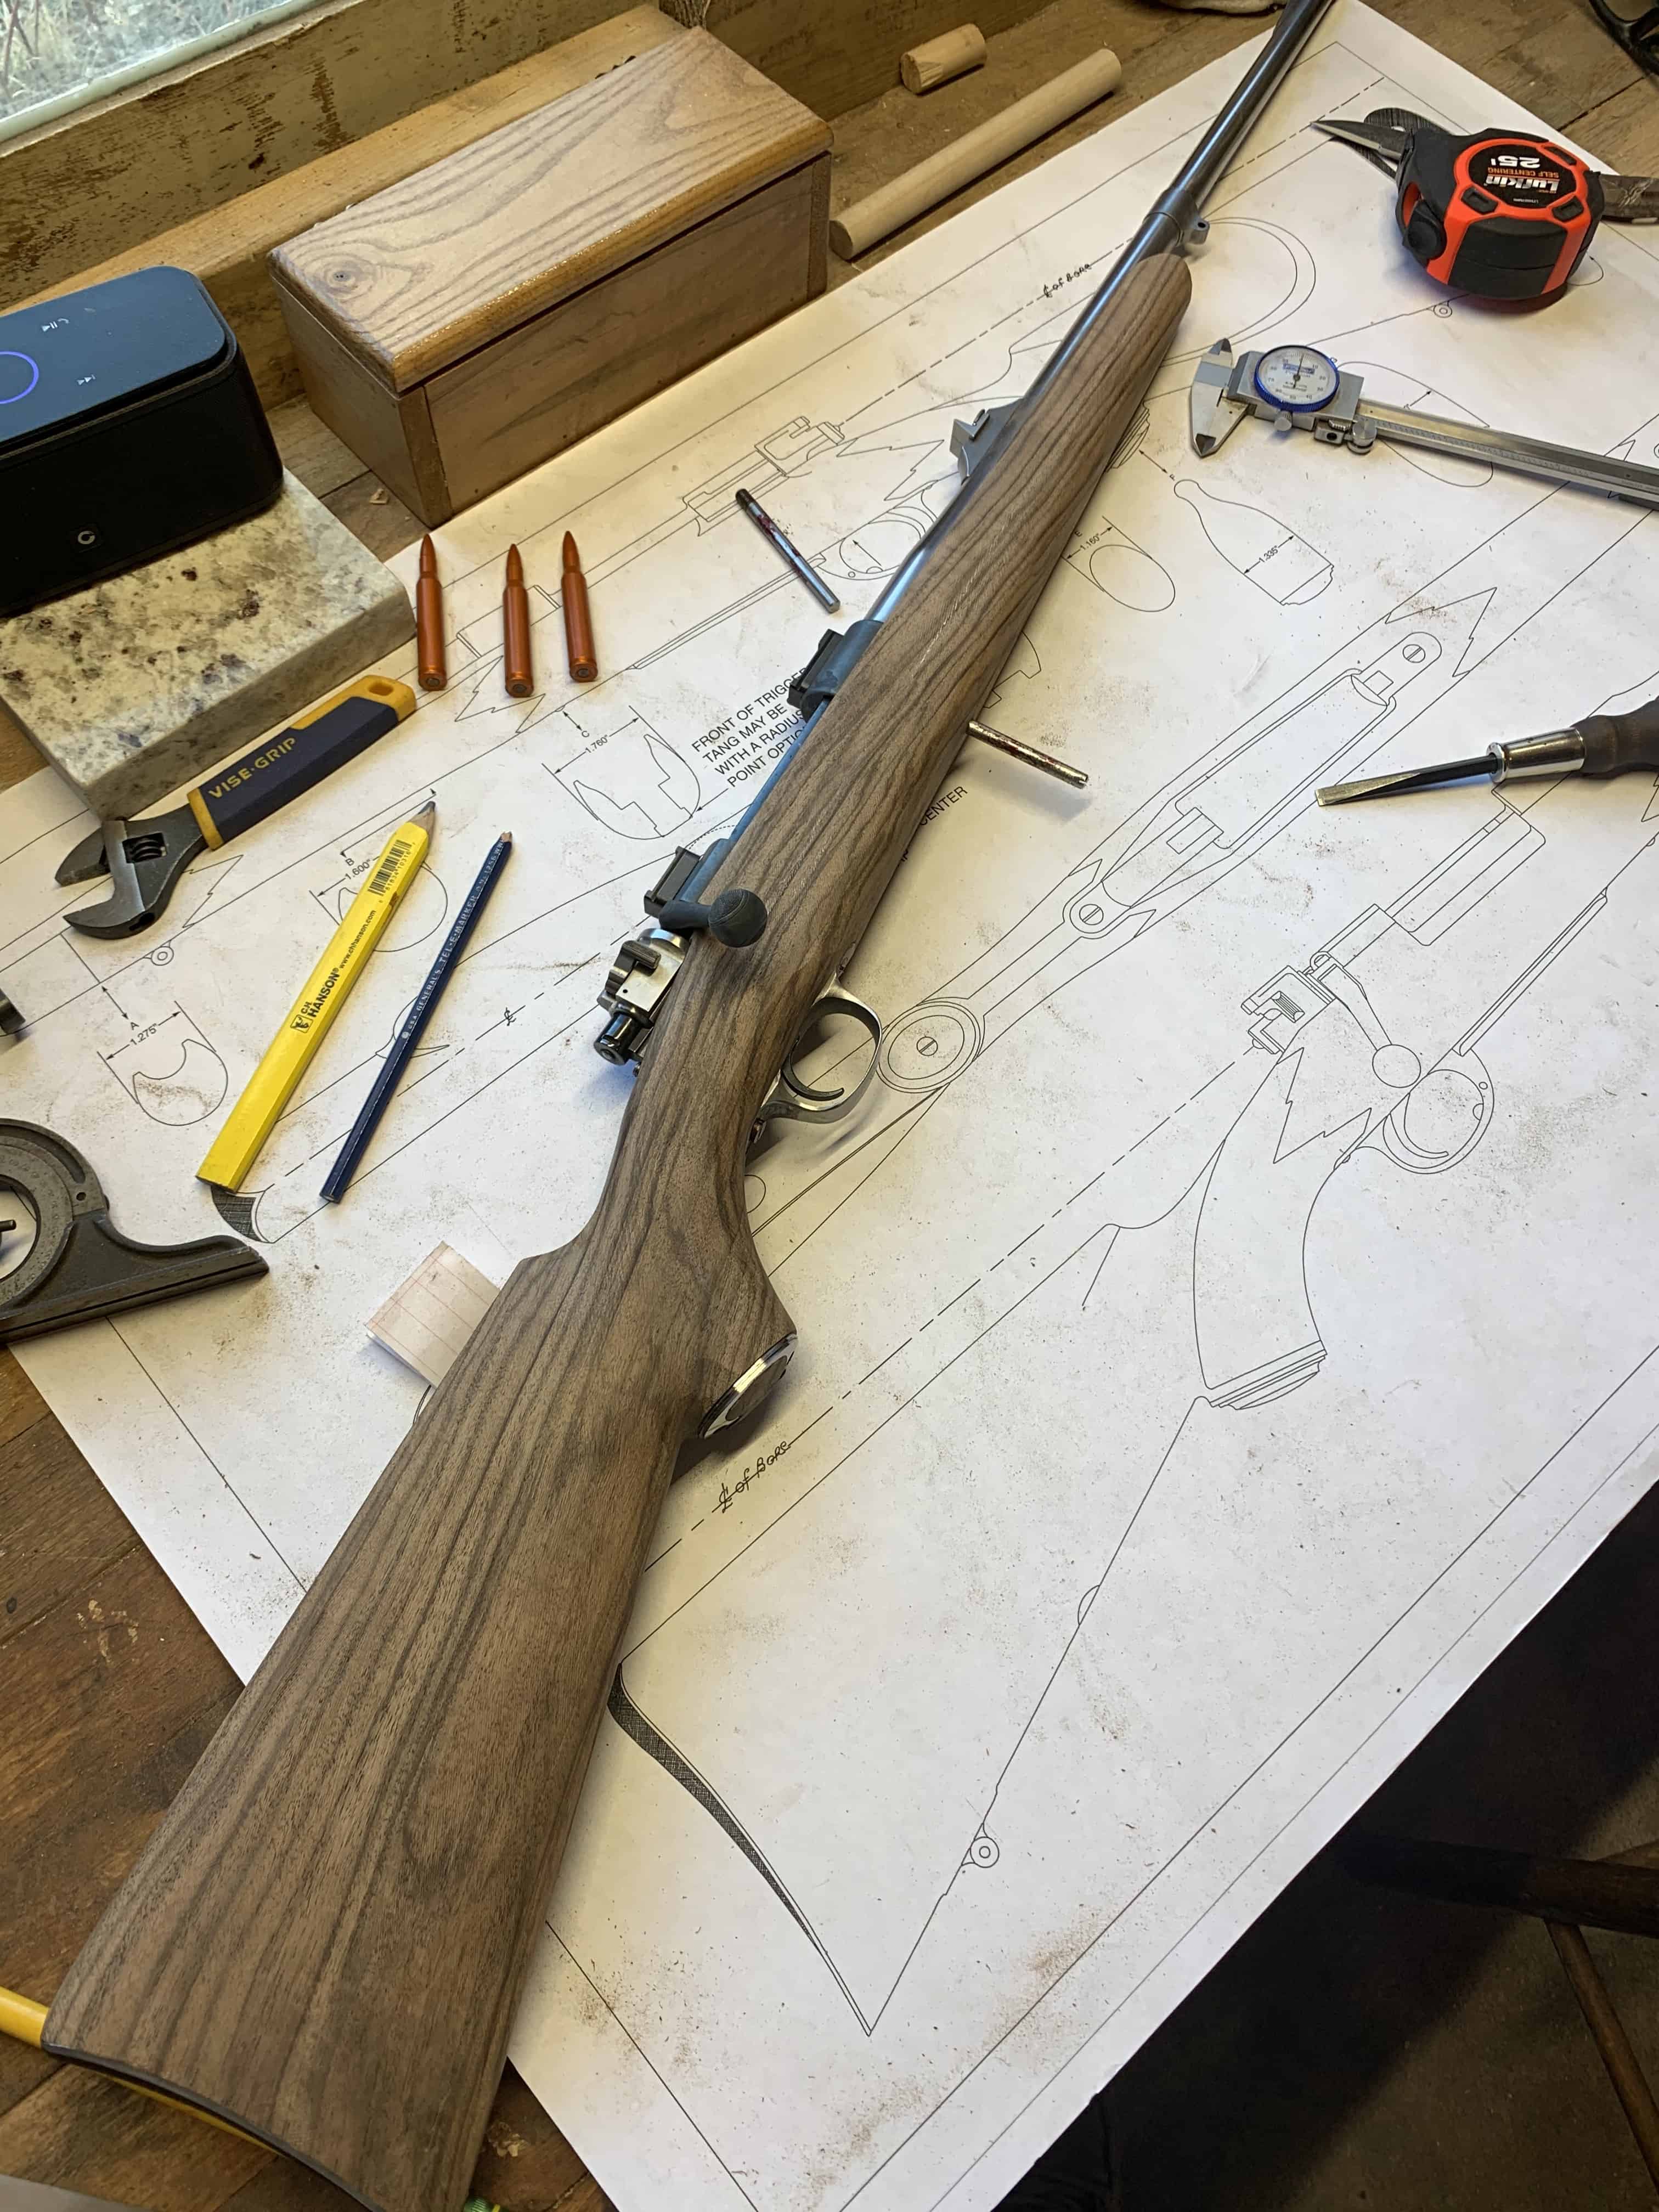
I sourced a blank of AAA-grade French walnut from Cali’co Hardwoods and started with the inlet. I mapped it out and hogged material away with the mill, giving me a good starting point. Once the barrel and action were inlet, I cut the rough profile out on the bandsaw. I went with a blind magazine to save weight.
This is where my first problems started. As soon as I cut the section under the forearm out, the forearm area twisted. Getting rid of my near-perfect inlet and applying pressure on one side of the barrel. I had to set the action into the stock further to account for this twist. The next stock that I do from a blank will be roughed out and allowed to sit for a few weeks prior to any inletting.
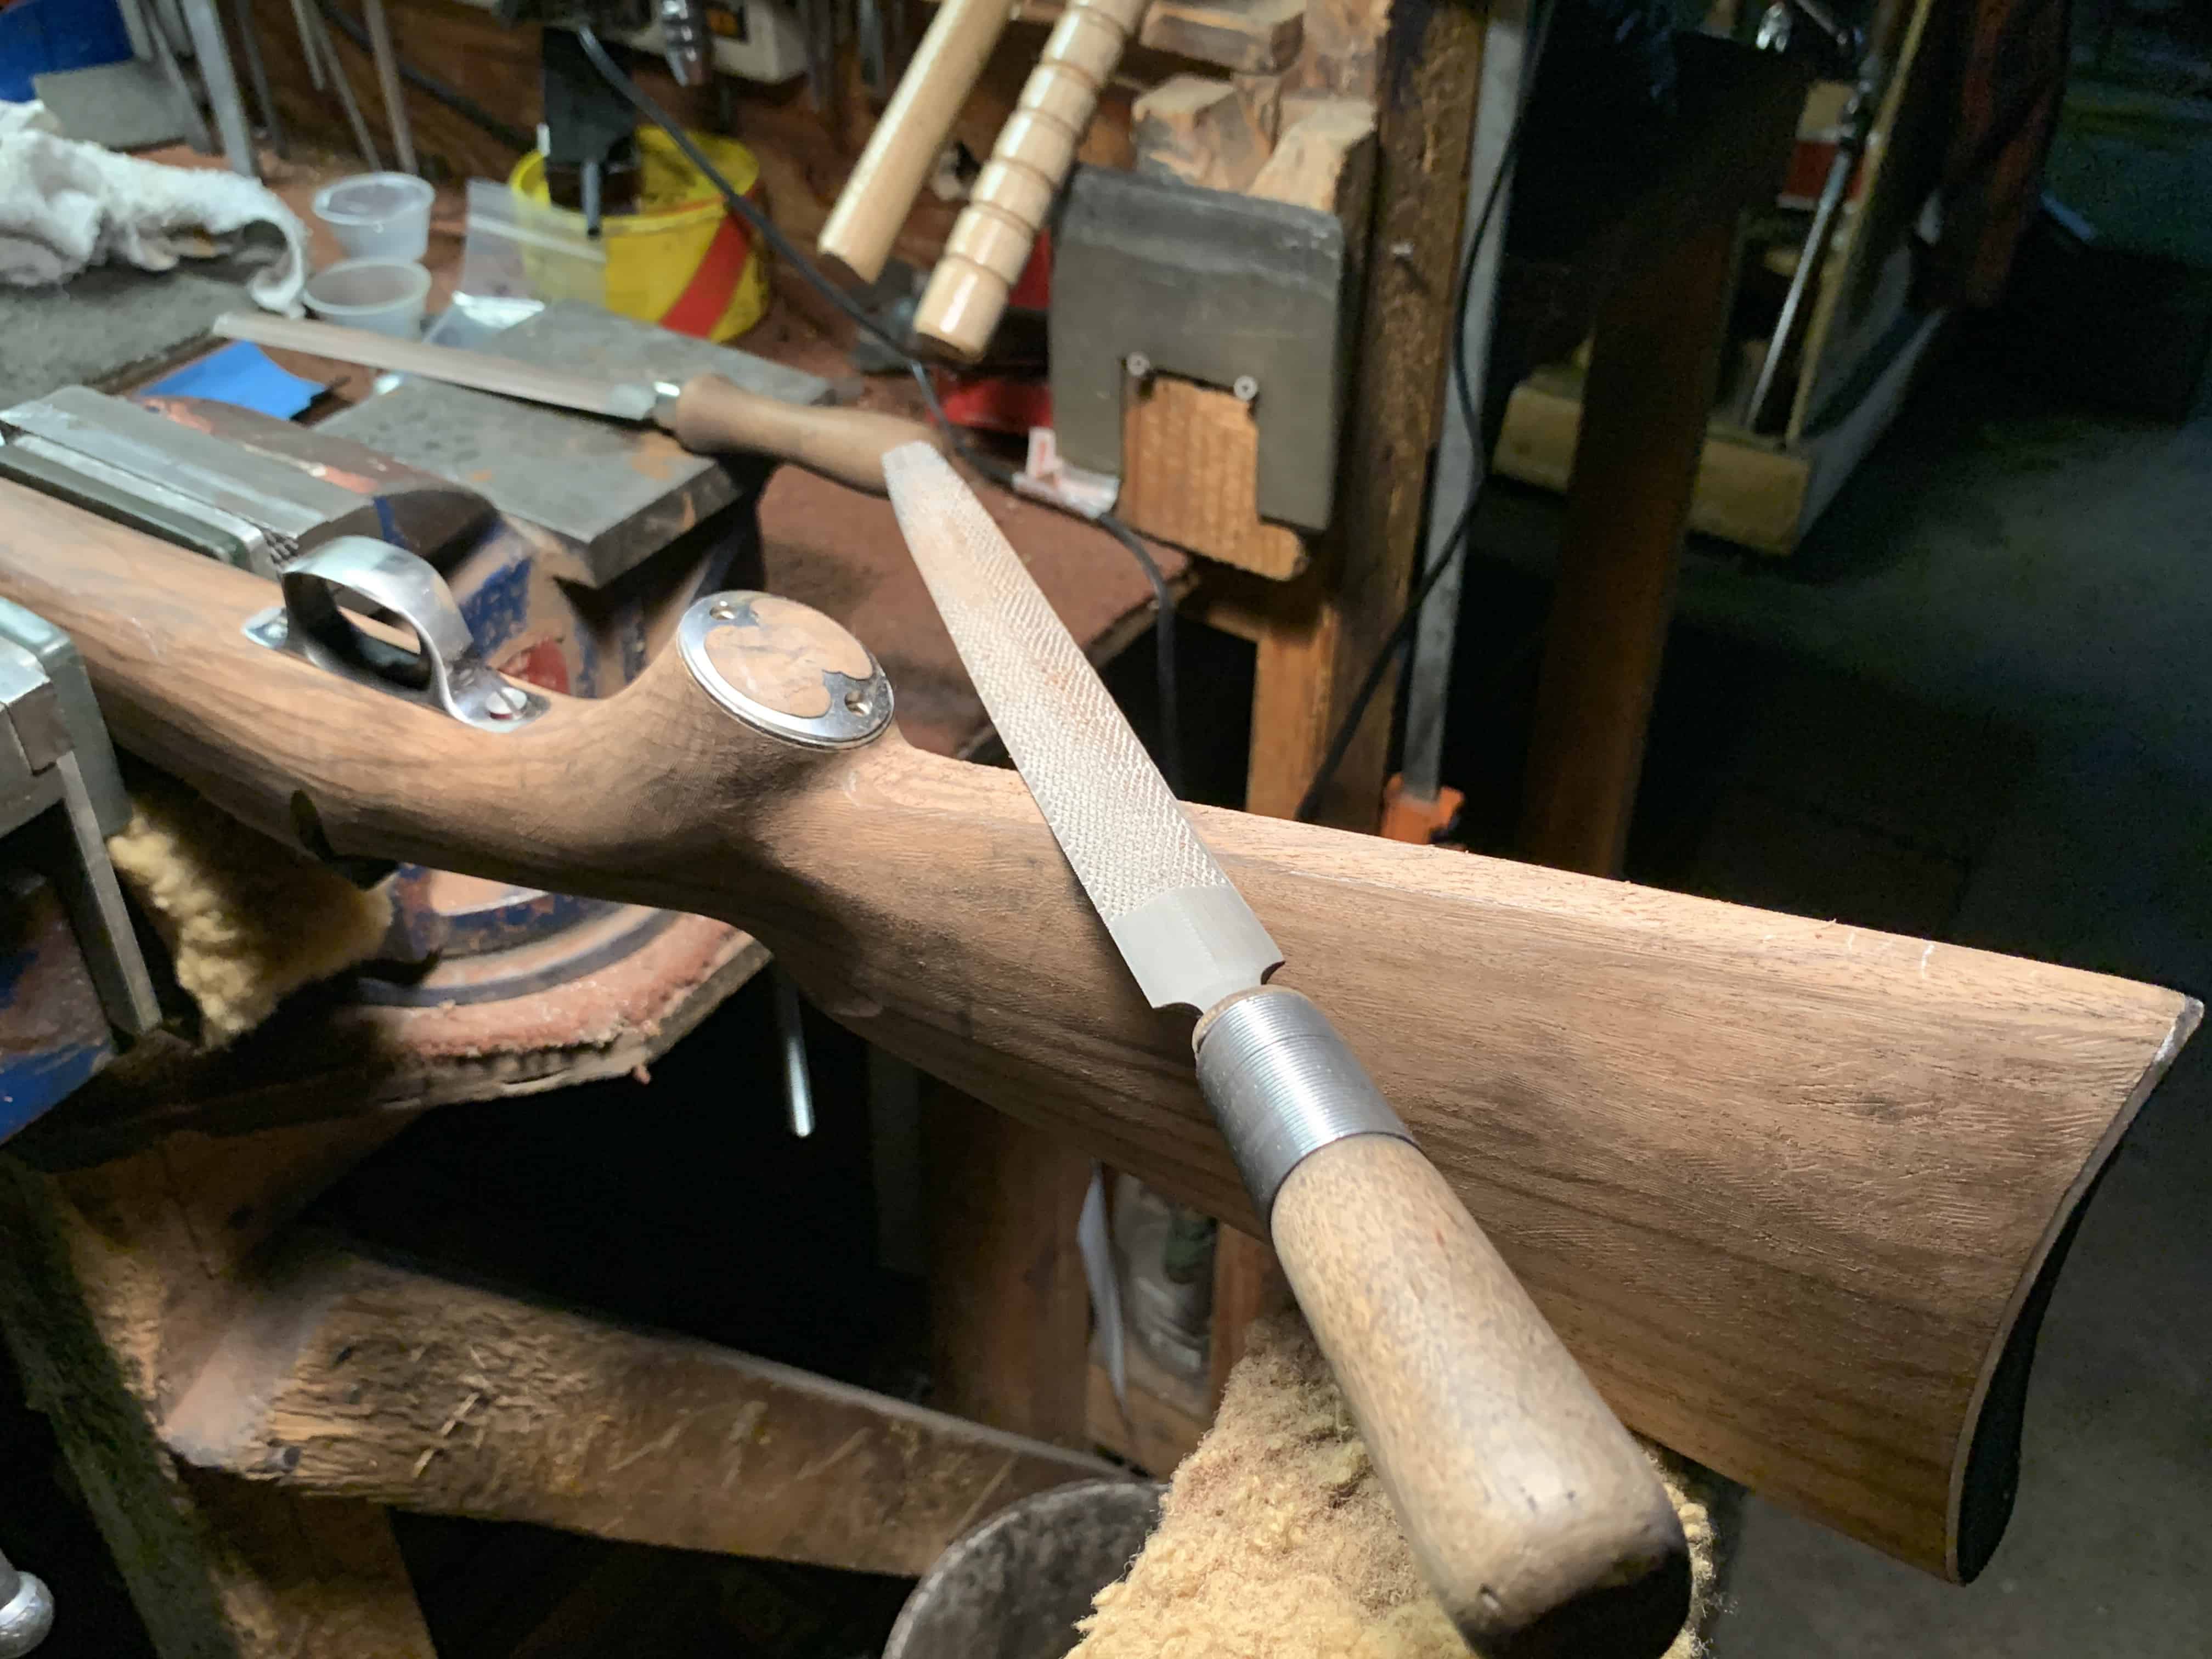
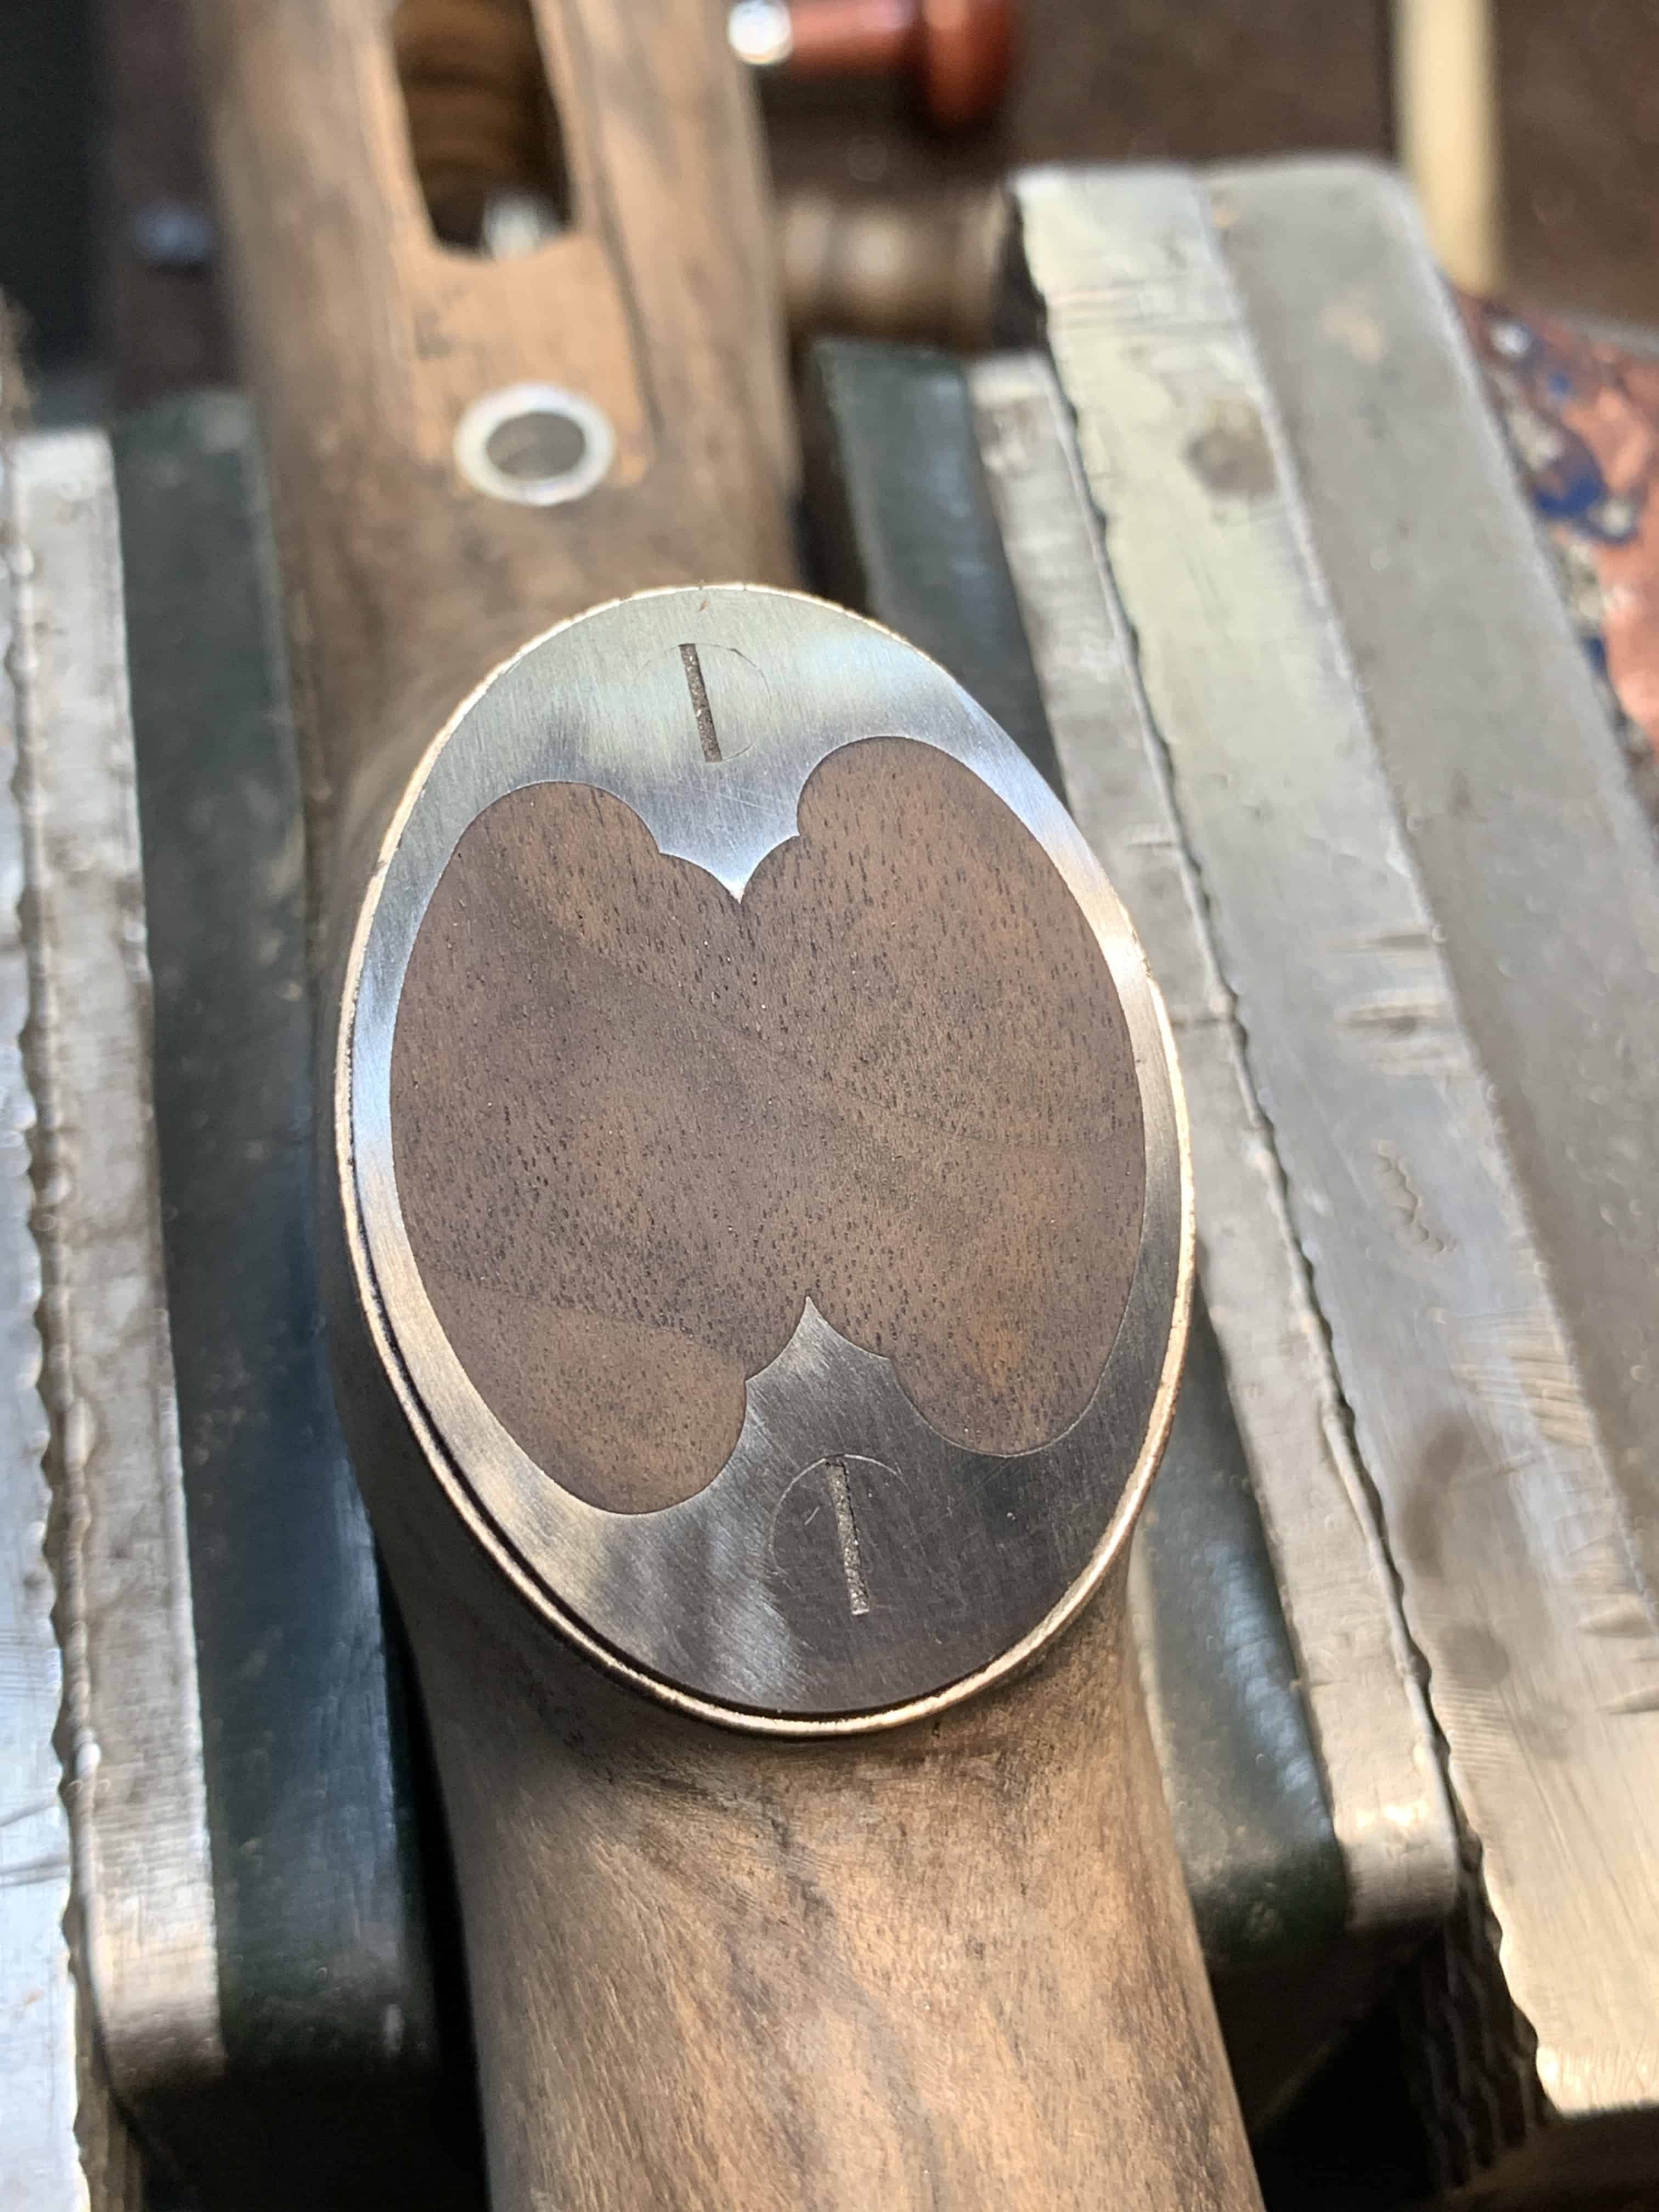
I was able to correct this and continued with the project. I followed many of the dimensions of the Jerry Fisher American Classic Model 98 design, adjusting it here and there to fit my needs. With a goal of keeping this a no-frills type of rifle, I did not put a cheekpiece or ebony forend tip on it. However, I did put on a skeletonized grip cap. This saved minimal weight, but to be honest, I just wanted to try doing one and am glad I did. I used a Sunny hill checkered steel buttplate for both durability and weight savings.
I filed the grip with a very slight, almost unnoticeable palm swell to fit my hand perfectly. This gives me a consistent grip shot to shot. Lightning cuts were milled under the forearm, and a large hole was bored in the buttstock to save weight. I finished it using Daly’s Ship’n Shore sealer and Daly’s Teak oil. To top it all off, I checkered it at 22 lines per inch with a Fleur-de-lis design on the grip and forend.

Parts Used for my Mountain Rifle
Action – Mauser G33/40
Stock Blank – AAA French Walnut – Cali’co Hardwoods
Barrel – McGowan Precision Barrels
Front Sight Base – Banded Ramp NECG
Front Sight – 5/64″ Silver Bead
Rear Sight Base – Classic Rear Sight Base
Rear Sight – Mini Express Insert
Banded Sling Swivel – NEGC
Grip Cap – Sunny Hill Pointed
3 Position Safety/Bolt Shroud – Satterlee Arms
Buttplate – Sunny Hill Checkered Buttplate
Scope Bases – Talley Bases M96 Mauser
Scope Rings – Quick Detach 1″ Medium Talley Rings
Scope – Leupold VX-3HD 2.5-8×36

Mountain Rifle – Out to the Field
After completing the build, I took it to the range to break in the barrel and was very surprised with the results. With factory ammunition, I was holding half MOA. With my reloads, I was able to hold three shot groups under 0.325″. This would be more than enough for hunting scenarios. In the end, I did not meet my sub-seven-pound weight criteria. The rifle weighs in at 8.2 lbs with a scope. While obviously heavier than I hoped it would be, it balances really well, making it carry light.
I will be hunting with this rifle for years to come, including this fall. I have no doubts that I will be tweaking things here and there to better improve on the build!

Written by: Kurt Martonik
Kurt is a Gunsmith, Reloader, Hunter, and Outdoorsman. He grew up in Elk County, Pennsylvania, where he became obsessed with the world of firearms. Following high school, Kurt enlisted in the United States Air Force as a Boom Operator, where he eventually rose to the position of Instructor. After his military service, he attended the Colorado School of Trades(CST) in Lakewood, CO for gunsmithing. Following graduation, he accepted a job at C. Sharps Arms in Montana, where he worked as a full time stockmaker and gunsmith.