The inletting of a stock is one of its most important features. A good inletting job will set the stock apart from the rest of them. A seamless fit with no gaps is the ultimate goal. Reaching that goal requires in-depth knowledge of the use of every tool on your bench, including your inletting black.
Many of us were taught that you remove all of the spots with the inletting black on them; that could not be further from the truth. In some cases, that is correct, but in others, that can leave you with a poor-fitting stock. So how do you know what to remove?
Affiliate Disclosure: This article may contain affiliate links. When you use these links, I earn a small commission from each sale generated at no cost to you. This commission helps me continue to put out free content. I work a full-time job that I am very happy with; therefore, I don’t need this commission and am not obligated to speak highly of any product. Everything written is my own opinion: the good, the bad, and the ugly.
What is Inletting Black?
Inletting black is something you apply to the metal parts that you are inletting to show the high spots that need to be removed. There are recipes out there to make your own inletting black, but it seems unnecessary for the cost of a new jar. I use Jerrow’s Inletting Black and have found no reason to switch away from it. A small jar costs about $15, and my last two have lasted over 30 stocks each. There are many alternatives out there, such as lamp blackening, lipstick, or Prussian blue, but I find this to be the easiest and most efficient way of doing it.
Inletting Black Application
Applying your inletting black is the first step when inletting a stock. The amount you apply to the metal is extremely important and can dictate your end result. If you apply too much, you will get false readings and inevitably have gaps. Apply too little, and you won’t get an accurate reading of the spots you need to scrape away. So what is the right amount?
7 Essential Tools For the Beginner Stockmaker
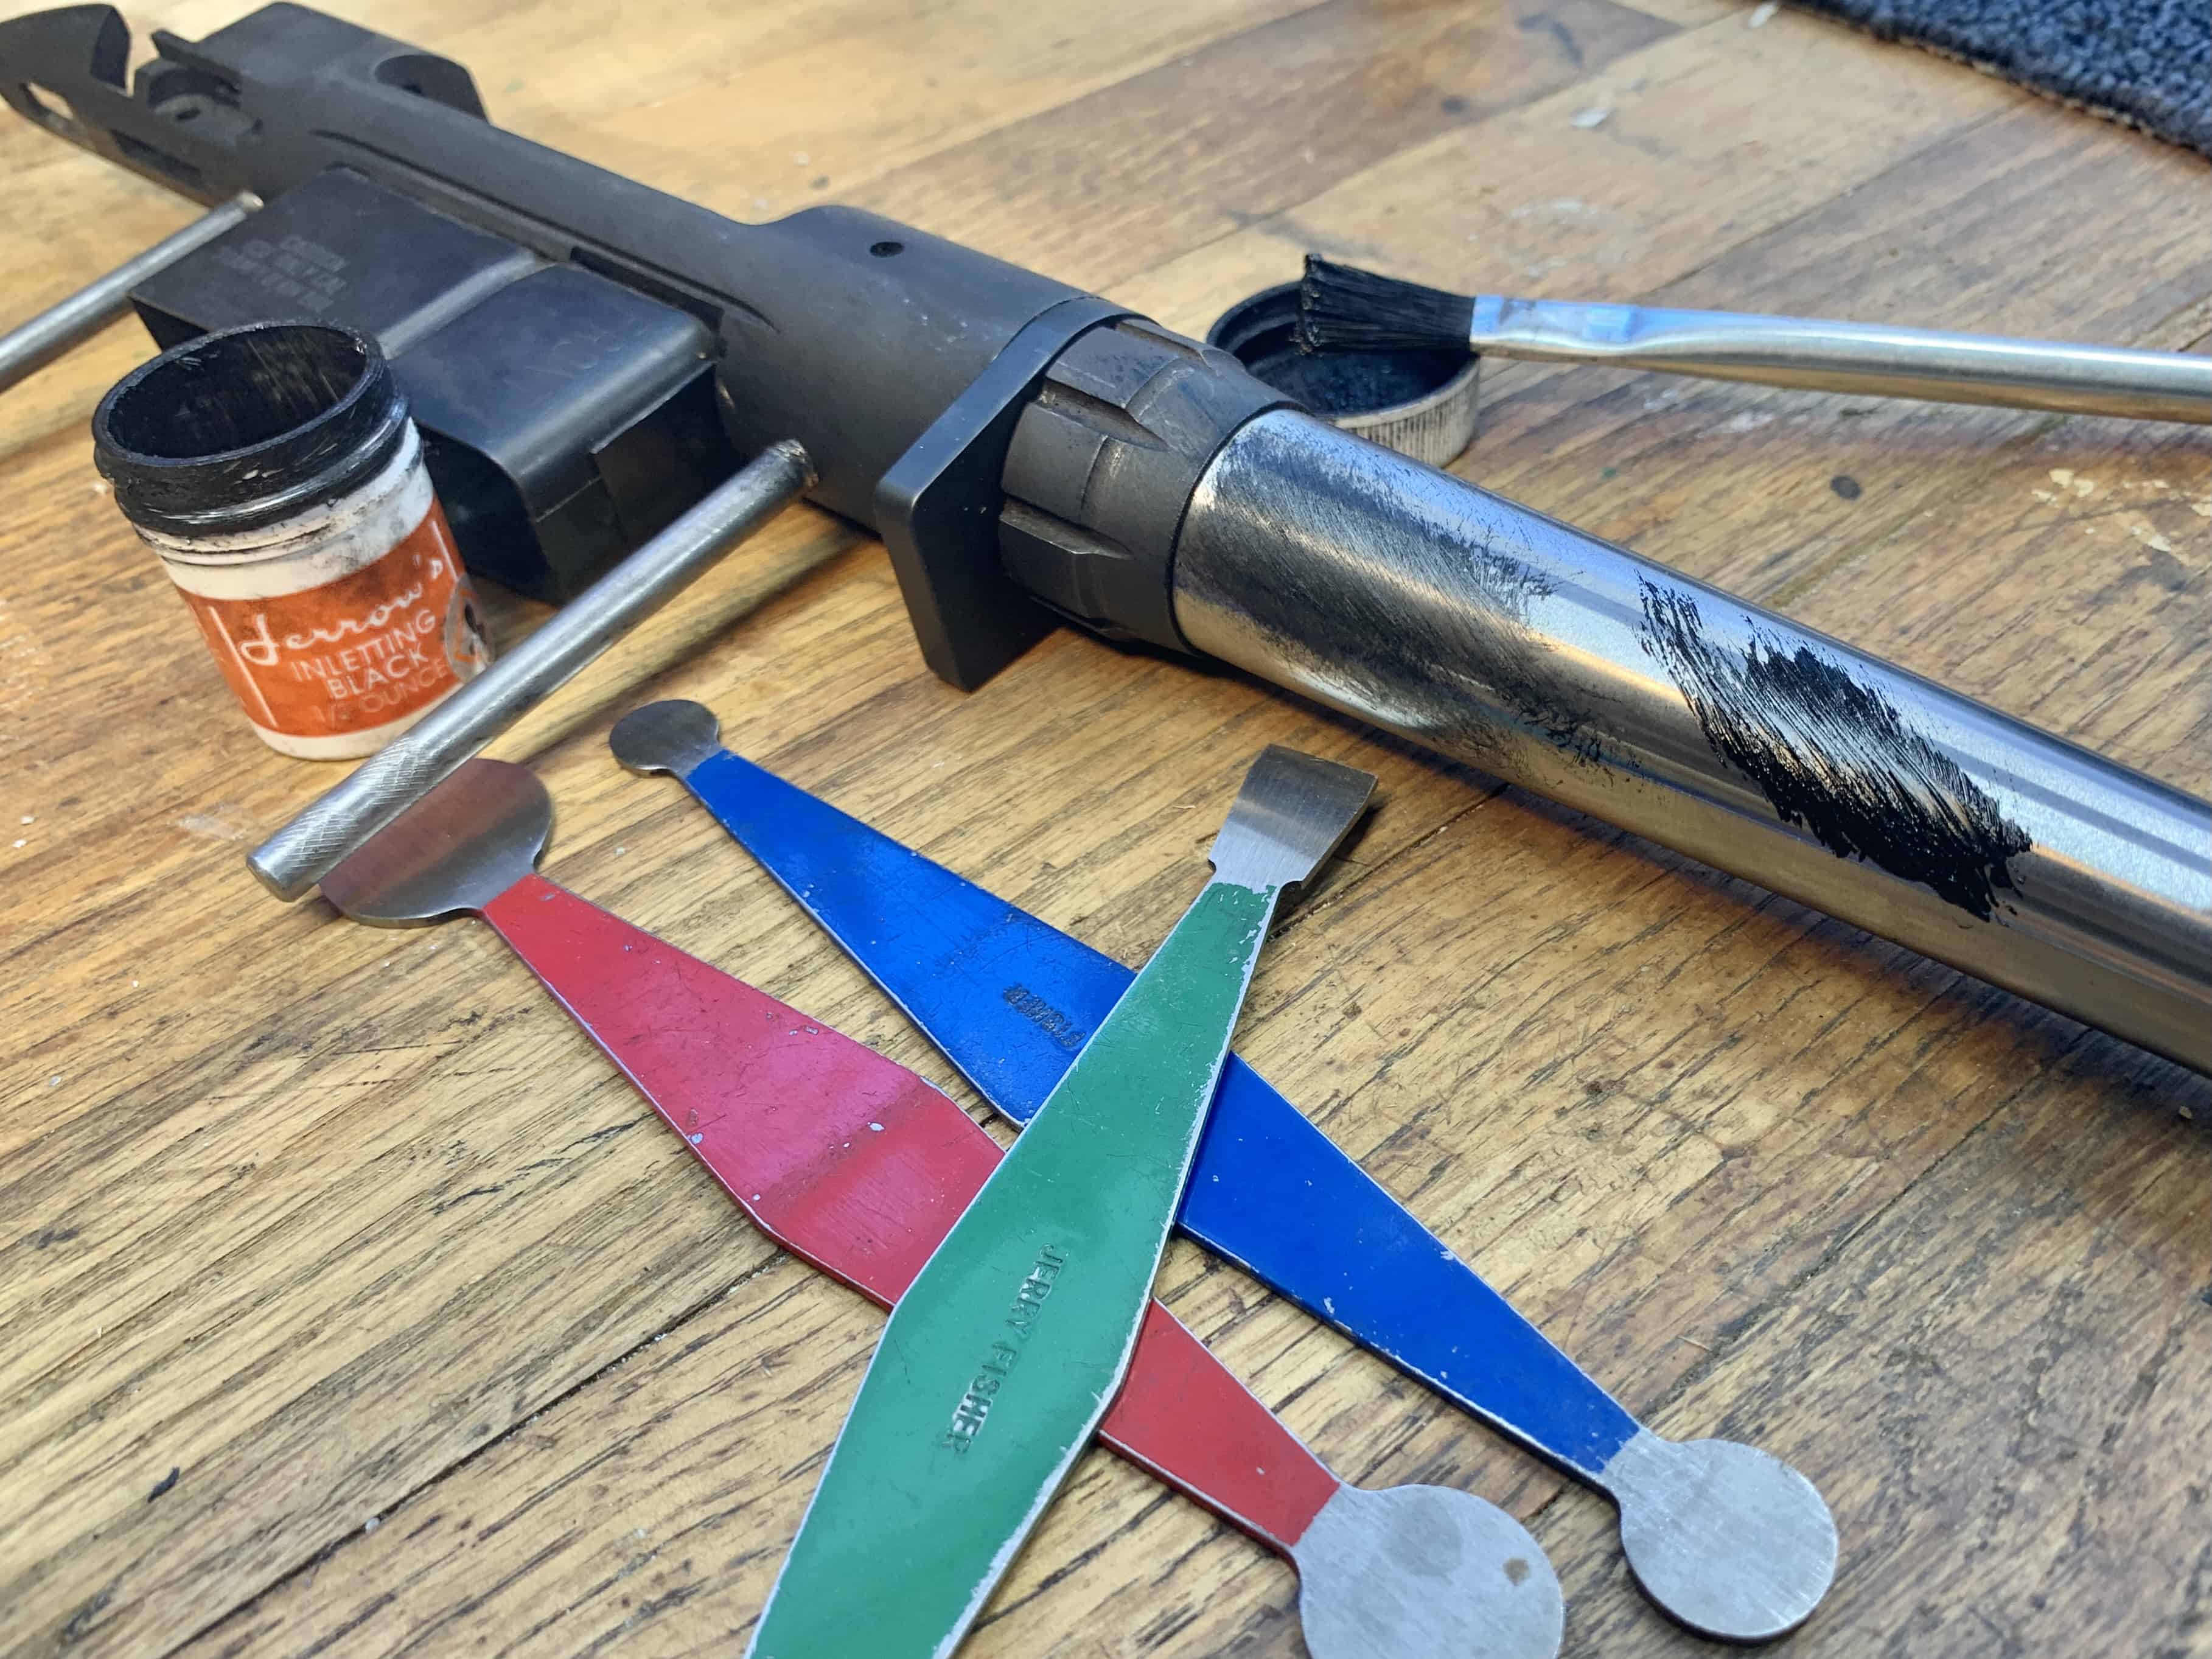
Using an acid brush or small paintbrush, lightly apply the inletting black to the metal. There should be no build-ups of the inletting black on any parts; if it is glossy, that is usually too much. The picture above is a great example of a side-by-side comparison of right and wrong. The left spot of inletting black is the perfect amount and will give you an accurate transfer of it. The spot on the right is too much. Using this amount will give you false marks and make it nearly impossible to achieve that perfect fit.

Hammer Time
The hammer you use for inletting will affect your end result. Plain and simple. I use a combination of a dead-blow rubber-faced hammer and a lightweight plastic hammer. I start with the rubber-faced dead blow and use it until I have near full contact. If using a dead blow like this, you need to be sure to hit it very, very lightly. If you hit it too hard, you can crack the stock. The dead blow will make some things, like shotgun-style metal buttplates, flex and give you false readings.
Use coupon code KTG10 to get 10% off your order of $150 or more at Brownells.
Once you show that you have near full contact, switch to a lighter hammer. Do one light tap and remove the high spots. Switching to a lighter hammer toward the end has improved my inletting considerably. It eliminates any flex or bounce in the metal and shows you exactly where you hit.
Receiver Tangs
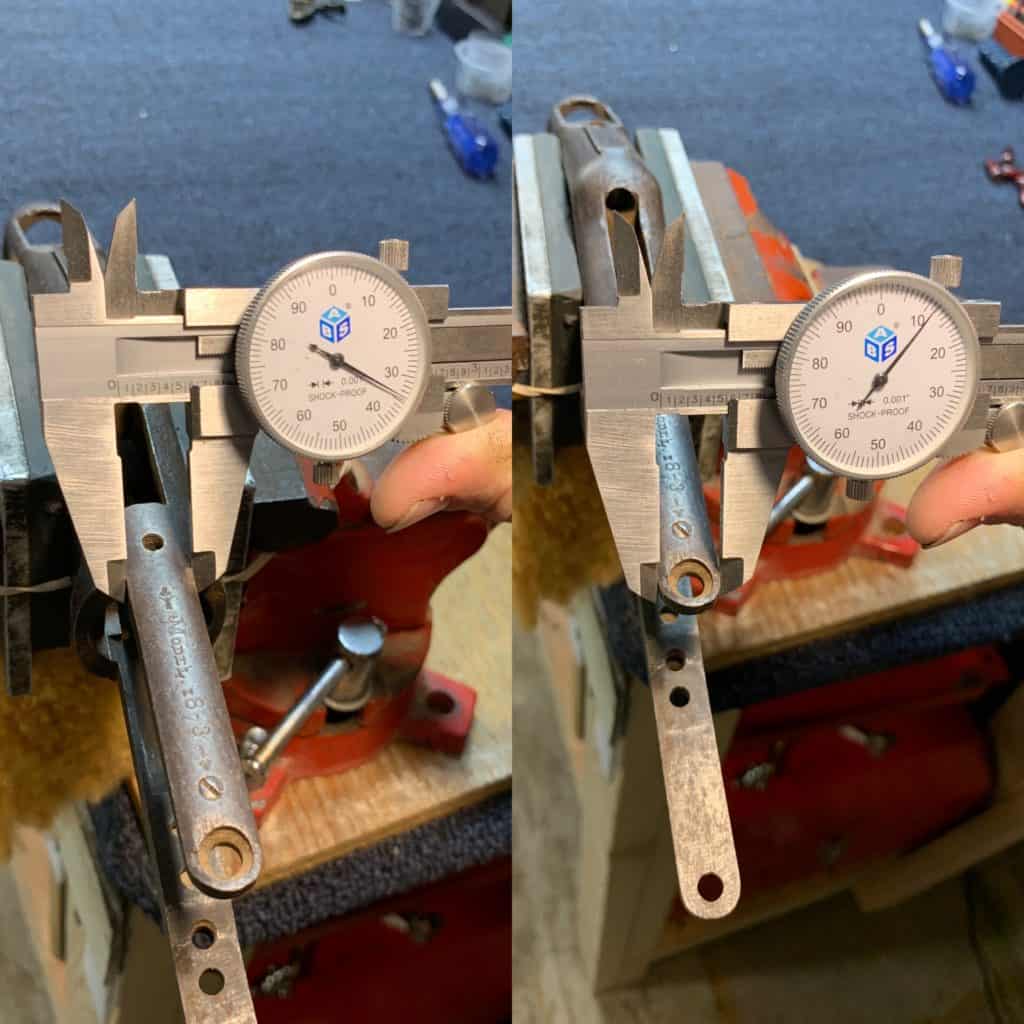
When inletting a two-piece stock with receiver tangs, start by taking some measurements with a set of calipers. One where the tang meets the receiver and one towards the tail end. These measurements will tell you if the tangs are parallel or tapered. The image above is a good example; knowing this will tell you how to read your inletting black.
Parallel Tangs
This is where your experience really comes into play. If your receiver tang is parallel, you need to ignore some of the inletting black impressions at a certain point. This can be a very fine line. For example, if you have a receiver tang inlet halfway back, you should ignore the inletting black on the side of that channel up until that point unless it is flexing the wood or hard to push back to that point. A receiver should slide in and out pretty easily with minimum effort.
Tapered Tangs
In the same instance as above, if the receiver tangs are tapered, you must continue removing the black until it is completely back in its place. However, scraping off both sides means you are removing twice the amount of material. This can create gaps in your inletting very quickly.
Don’t Trust It
Lastly, don’t trust it. You can’t put all of your trust in the inletting black to achieve that perfect inlet. You must constantly check the fit visually each time that piece goes into the stock. Using a 0.0015″ feeler gauge can help you identify those areas that give you false impressions. If you can fit that feeler gauge between the wood and metal, you should not scrape there, even if it is blackened.

Written by: Kurt Martonik
Kurt is a Gunsmith, Reloader, Hunter, and Outdoorsman. He grew up in Elk County, Pennsylvania, where he became obsessed with the world of firearms. Following high school, Kurt enlisted in the United States Air Force as a Boom Operator, where he eventually rose to the position of Instructor. After his military service, he attended the Colorado School of Trades(CST) in Lakewood, CO for gunsmithing. Following graduation, he accepted a job at C. Sharps Arms in Montana, where he worked as a full time stockmaker and gunsmith.
Are you using zero power tools?
This article was mostly referring to working from a semi-inlet, in which I typically don’t use power tools. When working from a full blank I will use a mill to hog away a good portion. However, I’m still usually left with a little more work than a semi-inlet at that point.
Question: when you are finished and have gotten a perfect fit of metal to wood, there will be inletting black left in the “inletting” on the wood. How do you clean the Black off the wood? What solvents or techniques
Lynn, I leave it on there. Since it is inside and doesn’t affect the function or appearance I personally don’t have a problem with it.