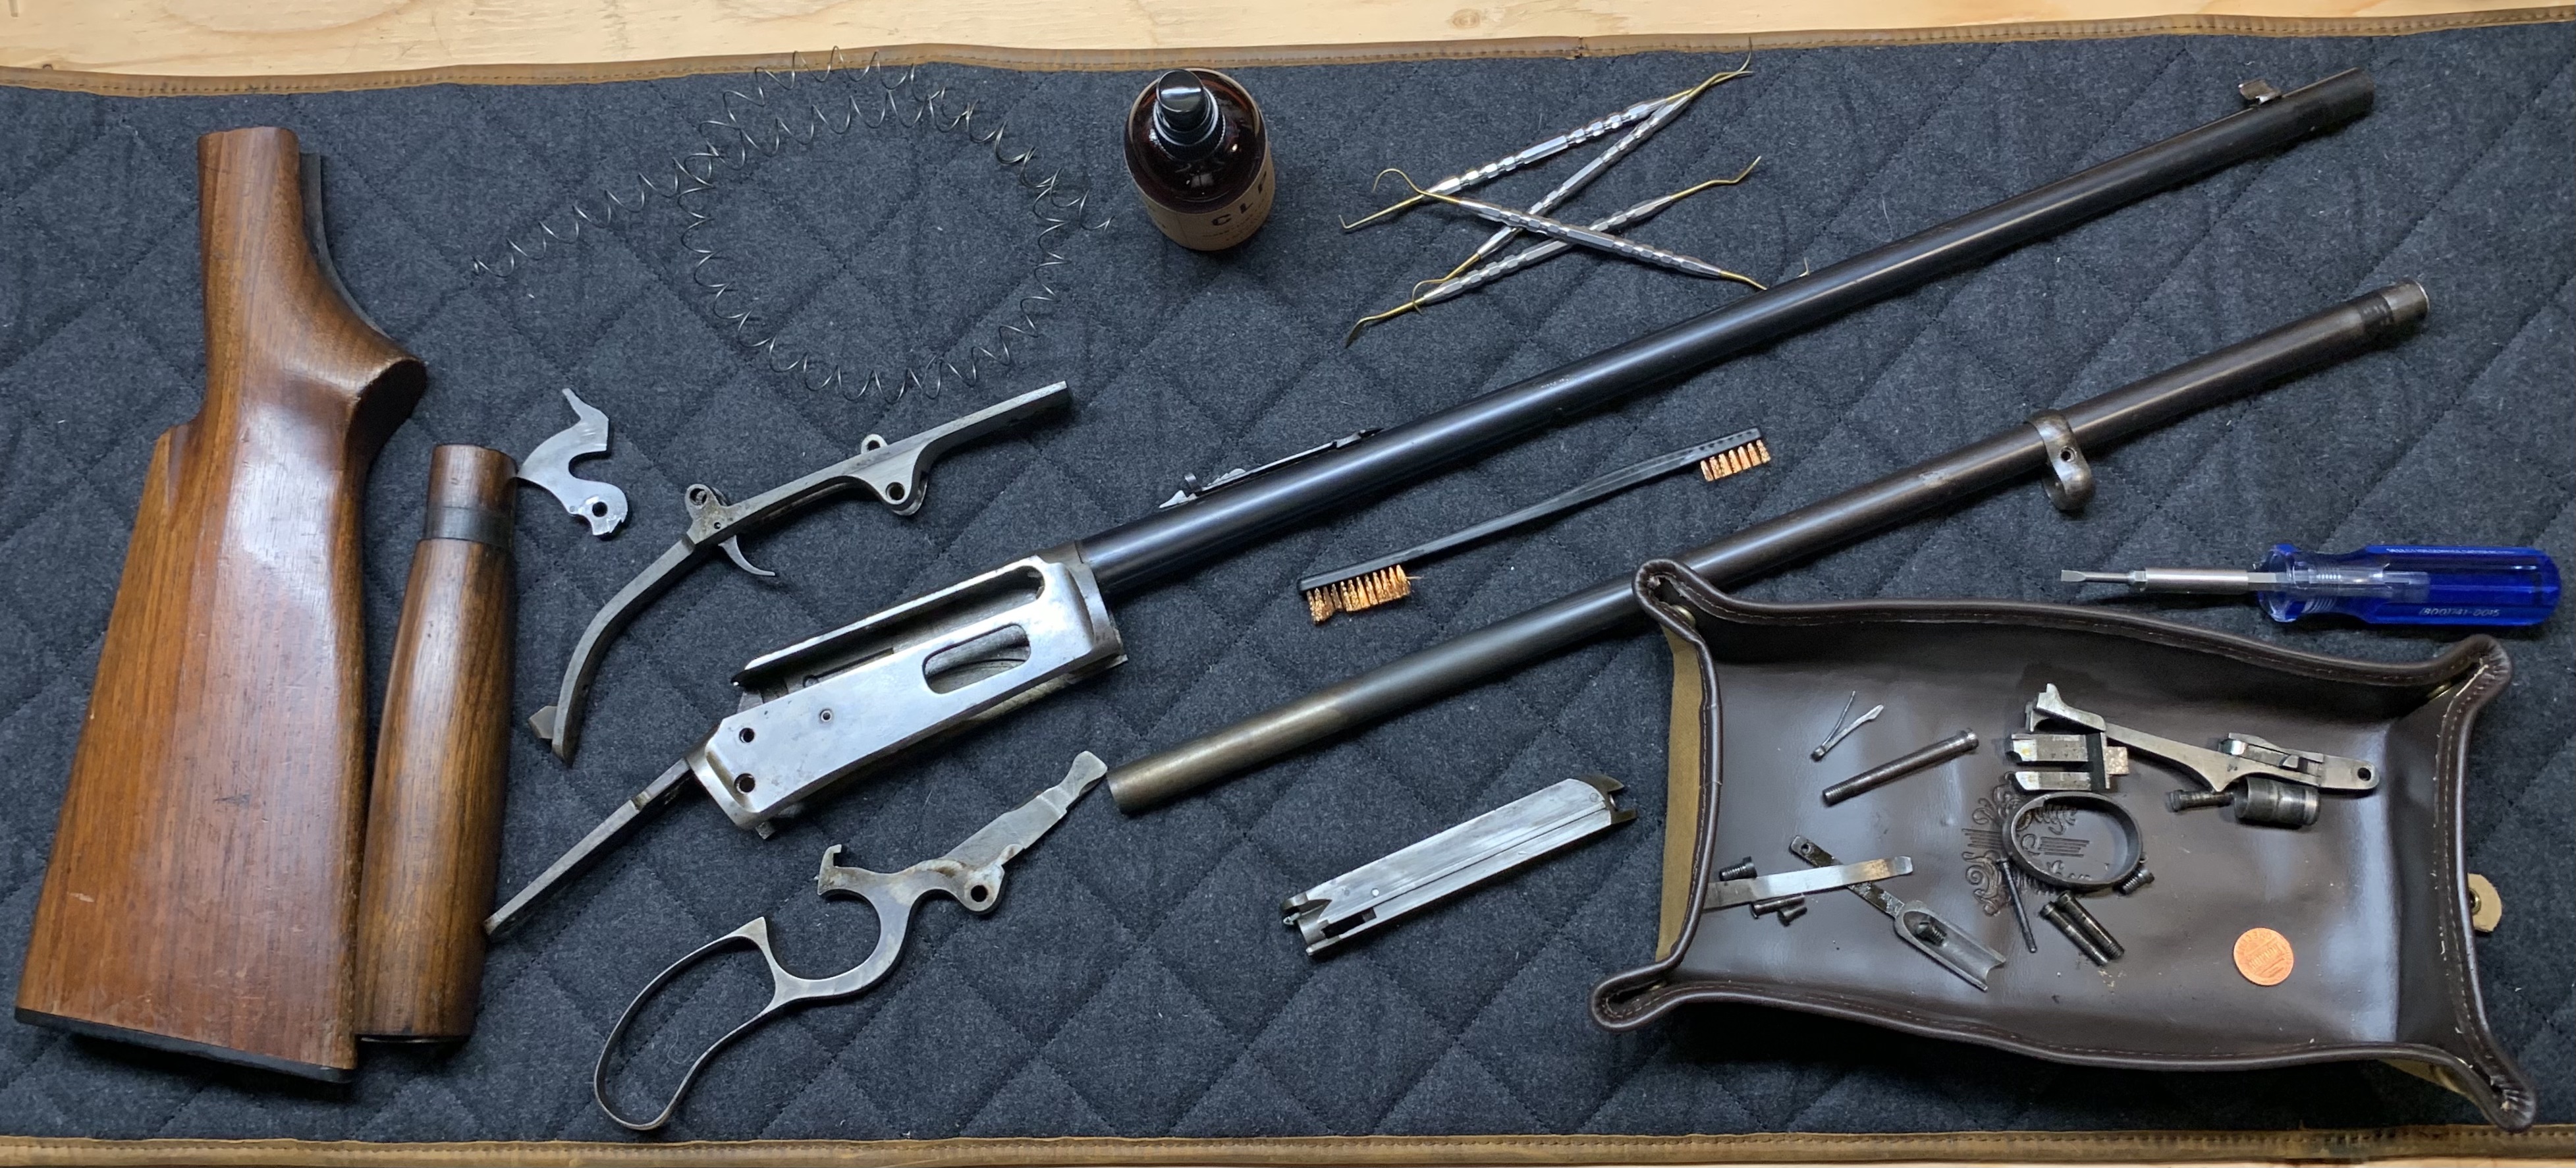
Disassembling a firearm can be intimidating if you are unfamiliar with the basics. Every gun has different procedures to break it down for maintenance and care. This isn’t a step-by-step firearm disassembly for every model. Instead, it is a set of guidelines that, combined with a schematic, can help you disassemble just about any gun you come across.
The fundamentals of firearm disassembly involve knowing how to deal with spring pressure and properly removing screws and pins without damaging them. Some guns are more complex than others, but these basic principles apply to all of them.
While these fundamentals are extremely helpful, they don’t replace a good disassembly guide. There are so many different designs out there that it would be impossible to cover all of them here. YouTube is an excellent resource for this, but please ensure the person you are watching knows what they are doing.
Affiliate Disclosure: This article may contain affiliate links. When you use these links, I earn a small commission from each sale generated at no cost to you. This commission helps me continue to put out free content. I work a full-time job that I am very happy with; therefore, I don’t need this commission and am not obligated to speak highly of any product. Everything written is my own opinion: the good, the bad, and the ugly.
Spring Pressure
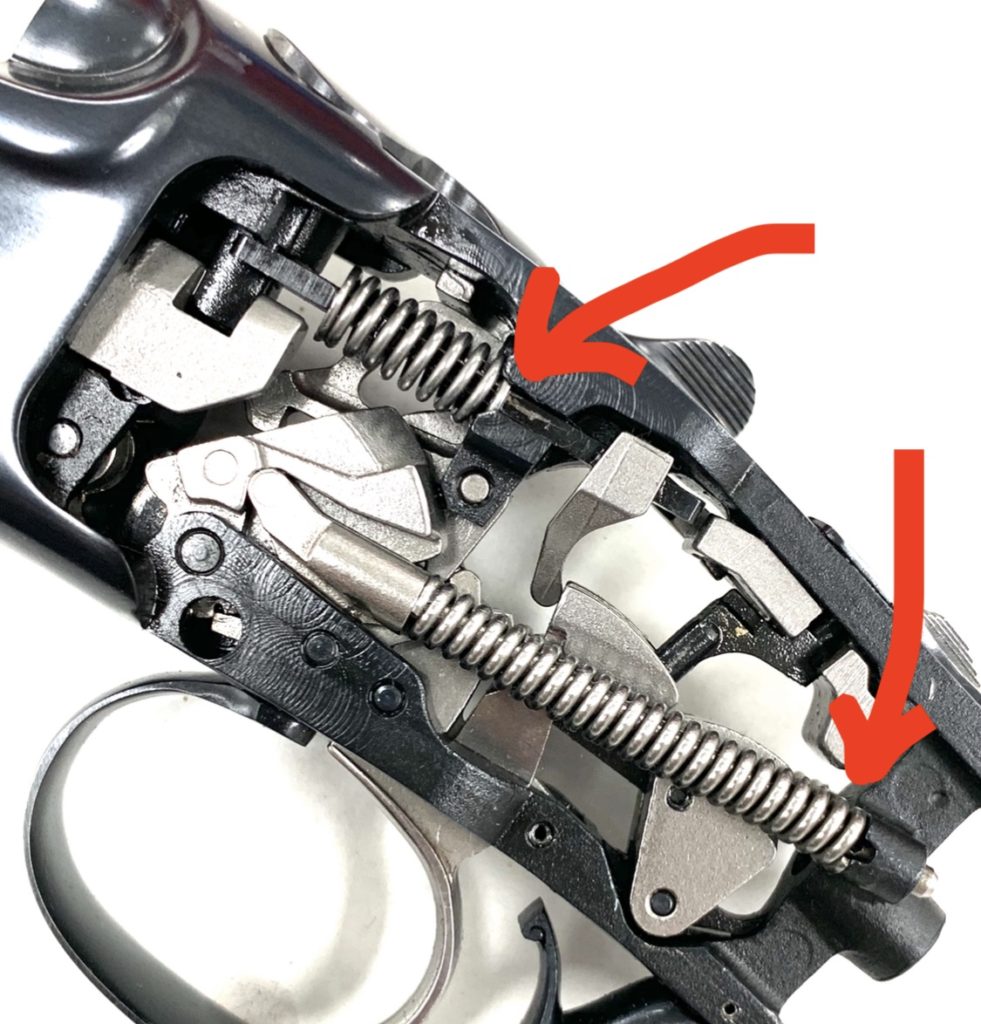
Relieve spring pressure!!! Throughout the whole process of firearm disassembly, remember this. Spring pressure makes everything much more complicated and will cause the smallest of parts to disappear into the atmosphere. Firearms engineers have identified spring pressure to be a problem for factory assembly and disassembly. Most of the time, they have simple ways of relieving that spring pressure built into the design.
There are two main types of springs that you will encounter in gun design; leaf and coil springs.
Leaf springs will be found as both flat and v-type springs. They can be very complicated and power multiple parts at one time. Flat springs are typically secured at one end by a screw or a notch milled into the frame or corresponding part. These are removed by simply unscrewing the correct screw or knocking it out of its notch. V-springs will need a way to capture the pressure under their full load. This is done by using a mainspring vise or similar notched tool that does the same thing.
How to Make & Heat-Treat Flat Gun Springs
Coil springs are different in that they only transfer energy in one direction at a time. Coil springs need a guide positioned inside or outside the coils to keep them in line. For stout springs, if the guide is on the inside, there is a high likelihood of a “disassembly” or “takedown” hole on the guide designed to aid in assembly and disassembly. If there is a disassembly hole, it is there for a reason and is nearly impossible to remove without using it. Check carefully!
Screws
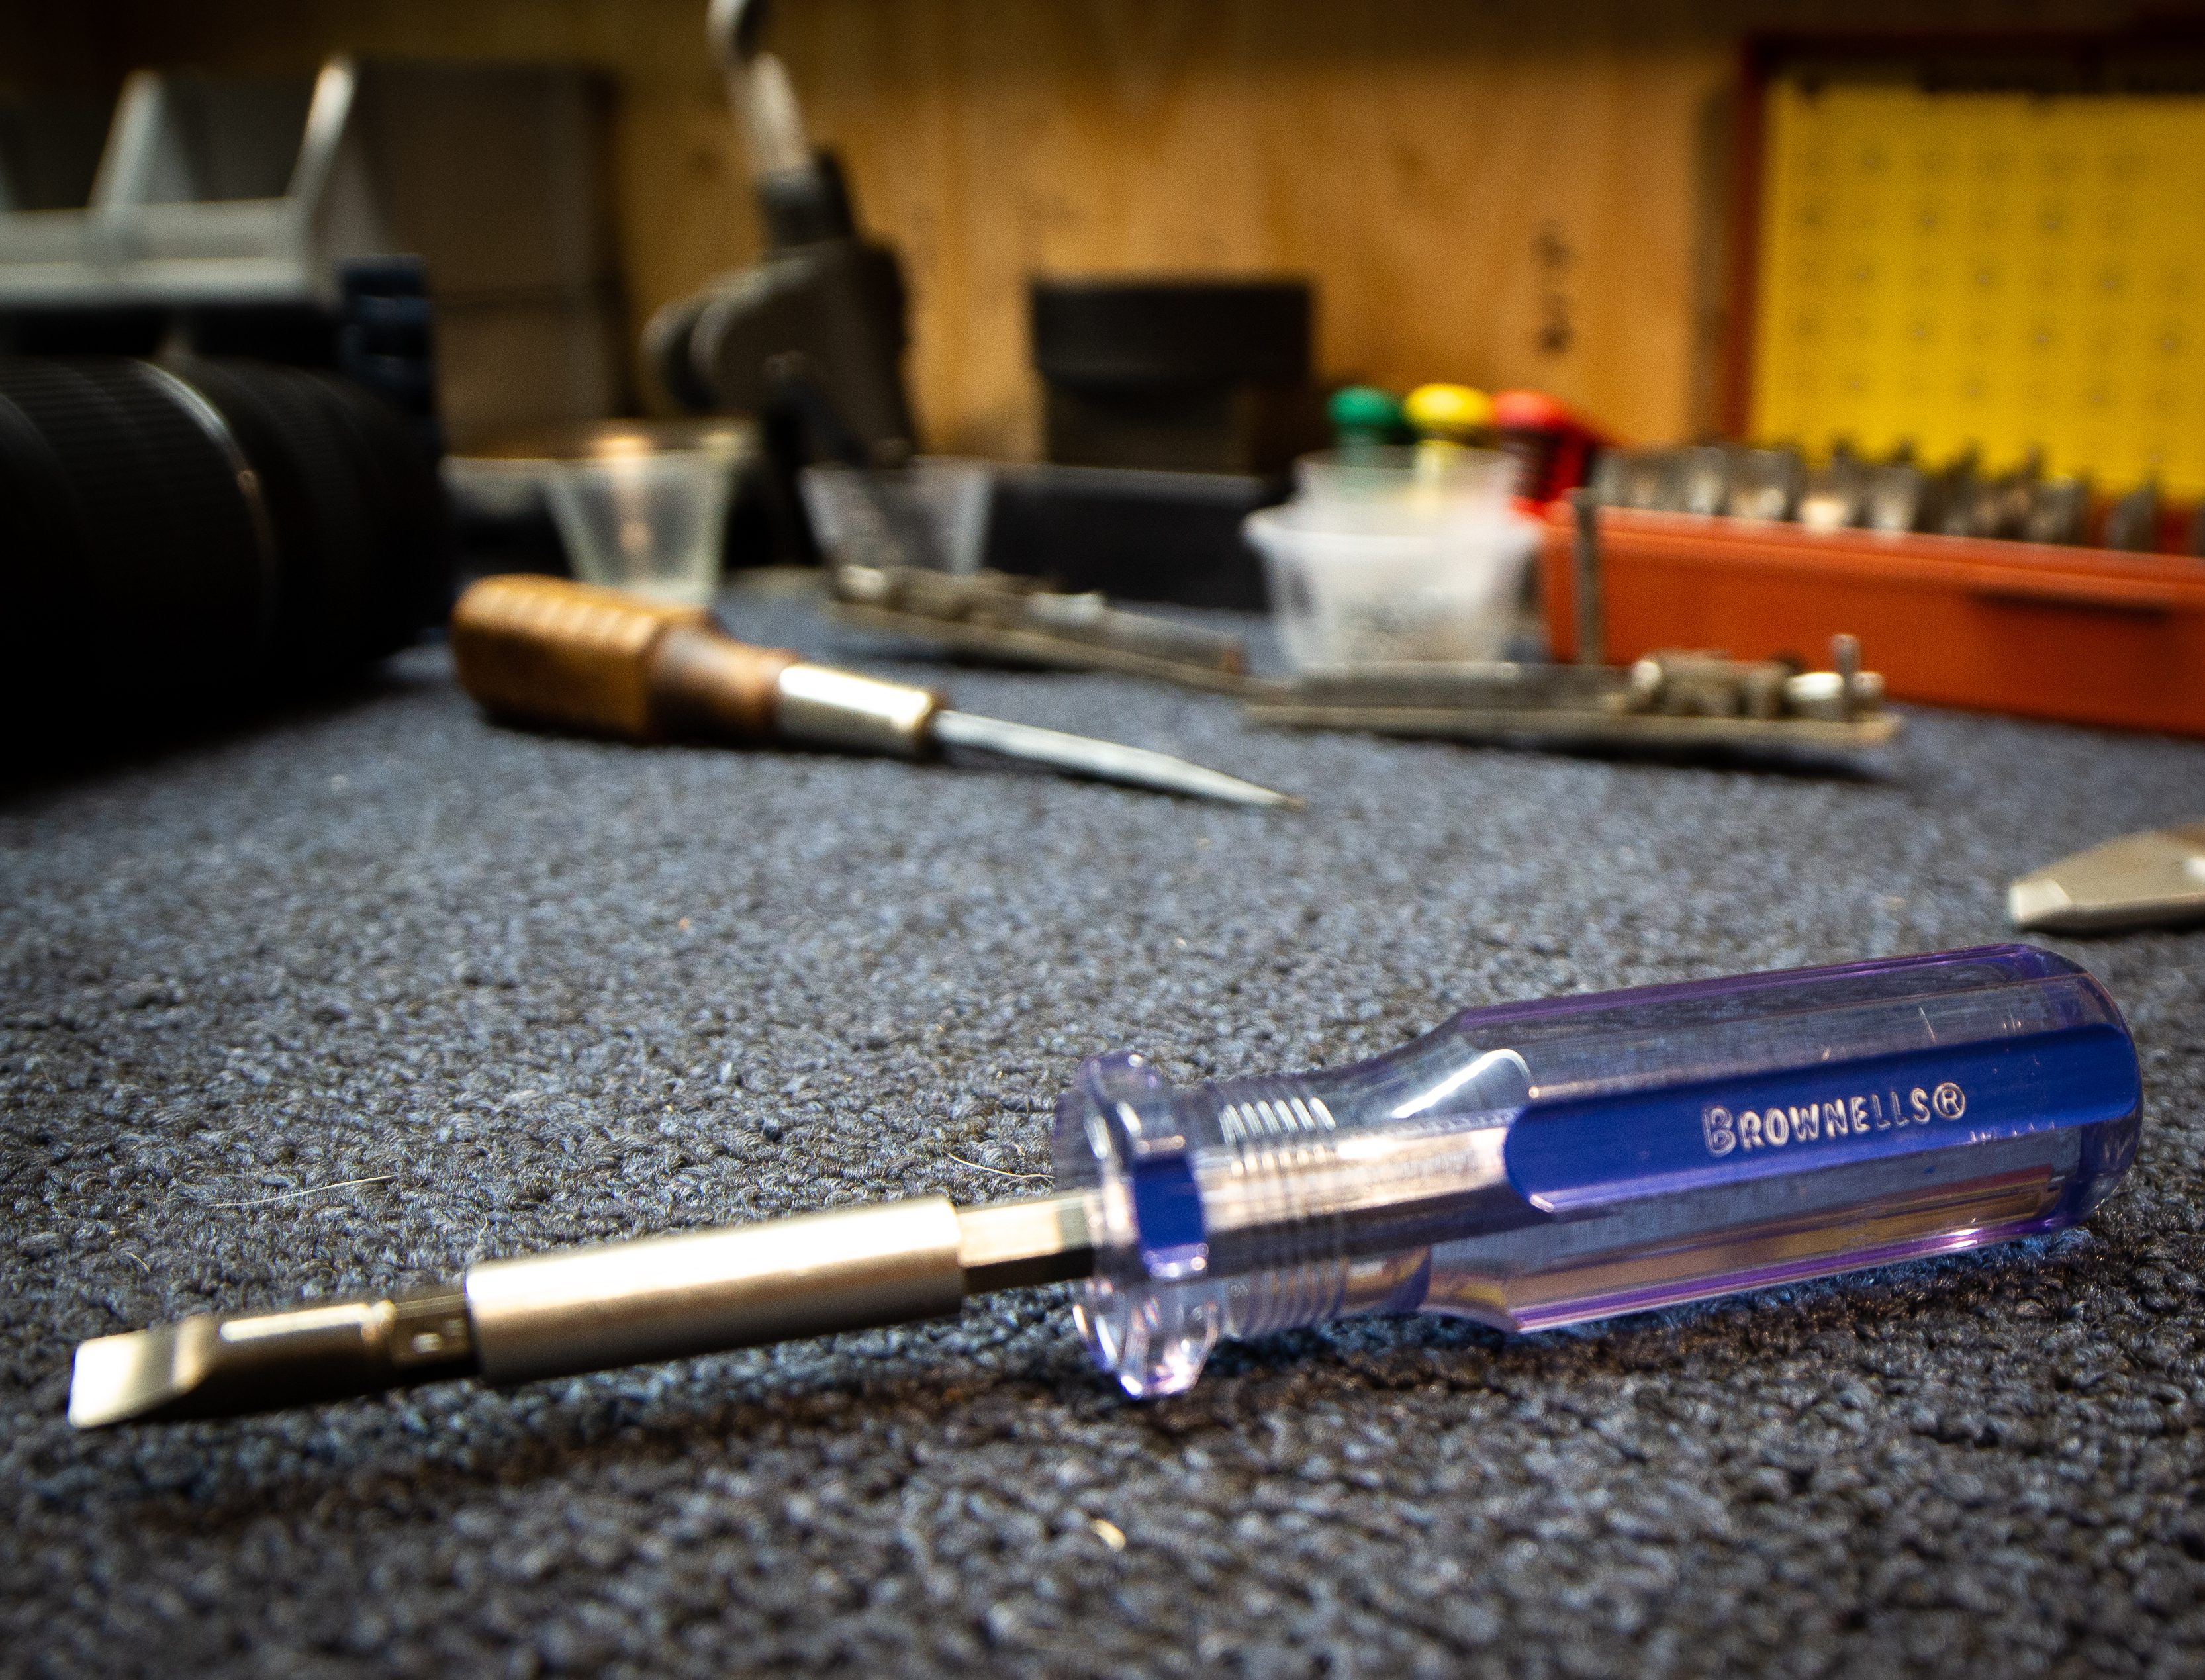
Screws are the most commonly messed-up part during firearm disassembly. The reason is usually pretty simple, using the wrong tool. A typical hardware store screwdriver is more of a wedge made to universally work with the biggest combination of screws possible. A screwdriver designed for gunsmithing is more than just a sales pitch. The gunsmith’s screwdriver head is ground parallel to get the most contact within the screw head, greatly reducing the chances of your screwdriver slipping out and gouging the firearms finish. Before removing a screw in a gun, refer to the first section and think if what you are unscrewing is attached to any part that may be under spring pressure.
Use coupon code KTG10 to get 10% off your order of $150 or more at Brownells.
Pins
There are three types of pins that you will run into when disassembling a gun; your standard pins, roll pins, and split pins. Each of these pins is approached differently when it comes to disassembly. But, a few general rules apply here regarding the tools you use. First and foremost, match the material of the punches you are using to the hammer. For example, brass punches should be used with a brass hammer. This isn’t critical, but it will make your punches deform less and last longer. The many double-sided, removable head hammers work great, as you have multiple options.
Next, I find it very helpful to have multiple weight hammers and use them progressively. I have a 2oz, 4oz, and 8oz ball peen hammer within reach on my bench. Every pin I drive out starts with using the tiny little 2oz hammer. The majority of the time, this is all it takes. However, if it doesn’t work, I move up to the 4oz. Don’t just hit the pin harder and harder; that is a sure way to damage or peen over a pin, let the weight of the hammer do the work.

Standard Pins
Standard pins tend to be the simplest of the three and only require a proper fitting punch to remove. This punch can be made from various materials, but the smaller the diameter punch, the harder the material usually needs to be. For example, using a small diameter brass punch can be very frustrating and deform quickly. Steel works better here but can also damage the pin if not clean and polished. When driving out standard pins, if my 4 oz ball peen doesn’t move it, I check to make sure I didn’t miss something like a set screw or spring holding it in place. This has saved me countless times.
Roll Pins
If not driven out with the right tools, roll pins can be a pain. If you haven’t ruined a roll pin in your life, you probably haven’t dealt with many of them. Roll pins are basically a piece of steel rolled to form a cylinder or pin. They are easily identified as they have a hole in the center and a split running their length. This allows them to spring and form the actual size of the hole. Roll pins require two types of specialized punches to remove and reinstall.
Roll pin punches and roll pin holders are the best way to do this, as they are made not to damage the finicky little pins. When driving out a roll pin, use the right size roll pin punch and start with a 4 oz ball peen as they are usually in there a little harder than the standard pin.
Split Pins
Split pins will cause you a lot of frustration the first time you come across them, mainly because they look like a screw. You’ll probably be spinning them with a screwdriver wondering why it isn’t backing out. There are two ways to remove these, one is to just hit it out from the side opposite of the split. The other is to gently squeeze the split side with padded pliers while tapping the opposite side with a plastic mallet. You’ll need a vise to hold the gun for that method. A quick look at a schematic will go a long way in helping you identify if your firearm has any split pins.
DIY Home Gunsmithing: Tools You Need on Your Bench
Final Notes on Firearm Disassembly
There are a lot of other things that go into firearm disassembly, but taking these into consideration each time will save you both time and the cost of replacement parts. One final thing that could have probably been its own section is detents. These little ball and spring combos are easily lost and can be an absolute pain to reinstall. When disassembling, if you can fit the part inside a Ziploc bag, it will keep any parts from disappearing under the workbench. For reassembly, a dab of firearm grease on the spring will usually keep everything in place long enough to get it captured by the parts.

Written by: Kurt Martonik
Kurt is a Gunsmith, Reloader, Hunter, and Outdoorsman. He grew up in Elk County, Pennsylvania, where he became obsessed with the world of firearms. Following high school, Kurt enlisted in the United States Air Force as a Boom Operator, where he eventually rose to the position of Instructor. After his military service, he attended the Colorado School of Trades(CST) in Lakewood, CO for gunsmithing. Following graduation, he accepted a job at C. Sharps Arms in Montana, where he worked as a full time stockmaker and gunsmith.
Great information you really should publish a book or two Bob Brinell did so could you you are very good ?
Thank you for the kind words!