Making and heat-treating leaf-type flat or “V” gun springs is a skill that is slowly fading from gunsmithing. This type of work is still needed across the field, but many gunsmiths seem to be intimidated by the process. So much so, that it can be hard to find one that is willing to do the work.
First and foremost, these types of springs were used for hundreds of years on muzzleloading rifles. The gunsmiths who serviced these rifles did so with limited equipment and supplies, so try not to overcomplicate it.
Affiliate Disclosure: This article may contain affiliate links. When you use these links, I earn a small commission from each sale generated at no cost to you. This commission helps me continue to put out free content. I work a full-time job that I am very happy with; therefore, I don’t need this commission and am not obligated to speak highly of any product. Everything written is my own opinion: the good, the bad, and the ugly.
The internet is flooded with people on forum boards arguing how and what the best way is to heat-treat and temper flat springs. In reality, it is not all that hard to do. At this point, I have properly heat-treated and tempered a couple of hundred flat springs and screwed up more than a few along the way. As with everything, there is an order of operations that makes it easy when broken down properly.
The process of making and heat-treating a flat gun spring can be broken down into these steps; shape, harden, temper, and test. Below is a breakdown of each of these steps and what you need to consider throughout the process.
Choosing the right spring steel for a gun spring.
Shaping the Spring
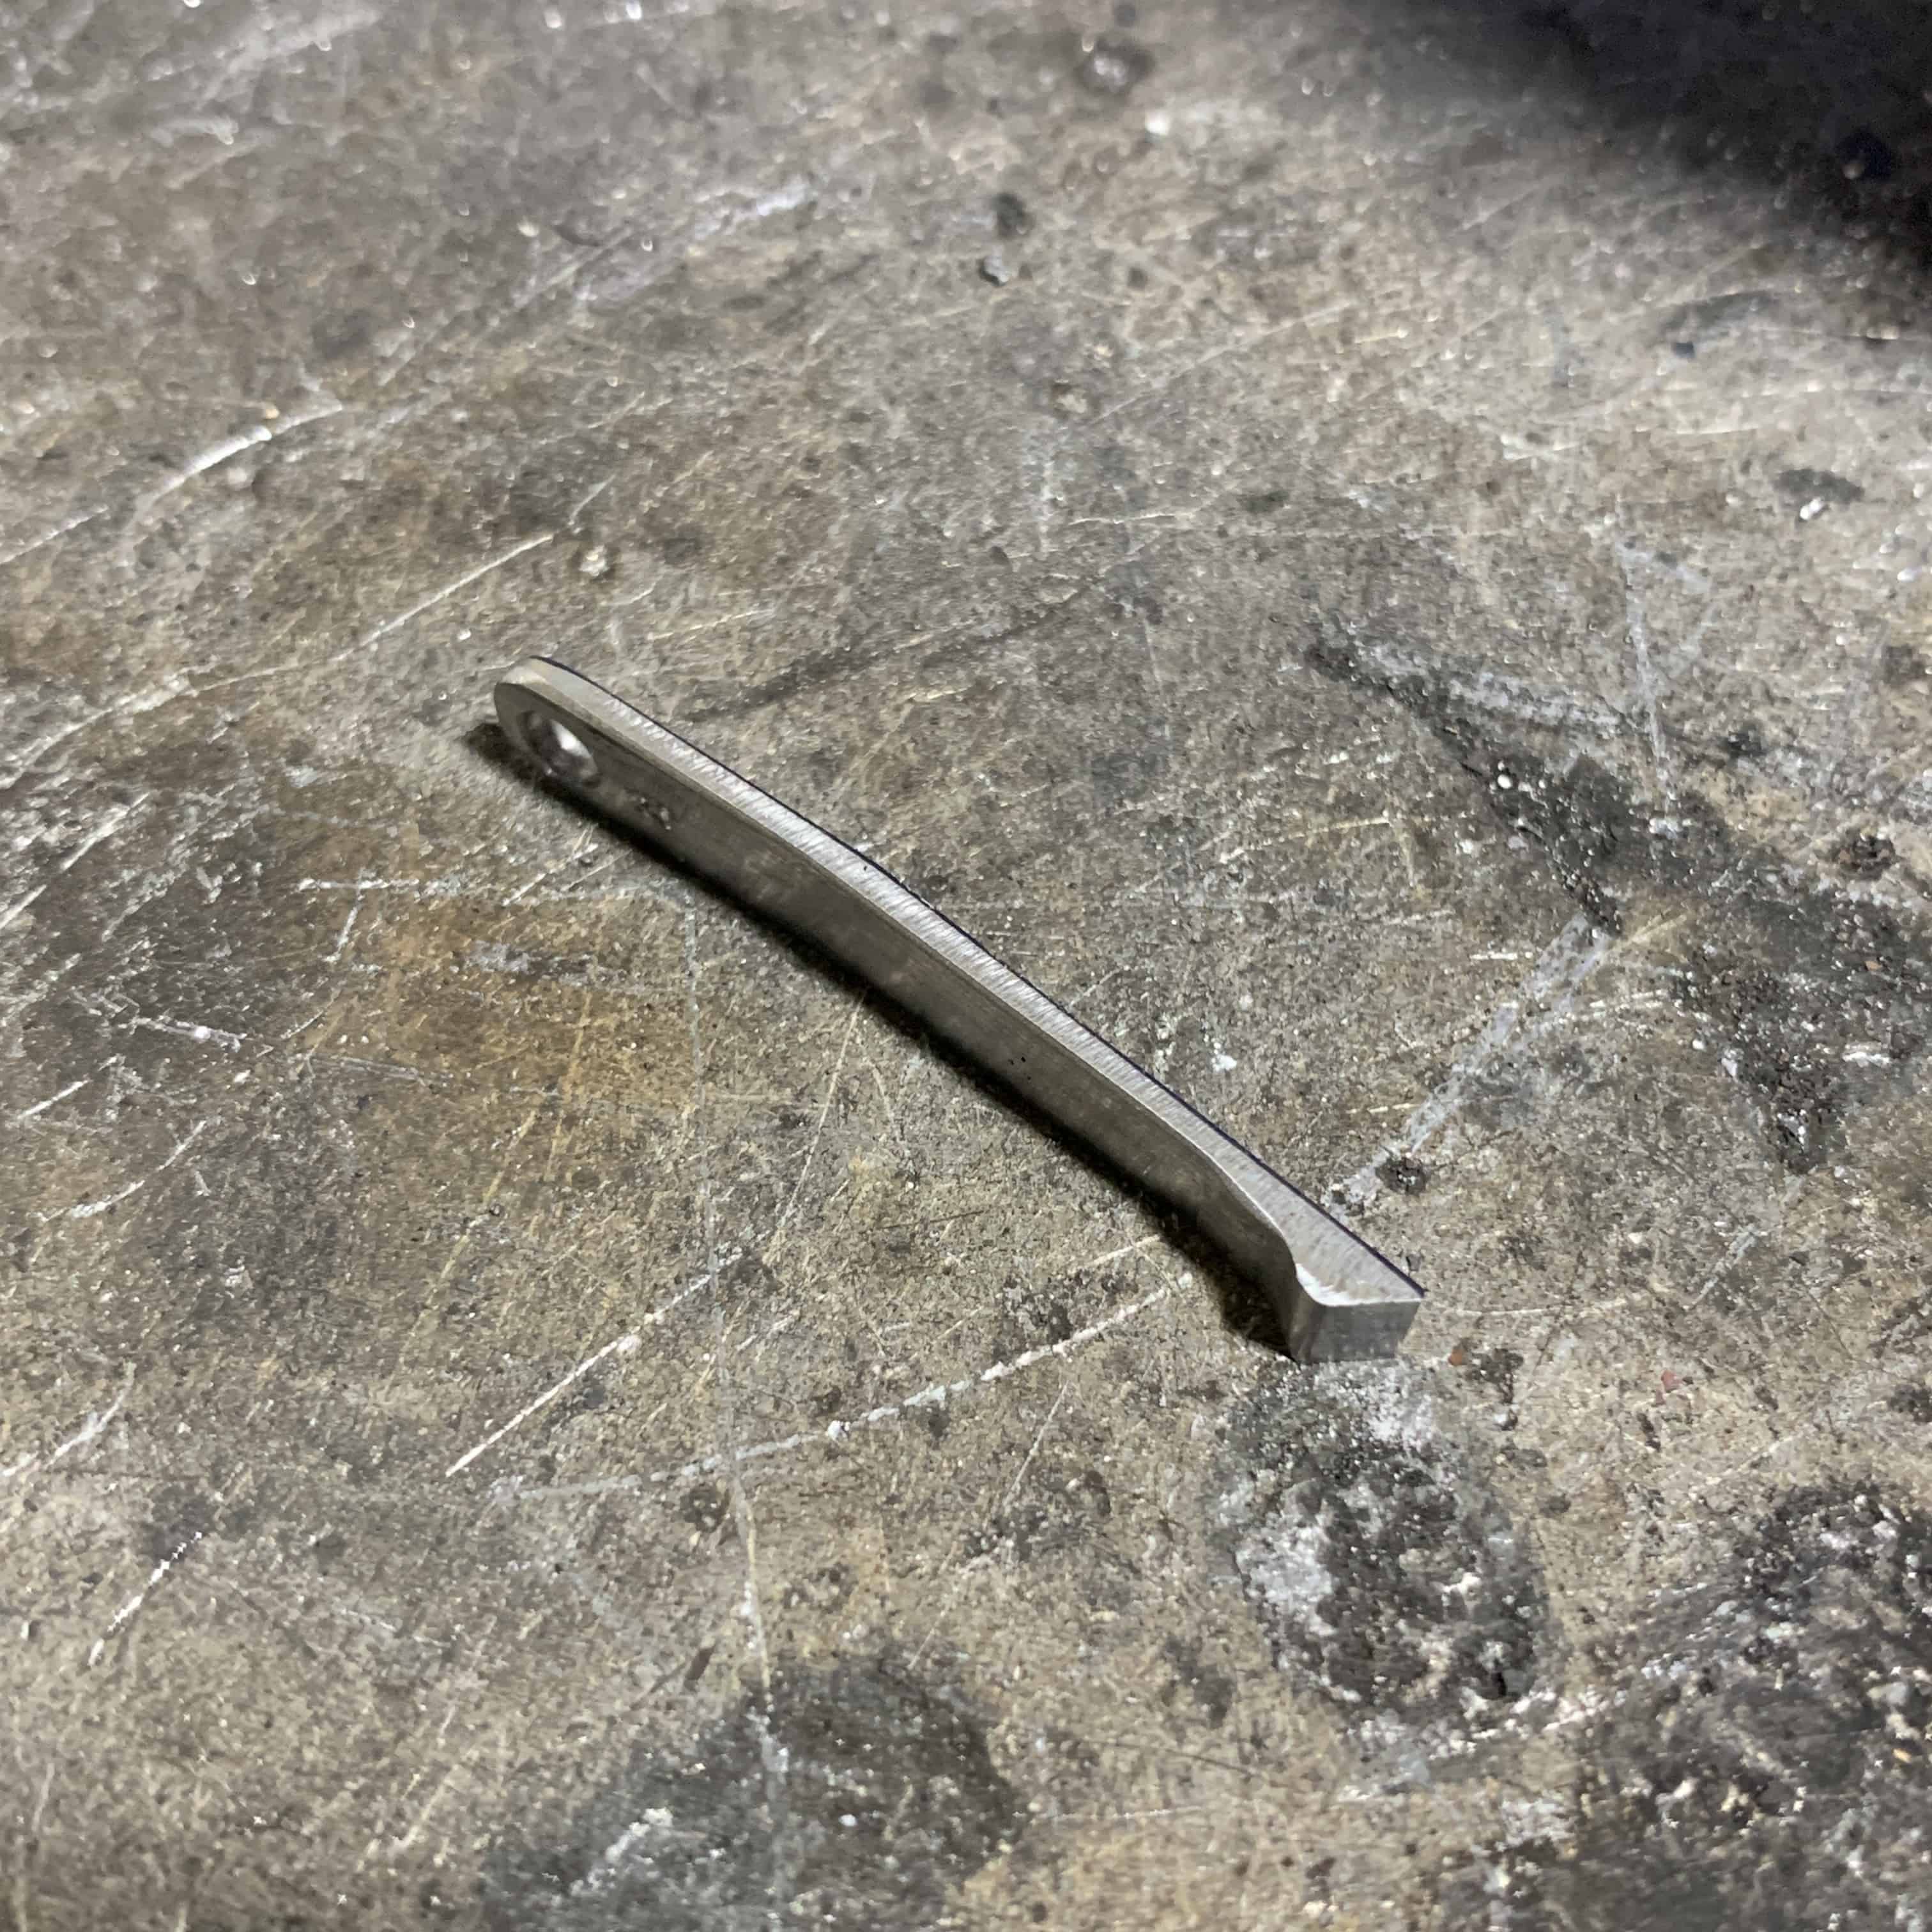
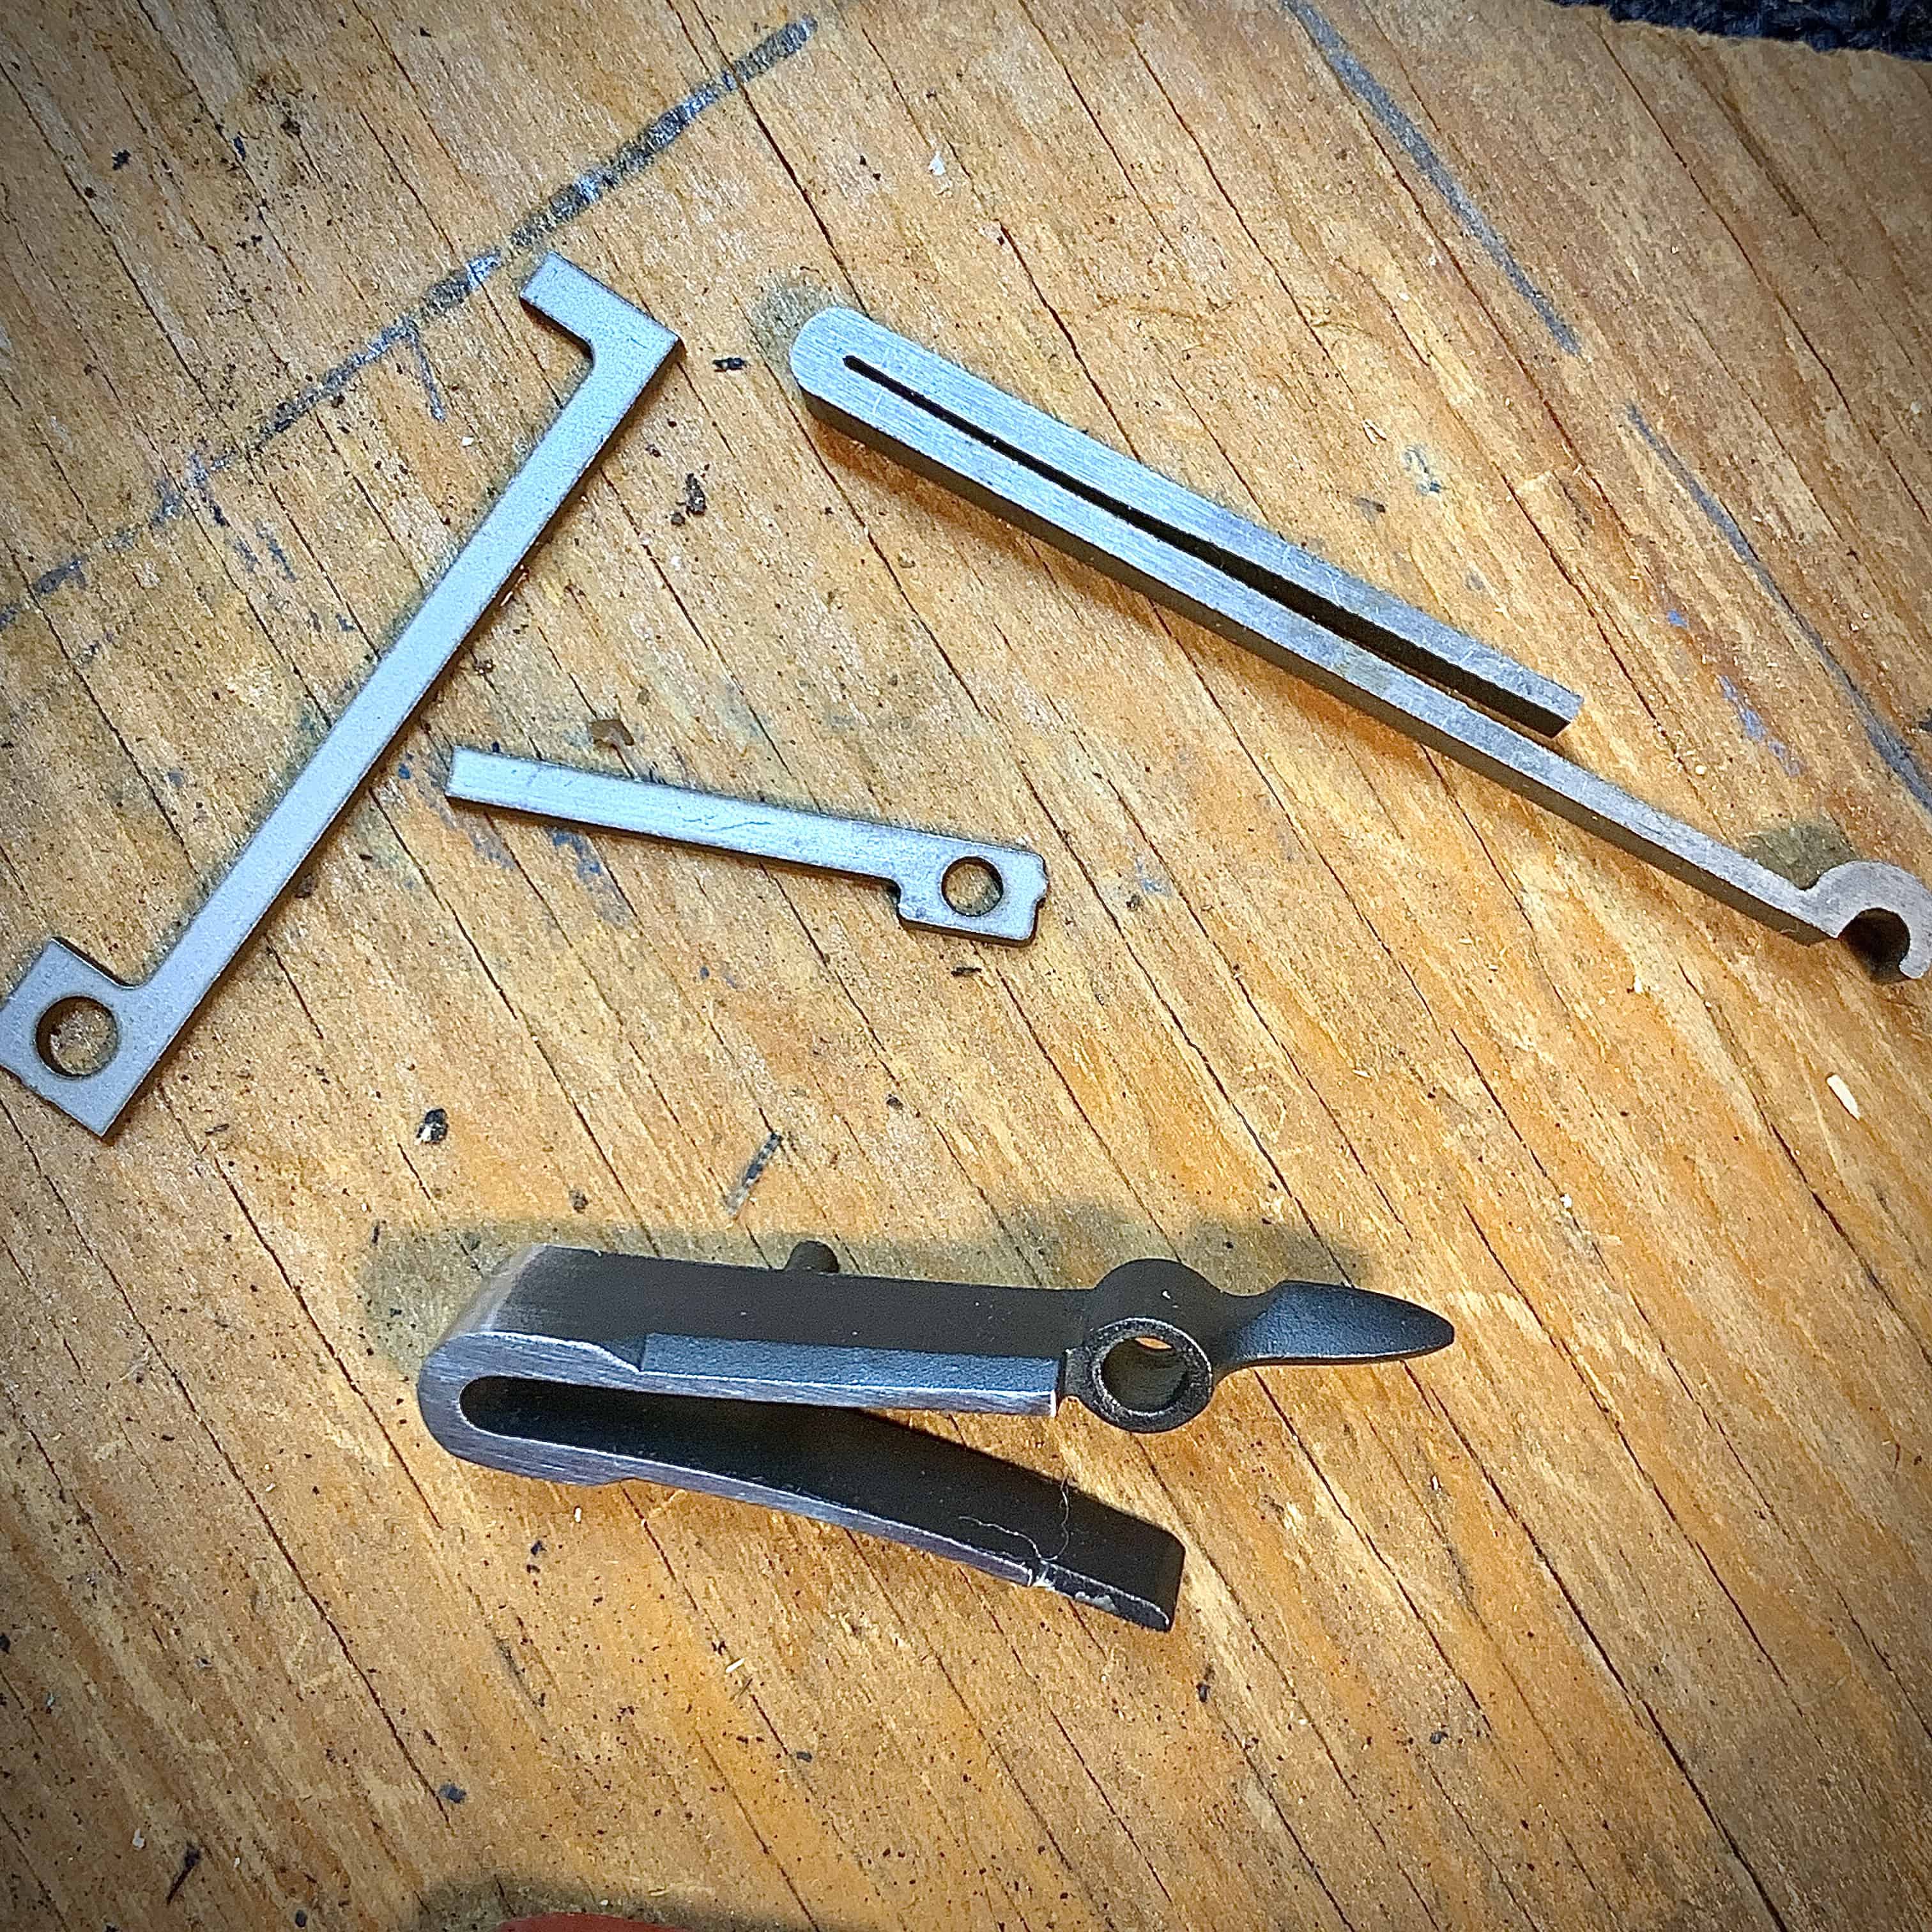
Start with a flat piece of annealed spring steel and lay out all of the lines and any screw holes the spring may need. If you are lucky enough to have the broken spring or a copy of the one you need, take measurements and transcribe them to your working piece using layout fluid.
If it is a V-type spring, during the layout process imagine it being laid out flat while shaping. You want to get all of the dimensions correct prior to any bending, this makes it much easier to work with. Polishing is also best done prior to any bending. Polish lengthwise on the spring bringing it up to at least 220 grit, I prefer 320. This is a preference, I have seen many original mainsprings that look to have been draw-file finished.
Making bends can either be done cold or by heating it up. I’ve seen some pretty sharp bends done cold in phases for V-springs and prefer to do that for certain applications. If making bends cold, you can work harden them and may need to anneal them prior to heat treating. If using heat, allow it to cool without quenching in water or oil. You will more than likely get some scaling in the areas where heat was applied, this is best removed with a wire wheel.

Hardening Gun Springs
To heat-treat flat gun springs, evenly heat the steel up to a bright or cherry red using a carburizing flame and quench in oil. That is the simplest way to describe the process, but there is a lot to consider when doing it.
Judging color by eye is very challenging and can vary from person to person or by what kind of lighting you are in(Just ask the guys at Springfield who made the low number 1903 Springfields that were prone to blowing up). Ideally, you want to shoot for 1500 degrees Fahrenheit but that varies slightly based on the type of spring steel. Another good technique is to heat it until it is no longer magnetic, which happens at around the same temperature.
Quench the gun spring in oil. Many oils will work but I prefer vegetable oil or SAE 30 Motor oil. The piece will be very hard and brittle at this point and care should be taken not to drop it as it could break. At this point, I test the hardness by lightly skating an old file along it to make sure it is hard and that the file teeth don’t dig in.
Use coupon code KTG10 to get 10% off your order of $150 or more at Brownells.
Tempering Gun Springs
Tempering a gun spring is not that difficult once you have a little practice. The tempering process creates toughness and flexibility and reduces hardness and brittleness. Prior to tempering, use a wire brush or wheel to clean any scaling off of the spring.
To temper a gun spring, heat the spring back up to approximately 600-650 degrees and let it air cool. There are many methods used to do this. Lead baths, burning oil in a pan, torch, and my favorite a small tabletop toaster oven. Different types of spring steels will have slightly different temperatures that you temper at, when in doubt follow the manufacturer’s guidance.
Testing the Gun Spring
Testing a spring is always a little nerve-wracking. Although it isn’t that hard to make one, you’ve probably been told over and over again how difficult it can be. Some people, including myself, will make two or three of the same springs every time. That way I have two spares in case something happens to the first one.
To test, close the spring in a vise until you see it start to flex or bend, then back the vise out to see if it springs back. I’m sure there are more scientific ways to test one but this works well for me.

Written by: Kurt Martonik
Kurt is a Gunsmith, Reloader, Hunter, and Outdoorsman. He grew up in Elk County, Pennsylvania, where he became obsessed with the world of firearms. Following high school, Kurt enlisted in the United States Air Force as a Boom Operator, where he eventually rose to the position of Instructor. After his military service, he attended the Colorado School of Trades(CST) in Lakewood, CO for gunsmithing. Following graduation, he accepted a job at C. Sharps Arms in Montana, where he worked as a full time stockmaker and gunsmith.