The excitement of purchasing a new gun is great, especially if it is one that you have been saving up for or wanting for a long time. You’ll more than likely buy a box or two of ammo for it and be eager to take it to the range. However tempting this may be, you need to take the time to clean it beforehand. Fortunately, this initial cleaning should be quick and easy.
Yes, you should clean a new gun before firing it. New firearms ship from the factory with oils and grease leftover from the manufacturing process and can damage your firearm if left in the wrong places. Not only will this ensure the safe operation of your firearm, but it will also give you a chance to familiarize yourself with its basic operation of it.
This also applies to purchasing a used firearm that may be new to you. In fact, it is even more important to give a pre-owned gun a proper cleaning and basic inspection, as the history of that firearm is unknown.
After purchasing your new firearm, take the extra 10-15 minutes to clean it as outlined below and ensure that everything will work as intended.
Affiliate Disclosure: This article may contain affiliate links. When you use these links, I earn a small commission from each sale generated at no cost to you. This commission helps me continue to put out free content. I work a full-time job that I am very happy with; therefore, I don’t need this commission and am not obligated to speak highly of any product. Everything written is my own opinion: the good, the bad, and the ugly.

Why You Need to Clean a New Gun
The factory oils and grease that are found on new guns can cause damage. The oil used for manufacturing and shipping is not intended to be used as a lubricant and primarily aids in corrosion resistance. This oil is messy and tends to get all over the place, including in the bore.
The bore is the part of the barrel the bullet passes through as it exits the gun, essentially the hole in the barrel. It is considered to be one of the most important components of a gun and has a direct effect on the accuracy and safety of your firearm. If anything in the bore obstructs the path of the bullet, including excess oil or grease, the pressures can increase and cause damage to you or your gun.
Next, manufacturers aren’t perfect. In fact, they are far from it. Focused on manufacturing in large numbers, occasionally, a less-than-perfect gun may slip through the inspection process. I personally had a revolver lock up on me minutes after buying it, due to a burr on a part impeding its function. While this is rare, you might identify a potential issue before it is too late by quickly inspecting and cleaning your new gun.
Lastly, by giving your new gun a quick cleaning, you get familiar with its operation and are more comfortable shooting it on the range. This familiarization can not be understated and is part of being a responsible gun owner.

How to Clean a New Gun
Check to ensure the firearm is unloaded and remove all live ammunition from the vicinity.
I can not emphasize how important this is. Countless firearms accidents each year happen while cleaning. This is completely due to the user’s negligence.
In brief, this cleaning can usually be accomplished by field stripping the gun per the manufacturers’ instructions. Then, run a solvent patch down the bore, followed by a couple of dry patches. Repeat this process until your patches start coming out clean. Next, lubricate the necessary components as outlined in your owner’s manual.
Items Needed:
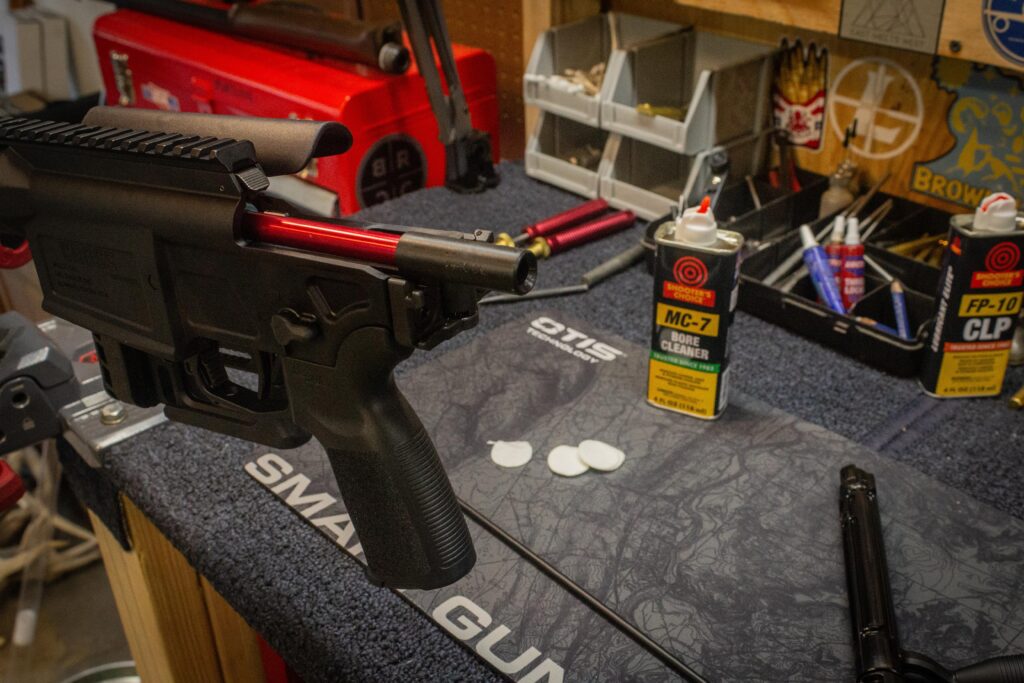
- Cleaning solvent such as Hoppe’s No. 9 or Otis CLP
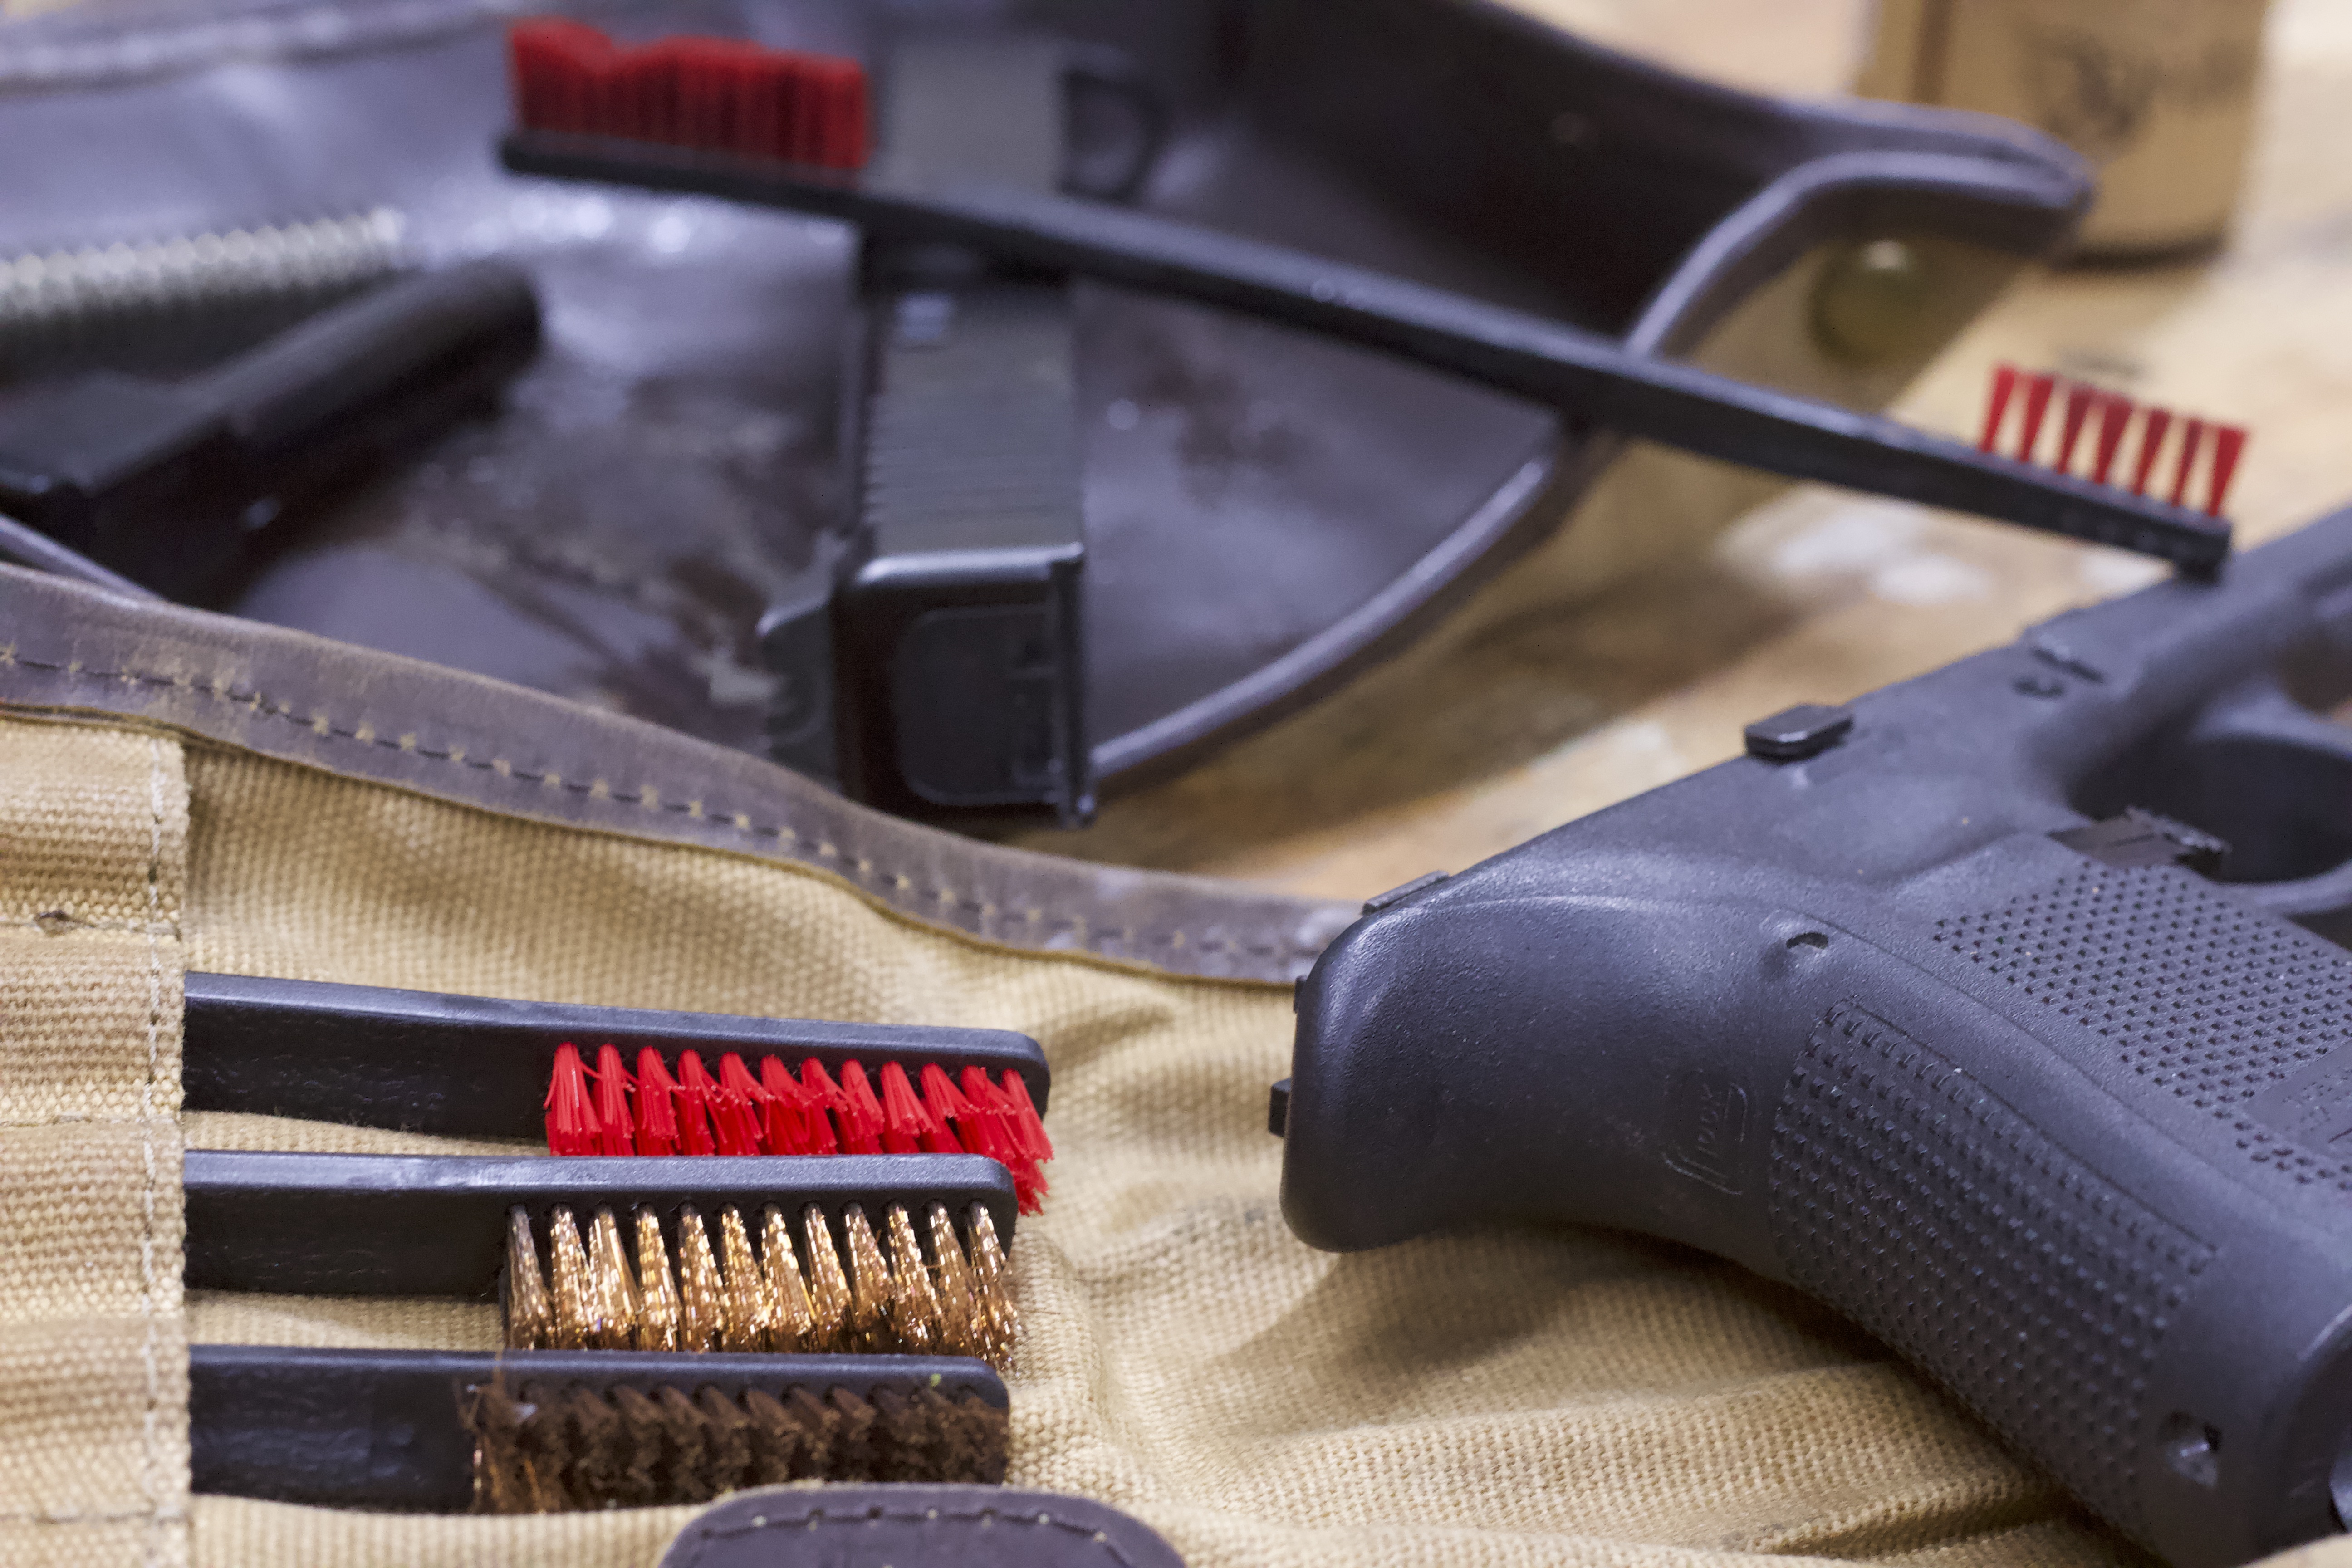
- Nylon-bristled cleaning brush
- Quality gun oil
- Cleaning Rod
- Cleaning Patches
Every gun is different and has its own disassembly procedures. It is unnecessary to completely disassemble a gun when it is new. A field stripping is more than sufficient. Field stripping means you are only disassembling the major components that get the dirtiest during firing. A simple Google search of the make and model followed by “field stripping” will give you the results you need. For example, if you want to clean your new Glock 19, simply search “Glock 19 field stripping,” and you will find many articles and videos explaining the process.
Use coupon code KTG10 to get 10% off your order of $150 or more at Brownells.
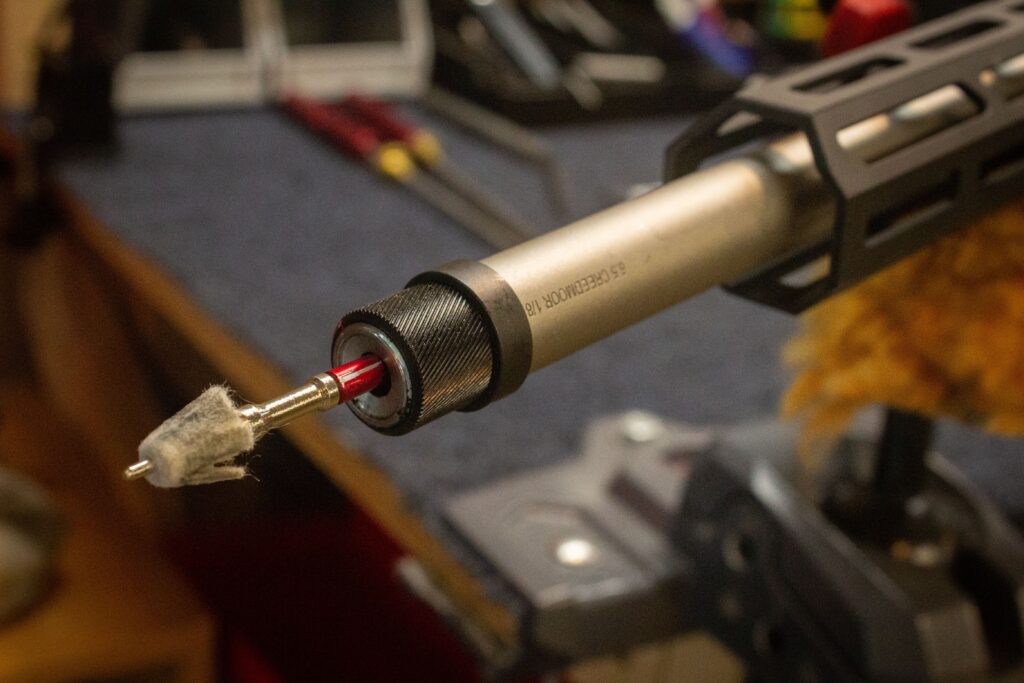
Once the new gun is field stripped, apply a small amount of solvent to a cleaning patch, and using a cleaning rod, run the patch down the barrel. Wait 5 minutes or so and run dry patches down the barrel until they come out relatively clean and dry.
Next, grab the solvent and the nylon brush and lightly scrub any oil build-up areas on the small parts. If there aren’t any areas of built-up oil, simply wipe the metal parts down with a cotton rag and lubricate the points outlined by the owner’s manual. Then reassemble.
Not all firearms will follow these same procedures; minor variances will occur from model to model. You can also use this time to see if the manufacturer has any recommendations for barrel break-in procedures. Most pistols and shotguns will be good to go at this point, but some rifles will have recommended firing/cleaning sequences to get the most out of the rifle.
Cleaning A “New” Used Gun
For used firearms, this cleaning should be more thorough as you don’t know the history of that firearm. A more detailed disassembly may be necessary to get a proper inspection. If you are not capable of accomplishing this task or don’t have the appropriate tools, your local gunsmith will be able to help you out. This is a great opportunity to inspect the major components for damage or excessive wear. If anything looks abnormal, once again, a trip to your local gunsmith may be necessary.
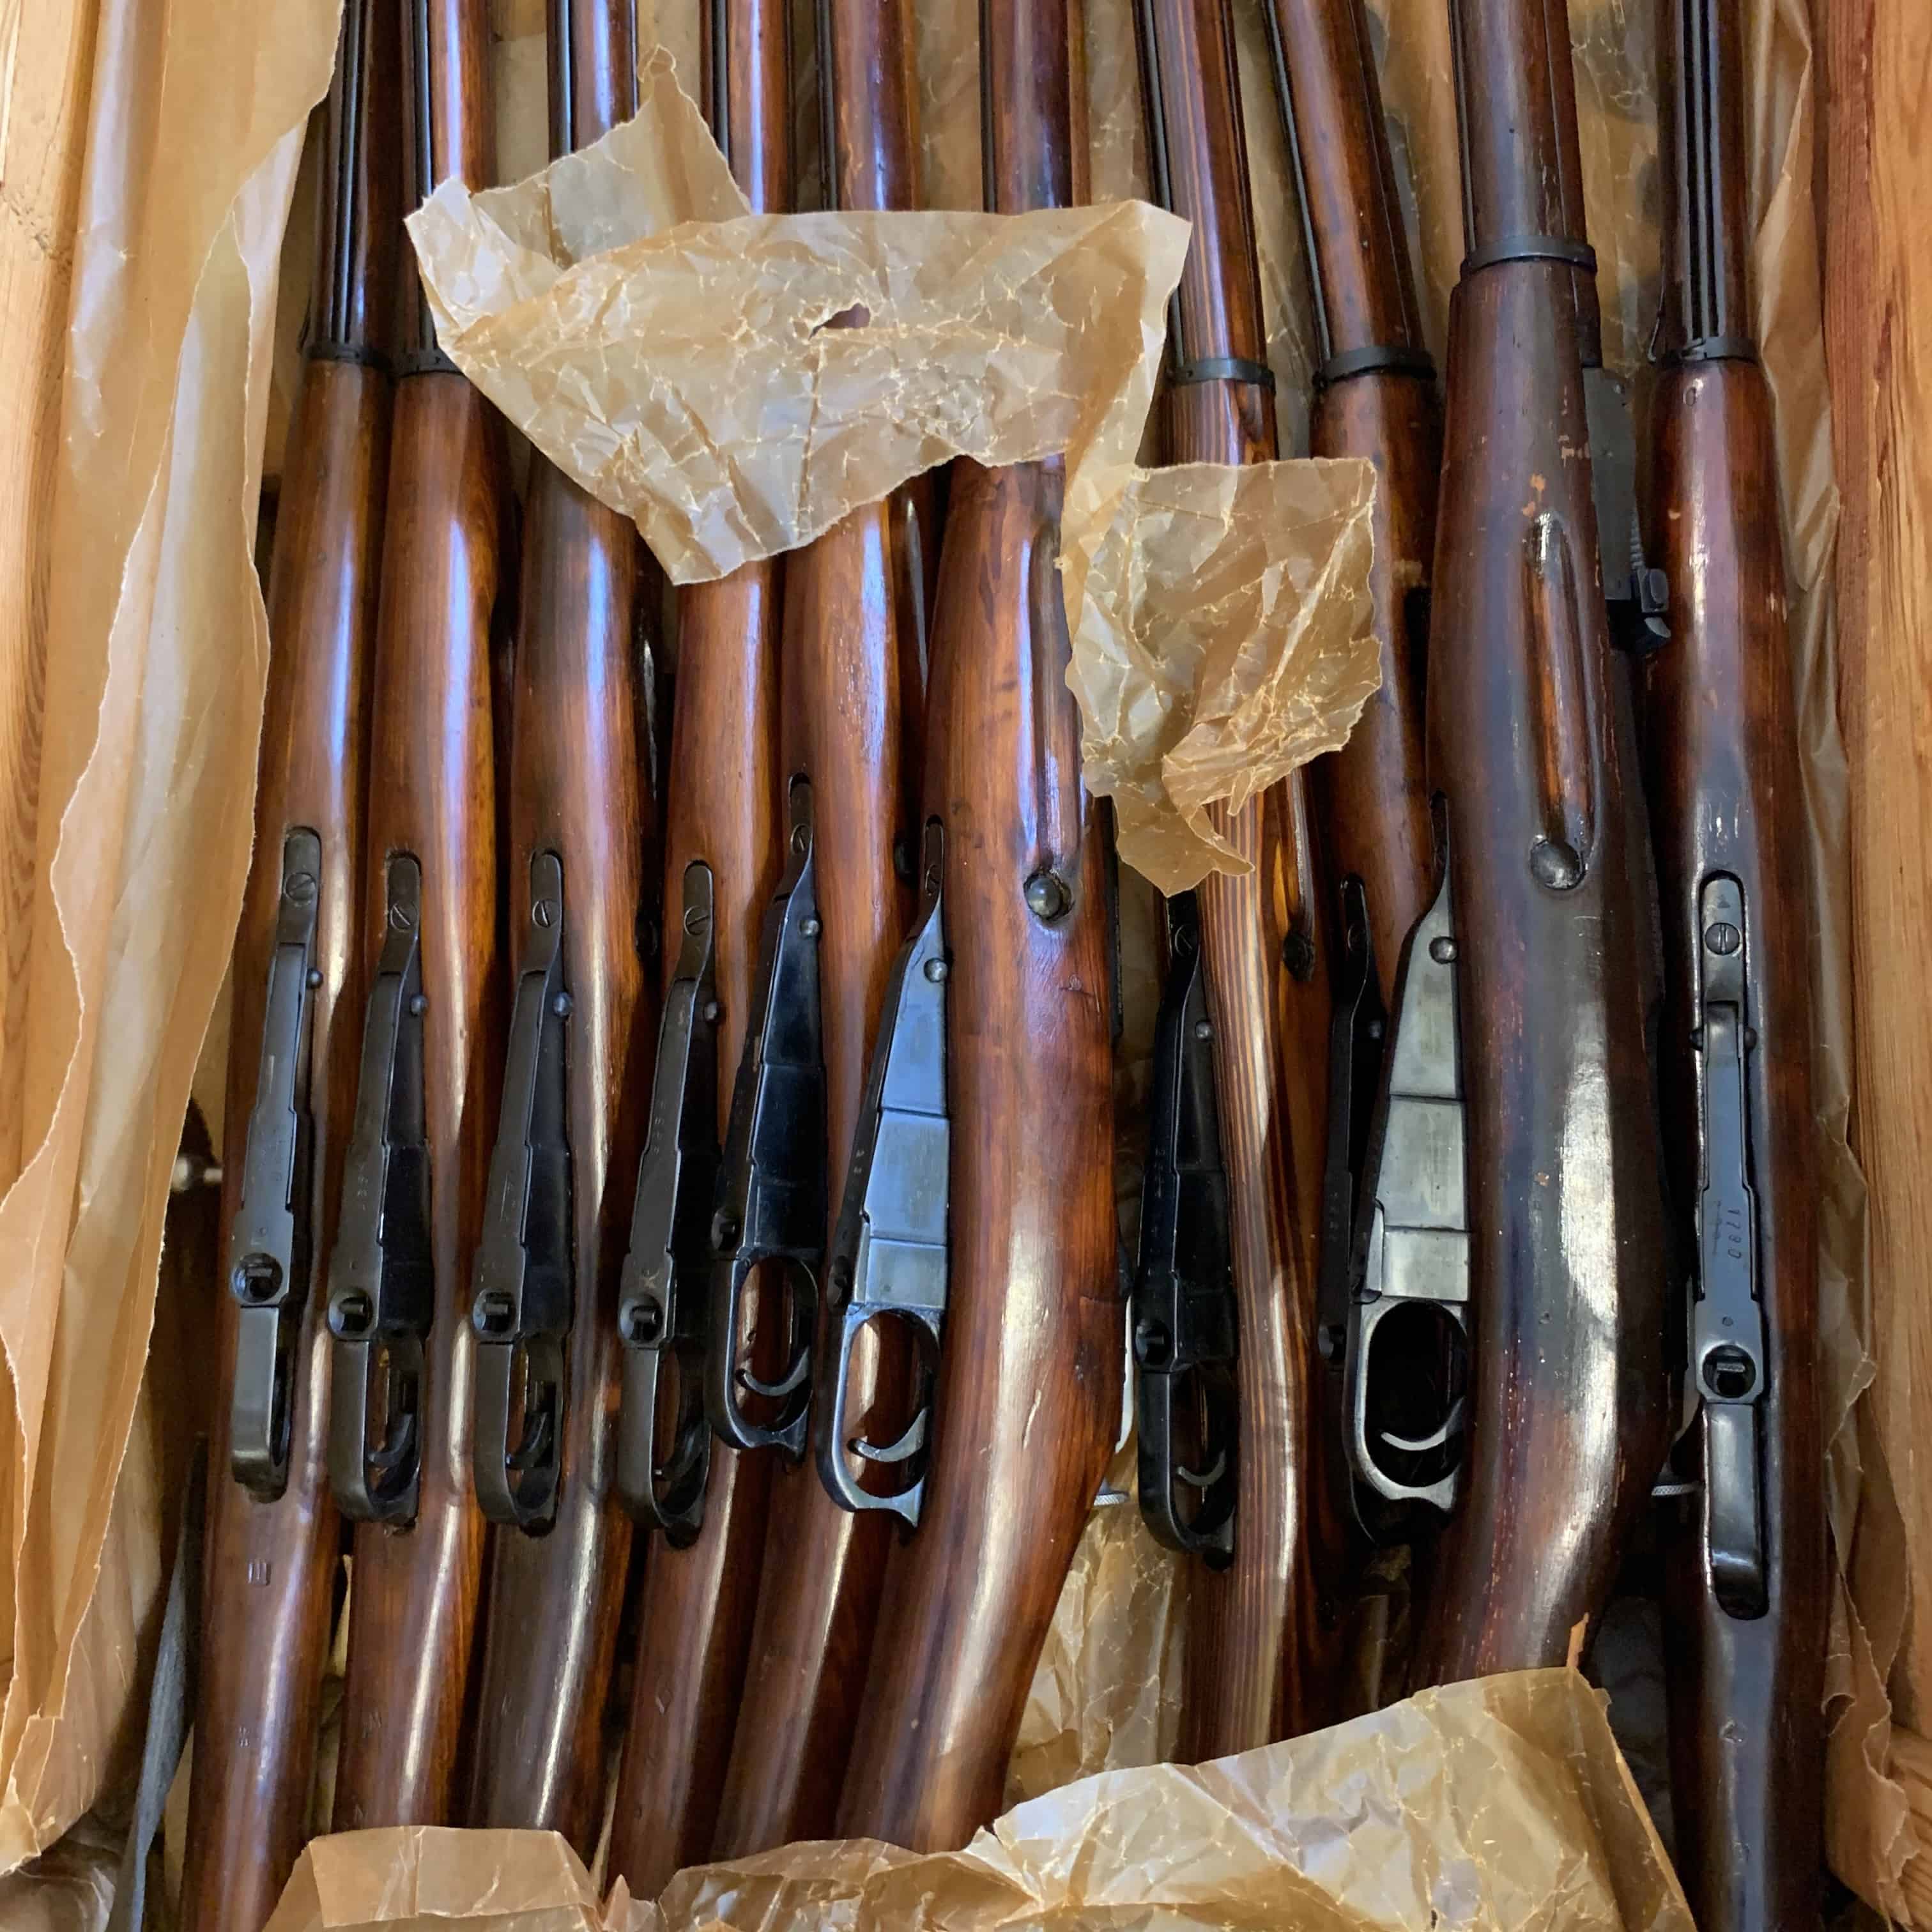
If your “new” gun happens to be an old Military surplus firearm, this is more important than ever, as it probably has cosmoline all over it. I’ve spent whole days cleaning old cosmoline-soaked Mosin Nagants that were fresh out of the crate, a messy but necessary job. Author Julian Hatcher writes in detail about catastrophic failures due to having cosmoline in the bore of a rifle in Hatcher’s Notebook.
If your rifle is covered in cosmoline and you are looking to remove it, check out my article, What is Cosmoline & How to Remove It.
What’s Next?
Have fun! Your new firearm is ready to go to the range. This process should not be a complicated one and should be seen as an introduction to your new firearm. Use this as an opportunity to learn a little bit more about how it works. Maintenance is the key to keeping your gun in tip-top shape, making it last from generation to generation, and this is the first step.

Written by: Kurt Martonik
Kurt is a Gunsmith, Reloader, Hunter, and Outdoorsman. He grew up in Elk County, Pennsylvania, where he became obsessed with the world of firearms. Following high school, Kurt enlisted in the United States Air Force as a Boom Operator, where he eventually rose to the position of Instructor. After his military service, he attended the Colorado School of Trades(CST) in Lakewood, CO for gunsmithing. Following graduation, he accepted a job at C. Sharps Arms in Montana, where he worked as a full time stockmaker and gunsmith.