A loose 1911 plunger tube can cause all kinds of function issues in your pistol. The iconic 1911 is an age-old design that periodically needs some work to keep it in working order.
The plunger tube assembly is staked into place on the frame. Fixing a loose plunger tube is as simple as restaking the existing plunger tube and tightening it back up to the frame.
This is easily done at home if you can access the right tools.
Affiliate Disclosure: This article may contain affiliate links. When you use these links, I earn a small commission from each sale generated at no cost to you. This commission helps me continue to put out free content. I work a full-time job that I am very happy with; therefore, I don’t need this commission and am not obligated to speak highly of any product. Everything written is my own opinion: the good, the bad, and the ugly.
What Does the 1911 Plunger Tube Assembly Do?
The 1911 plunger tube assembly is staked to the left side of the frame by two staking posts located on the back of the plunger tube. The plunger tube plays an important part in the function of the safety and slide release.
The assembly consists of 4 parts; the plunger tube, plunger spring, safety plunger, and slide-stop plunger. These four parts keep spring tension on both the slide stop and thumb safety. The slide stop plunger sits in a small detent on the slide stop keeping the slide stop from interfering with slide operation. The safety plunger is responsible for keeping the thumb safety in either the safe(up position) or fire(down position), using a similar but more pronounced detent than the slide stop.
Your plunger spring should have one kink in it about halfway down. This keeps it from shooting the thumb safety plunger across the room during disassembly.

Inspecting Your 1911 Plunger Tube
To inspect the condition of your 1911 plunger tube, fully disassemble the gun. Remove the slide and all of the mainspring and hammer components. It is not necessary to remove the trigger and magazine release. Get a firm grip on the plunger tube assembly and try to move it. There should be no movement, and the joint between it and the frame should be tight. If it is loose, it needs to either be restaked or replaced.
Click here to see more gunsmithing-related content!
Next, look for anything that might limit the functionality of the plungers and spring inside the tube. This will be in the form of dents or burrs. If the dents are minor, you can purchase this reamer made specifically for cleaning up the plunger tube assembly. Although this doesn’t tend to be an abused area of the gun, most of them simply need restaked.
Use coupon code KTG10 to get 10% off your order of $150 or more at Brownells.
Potential Issues
The 1911 plunger tube assembly plays an important role in the function of the 1911 design. With a general understanding of its operation, you can begin to see where the potential problems lie. If you are having issues with the thumb safety or slide stop, do a quick inspection of the plunger tube. Also, a thumb safety that is hard or near impossible to disengage is typically caused by a loose plunger tube.

Tools Needed
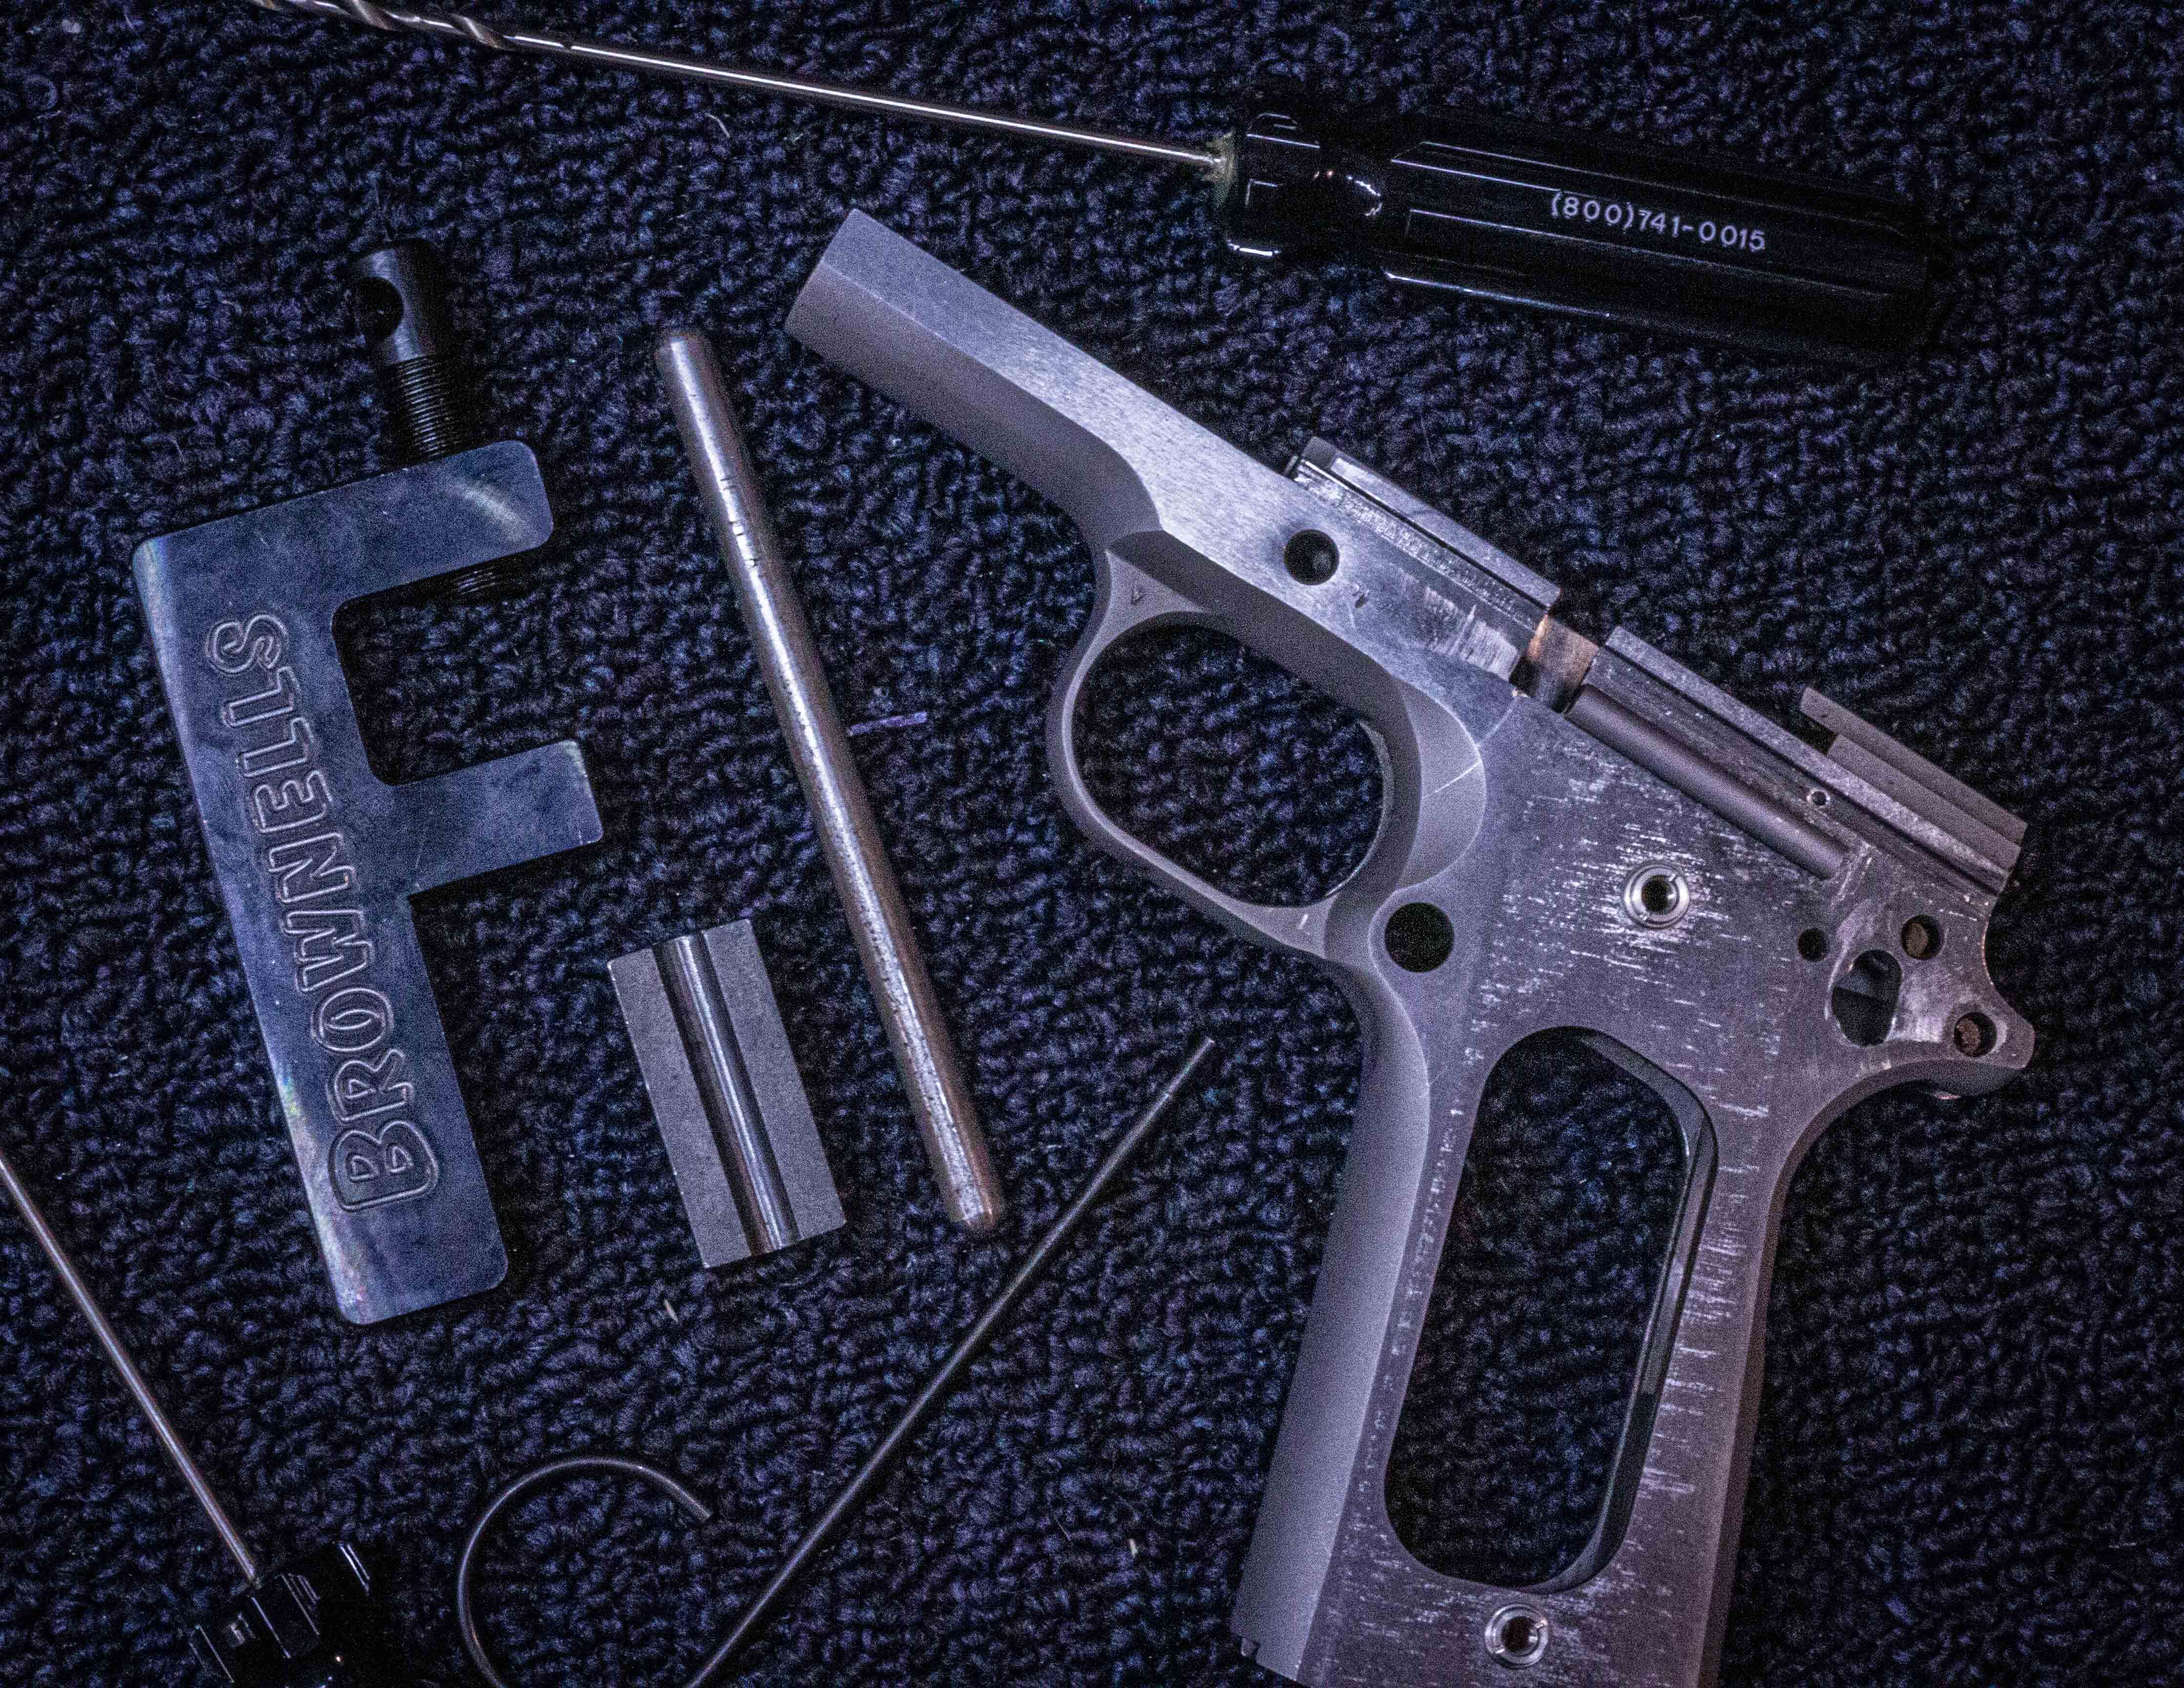
If you decide that this is a job you are capable of doing at home, you will need a few specialized tools to complete the repair procedure.
Brownells Plunger Tube Staking Tool – This tool is essential to doing the job correctly without further damaging the plunger tube assembly. It includes the staking tool, anvil, plunger tube support, and hardened crimper tip. The staking tool, in combination with the crimper tip, does the brunt of the work. The plunger tube support is inserted inside the plunger tube to prevent it from deforming or denting during operation. The anvil is milled out to get the most contact possible with the plunger tube to prevent deformation.
Plunger Tube Reamer Set – You may or may not need this reamer set, depending on your situation. I use it for every installation and restaking. It is a two-reamer set, one for the smaller diameter hole on the slide stop end of the plunger tube and one for the main channel.

Restaking the 1911 Plunger Tube
Using the tools above, restaking a 1911 plunger tube is a rather simple job. The plunger staking tool is designed to be used in conjunction with a vise, but it isn’t necessary. First, you will want to clamp the leg of the tool in a vise with ample room to fit the frame in between the crimper support and the top of the vise jaw.
- Place the plunger tube support inside the plunger tube
- Next, center the anvil on top of the plunger tube
- Insert the frame into the tool aligning the crimper with the plunger tube staking post
- Turn the handle until the post is fully seated.
- Repeat for the other staking post.
Once again, there should be no gap between the plunger tube and the frame. Check to see if there is any play in the plunger tube. If there is, repeat the above steps. Lastly, run the reamers through to ensure nothing was bent or crushed during the process.
Do The Maintenance!
If you recognize the above phrase, you are probably familiar with Mark Novak of Anvil Gunsmithing. Doing this preventative maintenance of your 1911 will make it last forever. The Kuhnhausen series of books are excellent references for any 1911 work, and I highly recommend them both for anyone working on 1911s.
The U.S. M1911/1911A1 Pistols and Commercial M1911 Type Pistols: Volume 2

Written by: Kurt Martonik
Kurt is a Gunsmith, Reloader, Hunter, and Outdoorsman. He grew up in Elk County, Pennsylvania, where he became obsessed with the world of firearms. Following high school, Kurt enlisted in the United States Air Force as a Boom Operator, where he eventually rose to the position of Instructor. After his military service, he attended the Colorado School of Trades(CST) in Lakewood, CO for gunsmithing. Following graduation, he accepted a job at C. Sharps Arms in Montana, where he worked as a full time stockmaker and gunsmith.