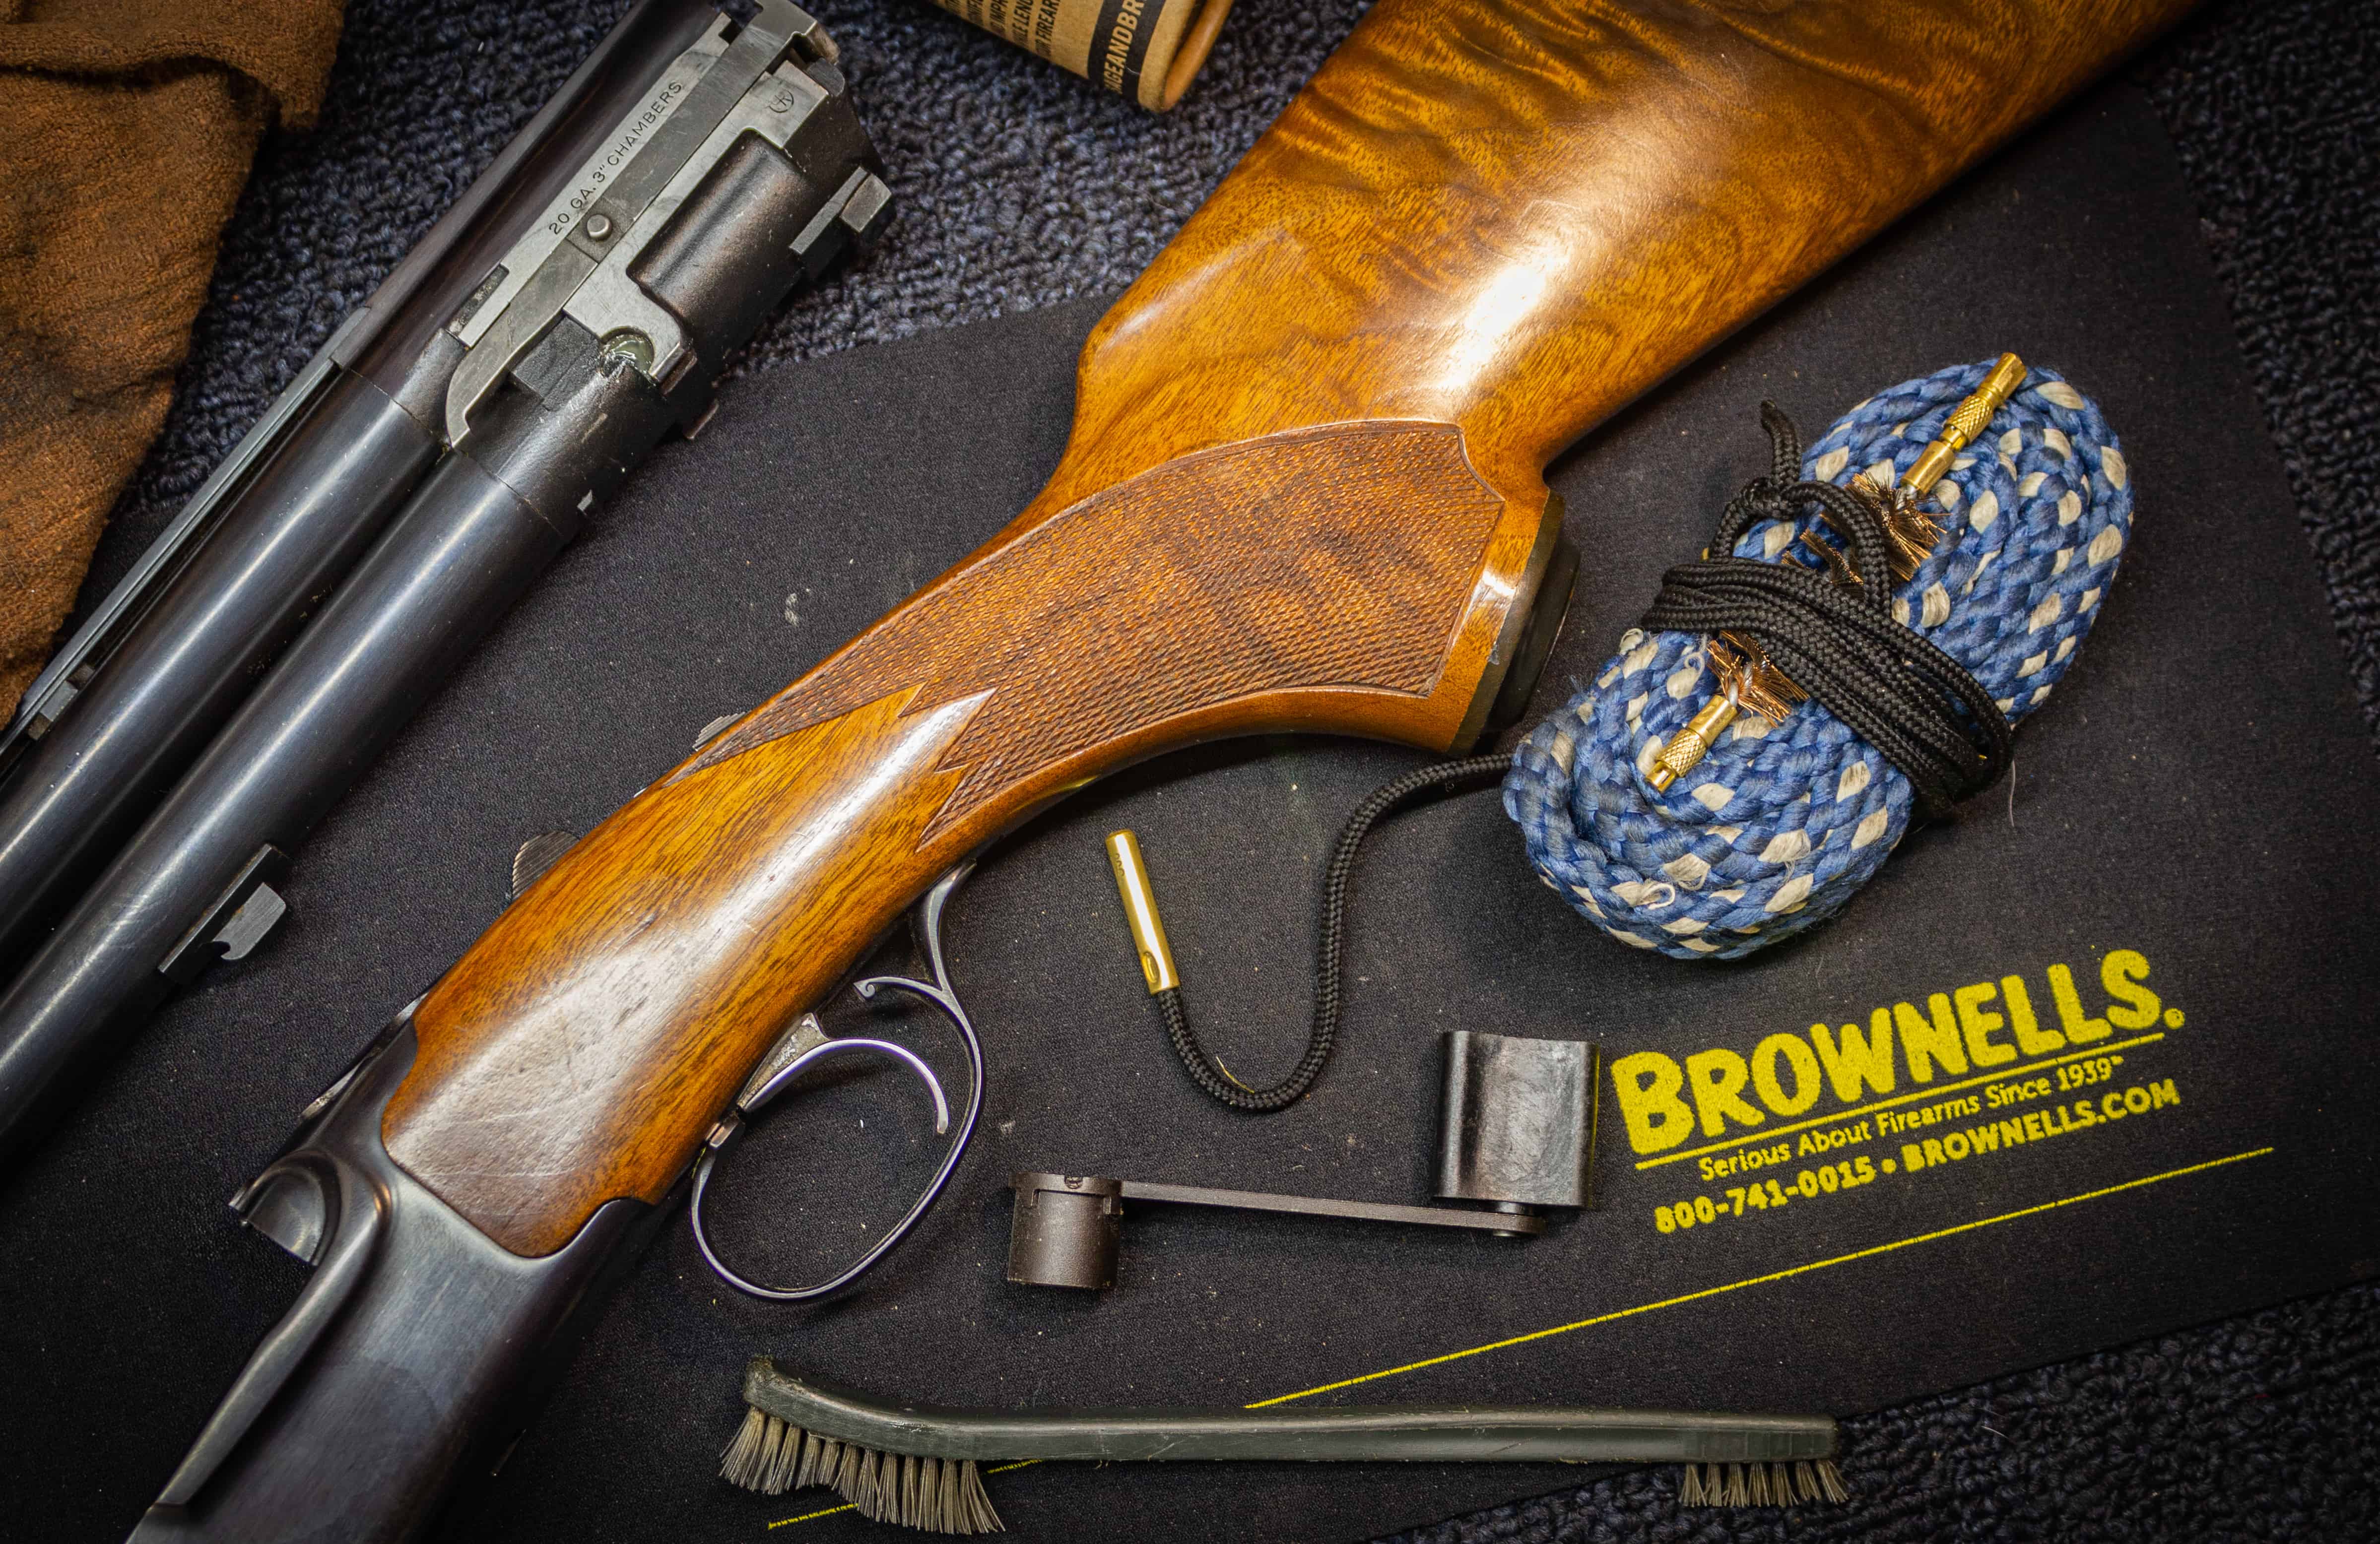
I have taken my Ruger Red Label over/under through some of the worst conditions. Weather that was so wet and cold that I almost felt bad about it. The shotgun has remained in excellent shape despite this exposure to the elements. Yes, I am a gunsmith, but I rarely do any more disassembly than is absolutely required for basic cleaning on my working guns.
The over/under shotgun can be very complex internally, but cleaning it is very straightforward and easy. Field strip the shotgun by removing the forearm and barrels and cleaning it of any debris. Reassemble. During reassembly, it is important to lubricate and grease the proper friction areas as outlined below.
This should be a fun process and something that you look forward to!
Affiliate Disclosure: This article may contain affiliate links. When you use these links, I earn a small commission from each sale generated at no cost to you. This commission helps me continue to put out free content. I work a full-time job that I am very happy with; therefore, I don’t need this commission and am not obligated to speak highly of any product. Everything written is my own opinion: the good, the bad, and the ugly.
How to Clean Your Over/Under Shotgun
The processes I outline below are for a basic cleaning done before and after each season. This procedure will vary slightly from user to user based on location, use, and weather.
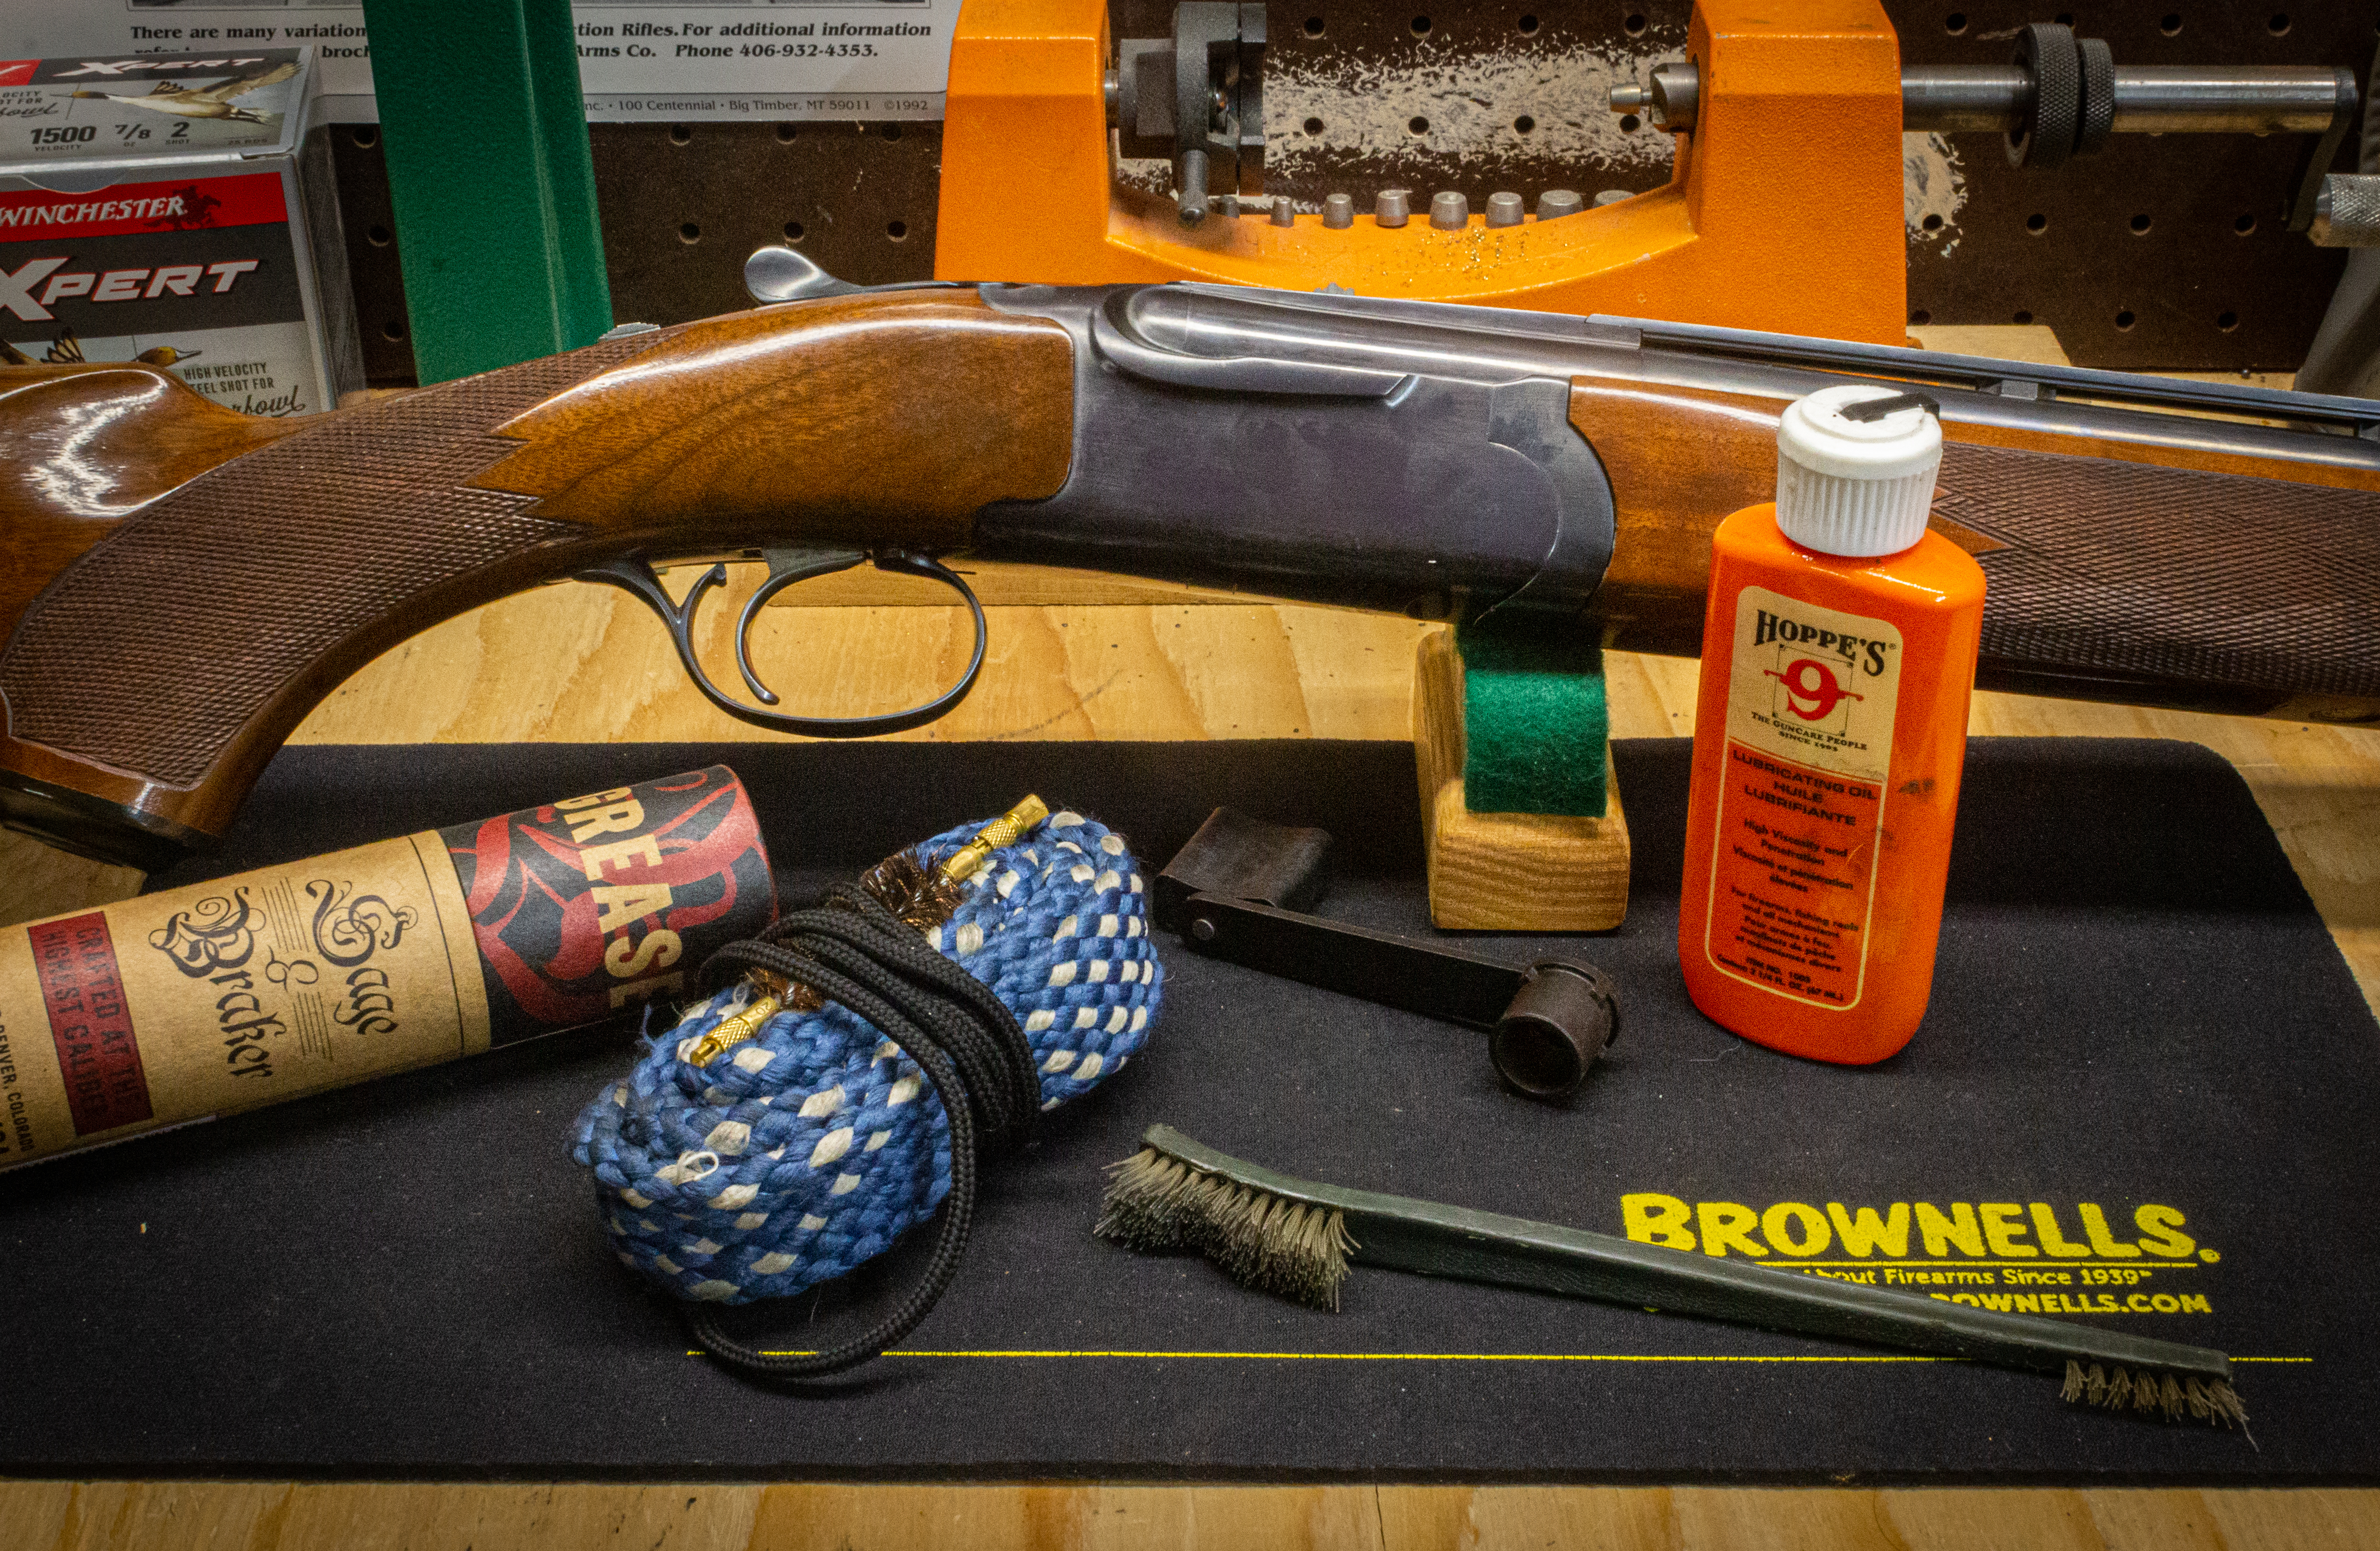
The Tools Needed to Clean an Over/Under Shotgun
Throughout this article, I will recommend products that I like and use frequently. Many of these are not brand specific, any gun grease, gun oil, or bore snake will work.
- Gun Oil/Solvent
- Gun Grease
- Cleaning Brush(A toothbrush works great)
- Bore Snake
- Choke Tube Wrench(If needed)
- Stock Wax(Wood stocks only)
Verify that the shotgun is unloaded prior to disassembly.
Remove the Forend and Barrels from the Action Assembly
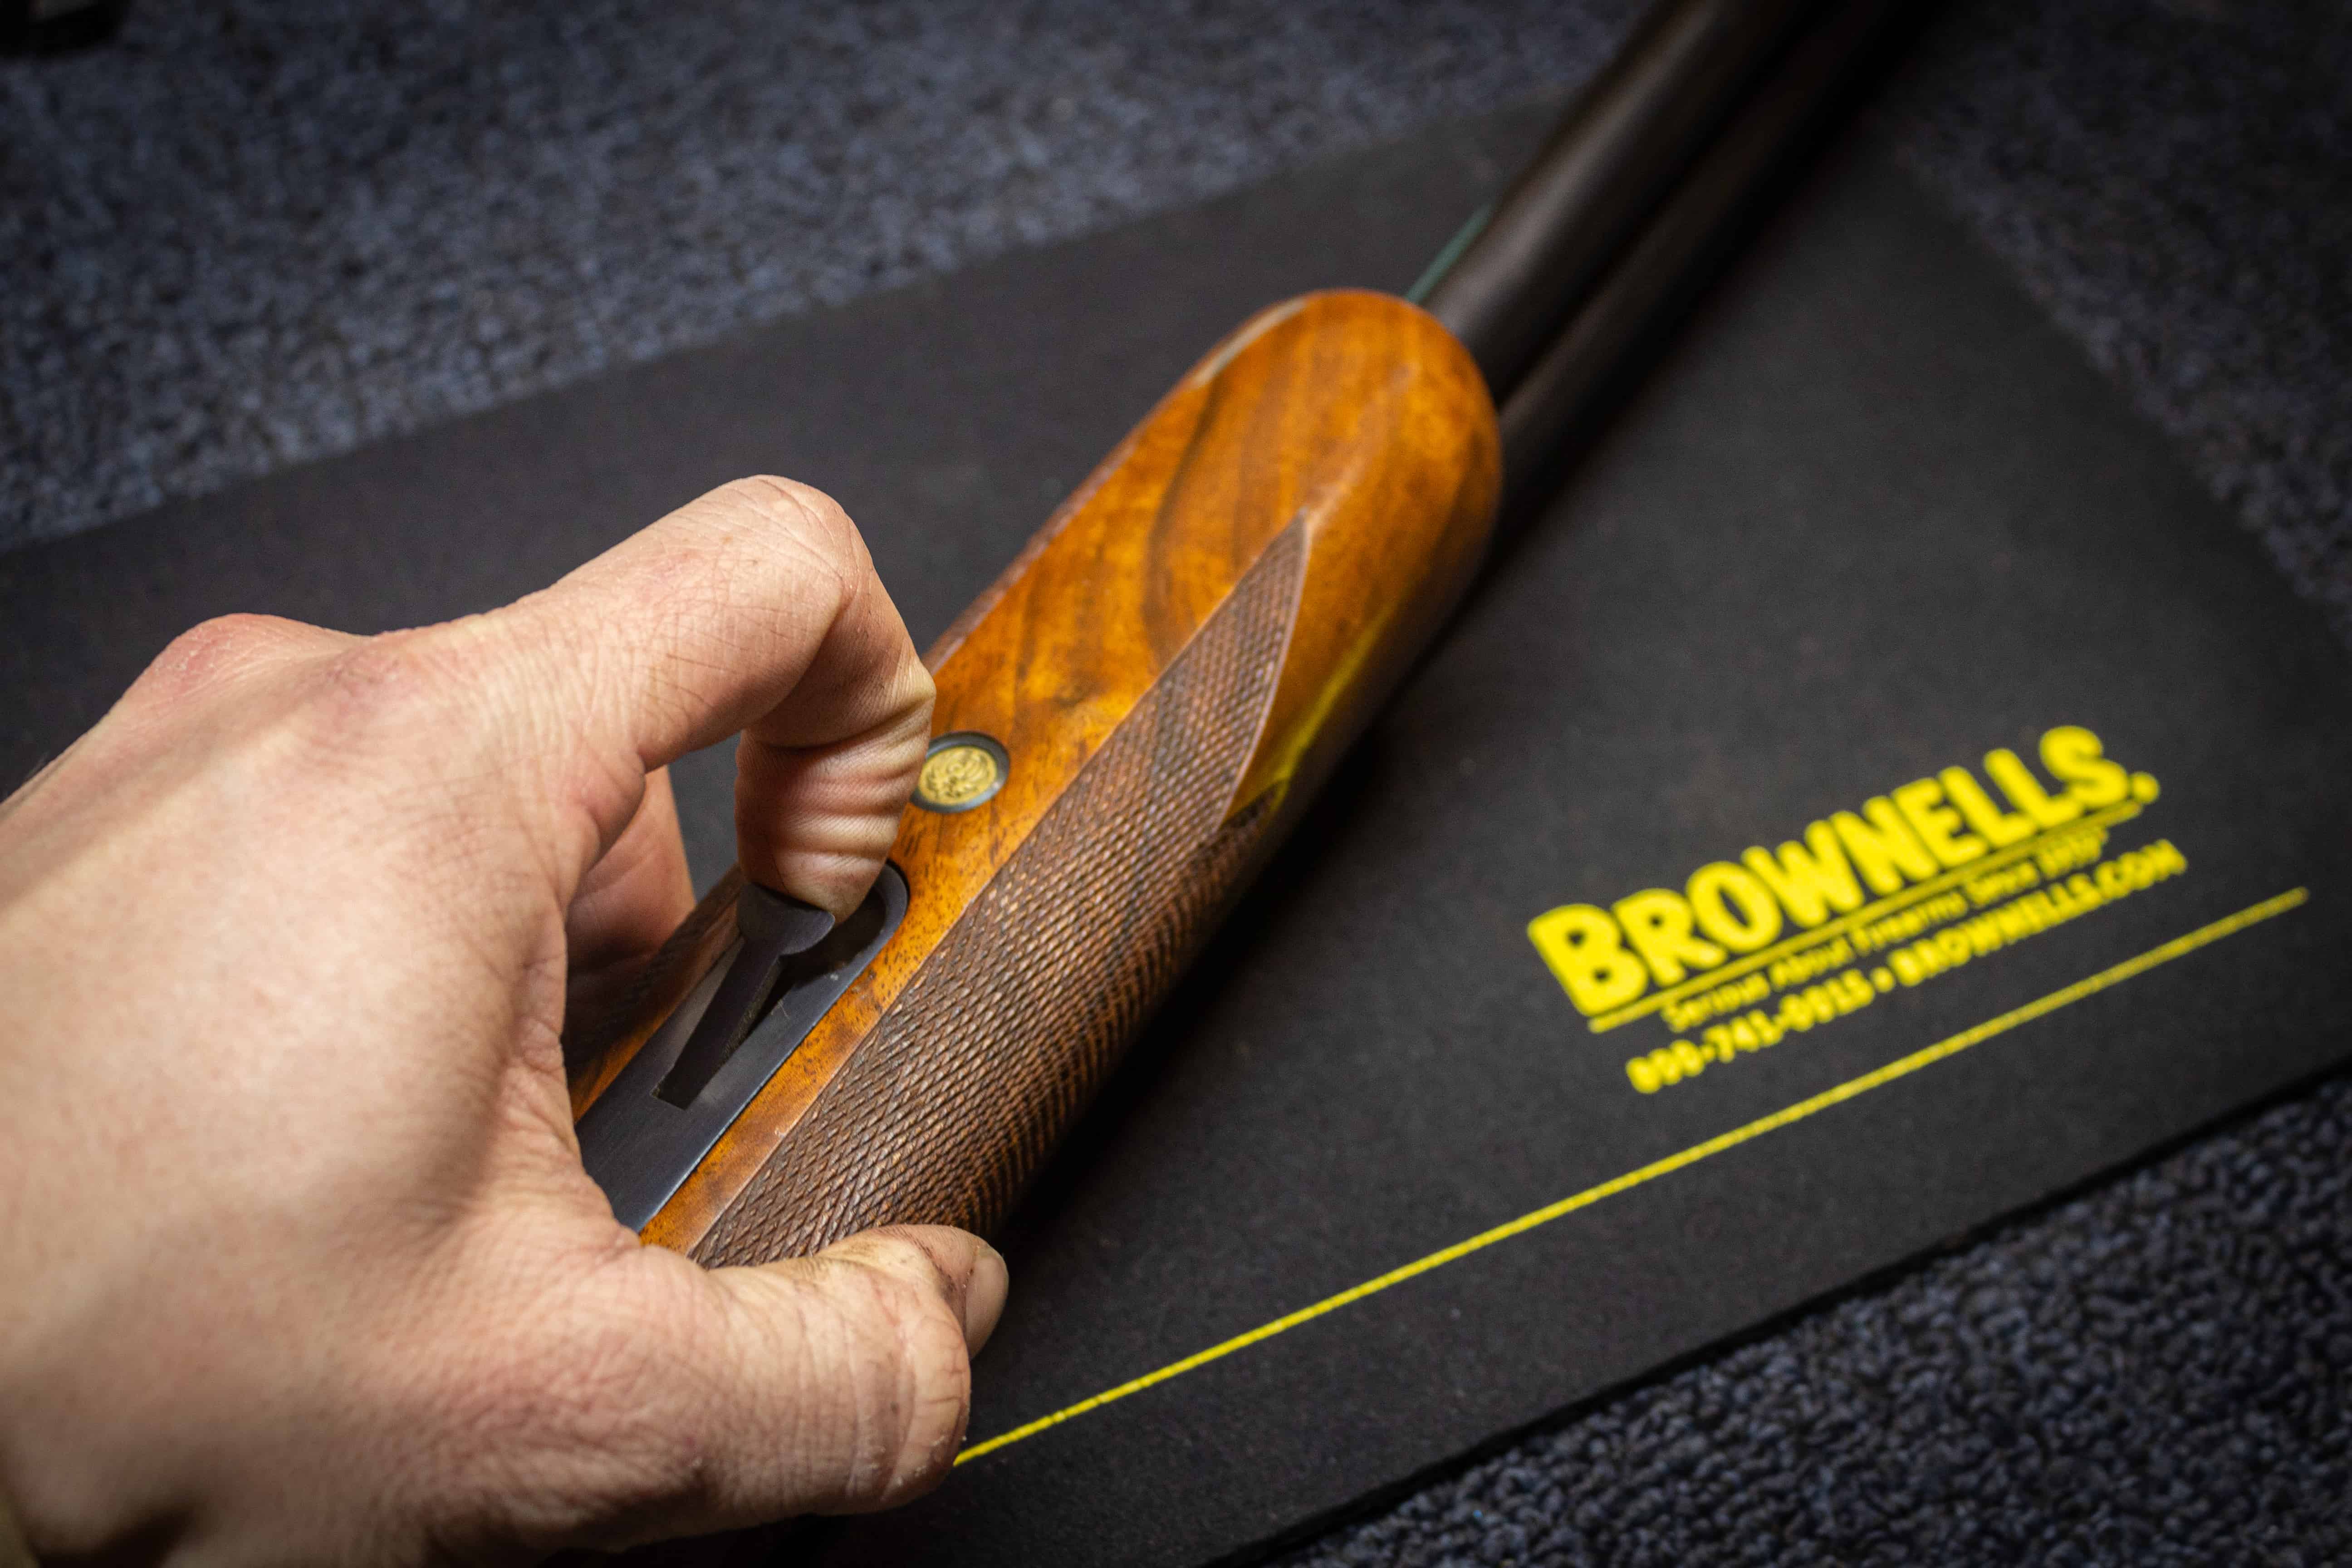
Start by removing the forearm and barrels from the action assembly. There are many different forend latch types used to secure the forearm to the barrel. Most of them will require a lever to be pulled before the forend can be rotated off.
To do this, close the shotgun barrels, flip them upside down, and use your finger to pull the latch. This latch will unlock the forearm assembly from the barrels. At this point, while holding the latch up, rotate the forearm off. Next, break open the shotgun by using the thumb lever and remove the barrels.
This is as far as you need to go for a typical field cleaning. Further disassembly should be cautiously approached, as you can quickly get in trouble without the proper tools and techniques.
Cleaning the Barrels
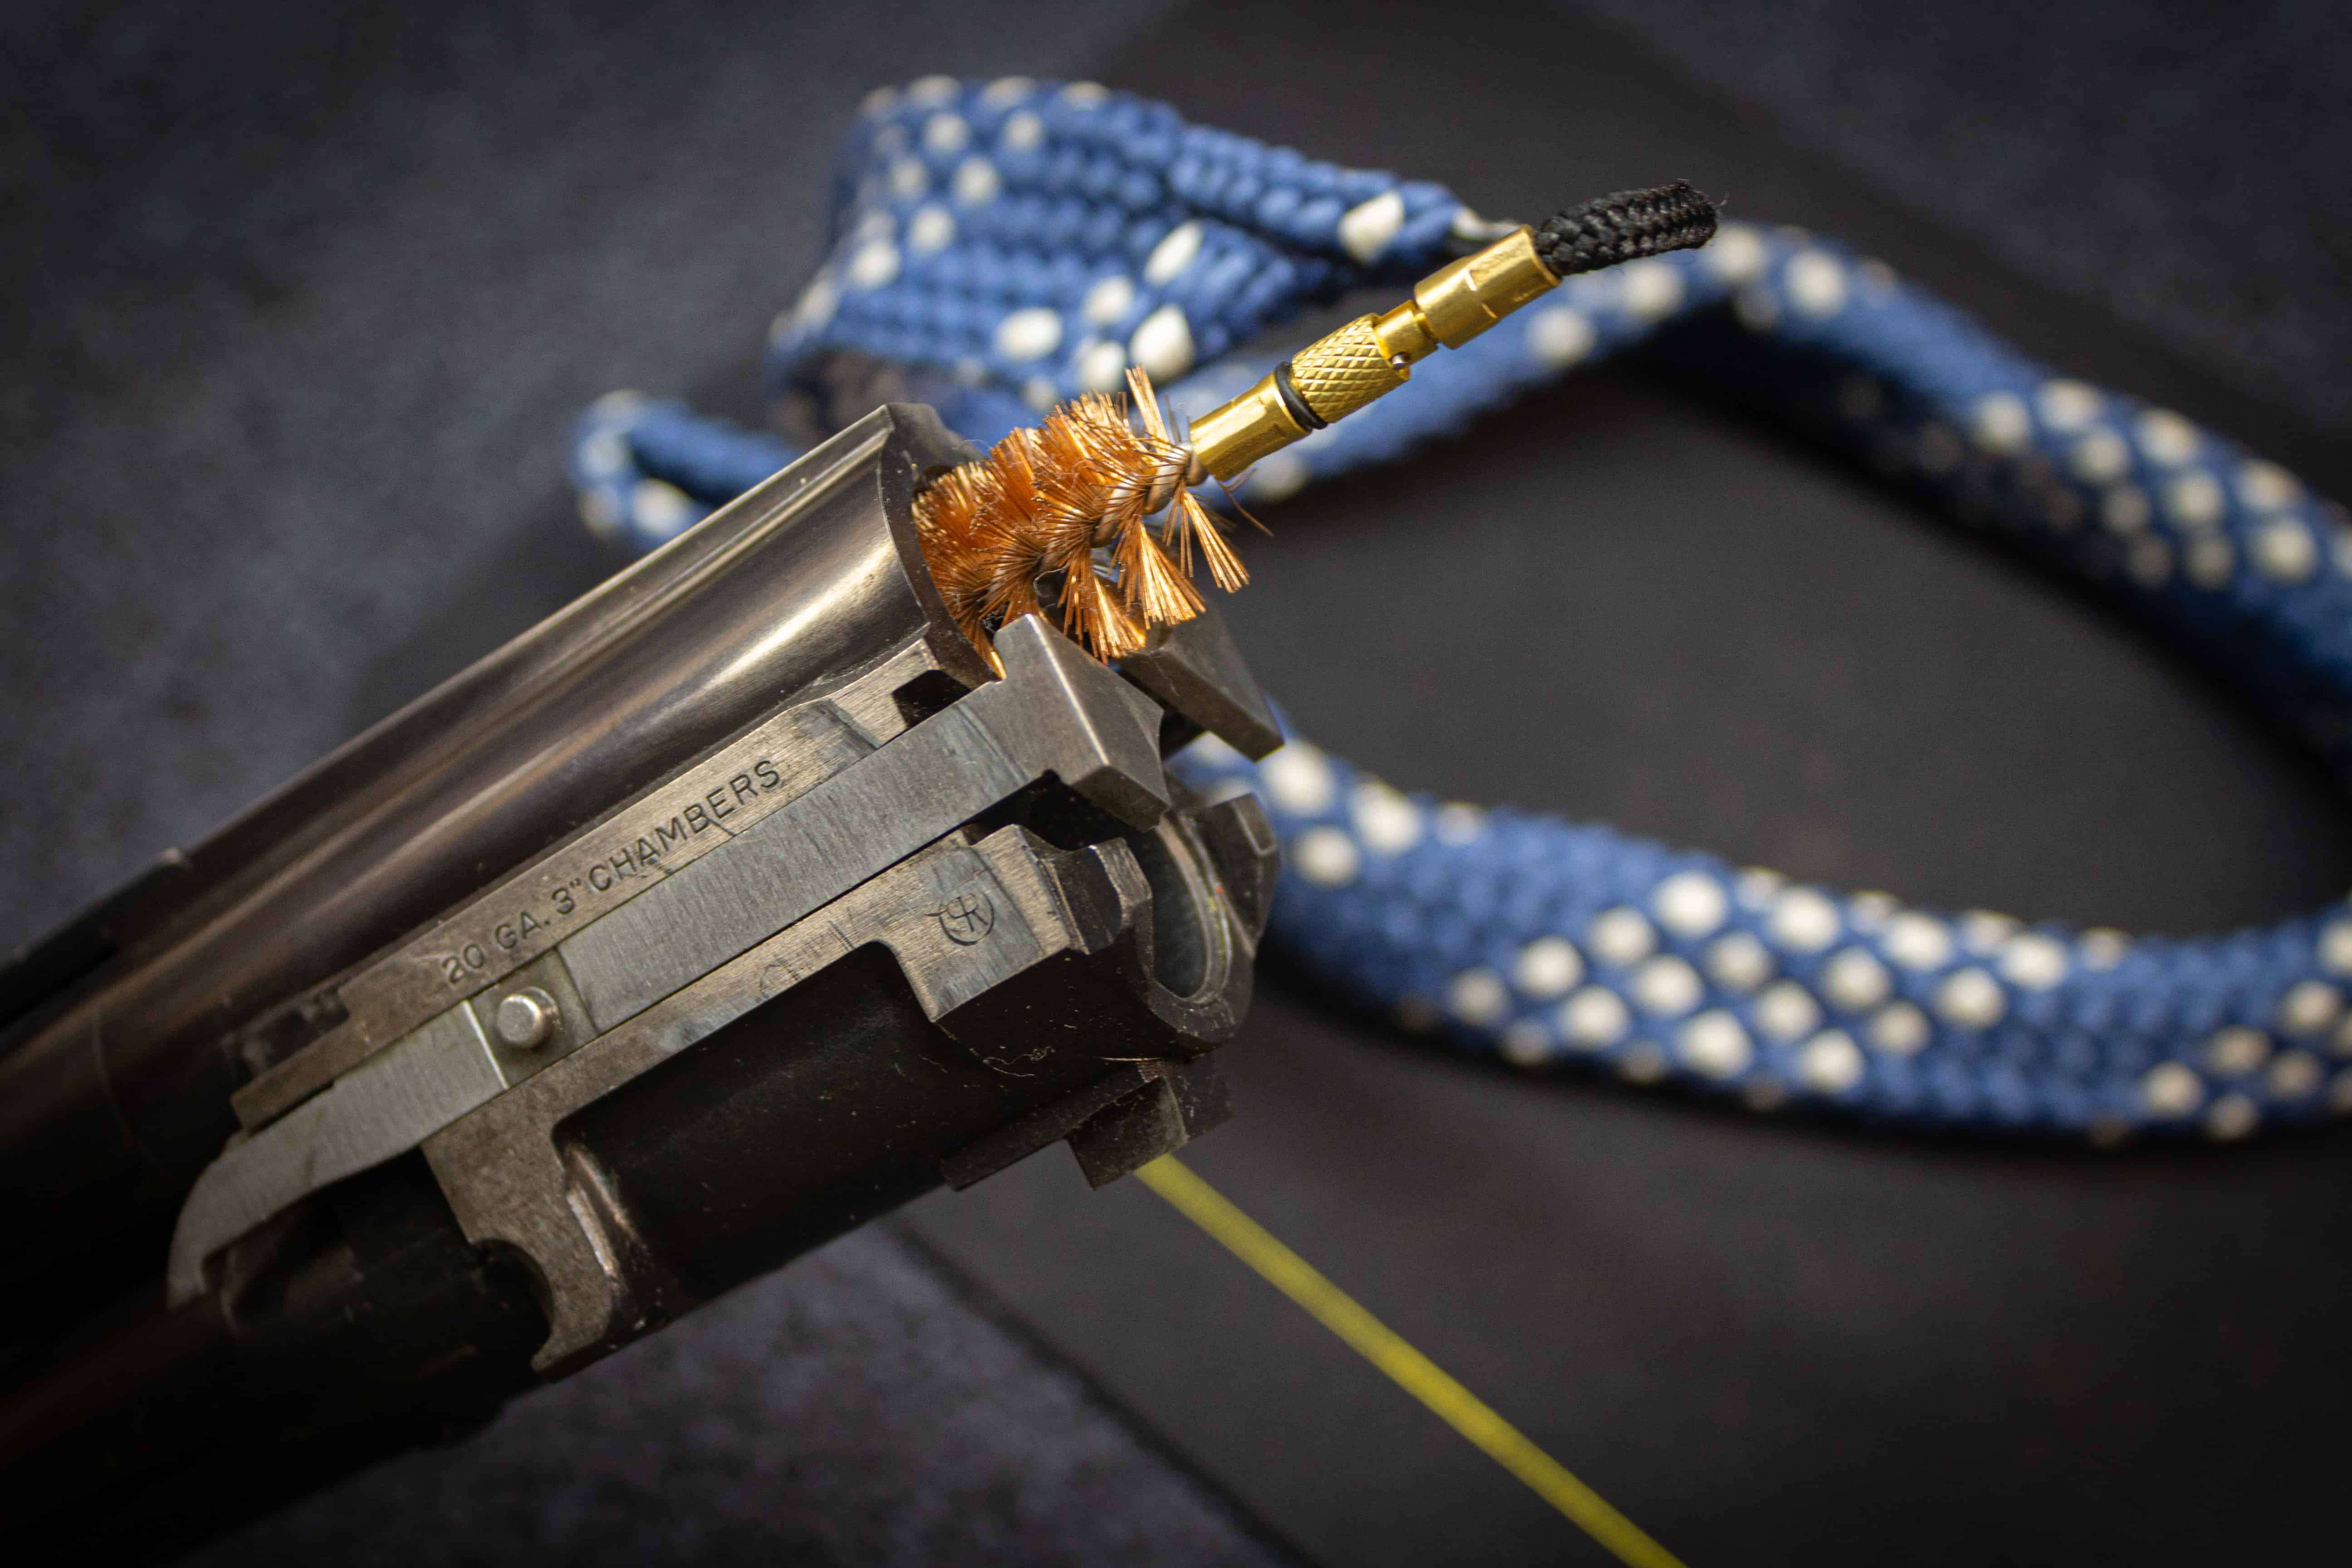
The shotgun barrels are much easier to clean than that of a rifle. A shotgun bore doesn’t have all of the edges and surfaces that rifling does, so there are fewer places for fouling to build up. Good news for us. Below, I’ve outlined two ways of cleaning the barrels of a shotgun: one with a cleaning rod and the other using a bore snake.
If using a traditional cleaning rod and copper bore brush, start by running the brush down the bore, removing any large debris and unburned powder. Do this as many times as you feel necessary. Next, run a snug-fitting, lightly oiled patch through the barrels. It should come out black or dark grey. Repeat this process until you are happy with the color of the patch. Ideally, getting it to come out clean every time it is pulled through.
When using a bore snake, the process is simplified even further. Lightly oil the bore snake and pull it through the barrel until satisfied with the results. I prefer this method in the field as it is easy to do and reduces the amount of gear I have with me. Most of the time, this is done at the truck before I even get home. Doing this after each outing will keep your barrels clean and rust-free.
Cleaning the bores of your shotgun often will keep the fouling from building up. If ignored, a thorough cleaning may be necessary to get your bore back to the bright and shiny condition we’ve all come to love. Heavier fouling may require using a solvent like Hoppe’s No.9.
Use coupon code KTG10 to get 10% off your order of $150 or more at Brownells.
Clean and Oil the Metal Parts
Brush away any debris or fouling with a soft-bristled brush. Depending on the amount of fouling found in the action area, you may need to use a cleaning solvent in conjunction with the brush. It is unlikely that you will have a lot of built-up carbon in this area. If your guns look like mine after busting brush for pheasant or grouse, you will probably find a few twigs and leaves in there somewhere.
Wipe all of the metal surfaces with a light coat of oil. I put emphasis on light for a reason. Over-oiling a gun can cause irreversible damage in the long run. When stored the traditional way, muzzle up, excess oil can migrate down into the head of the stock. Over time this oil will damage the wood and cause it to rot. I like a light viscosity oil for this application. It doesn’t last as long and needs to be applied a little more frequently, but it is worth it.
Grease or Oil the Hinge Points and Reassemble
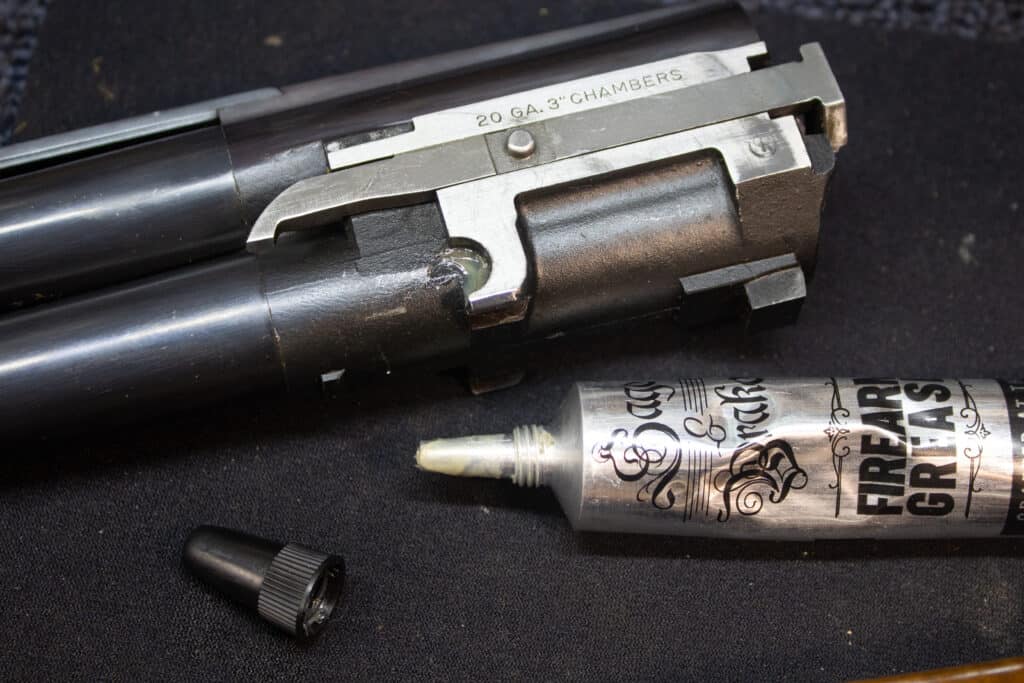
At this point, everything should be wiped free of debris and ready for reassembly. The last step before reassembly is to grease or oil the hinge points and locking lugs. The hinge points are where the shotgun barrel rotates when opened, and the locking lugs are the lugs that recess into the receiver to strengthen it during firing. These are high-friction areas and need to be oiled or greased.
There are two trains of thought to the grease vs. oil debate. Neither of them is wrong. I use grease, but that is just my preference. Grease will stay in place longer than oil but can attract dirt and, in very, very rare cases, cause galling of the metal(if kept clean of heavy debris, this is not an issue). If using oil, it must be applied often as it will migrate out of the areas where it is needed most. If you decide to go with oil for this application, use one with a heavier consistency that will stay put longer.
Lastly, add a couple of drops of oil to the extractors. At this point, you can reassemble the shotgun and put it away, knowing it is taken care of. Continue reading below if you have removable choke tubes or wood stock.
Cleaning Removable Choke Tubes
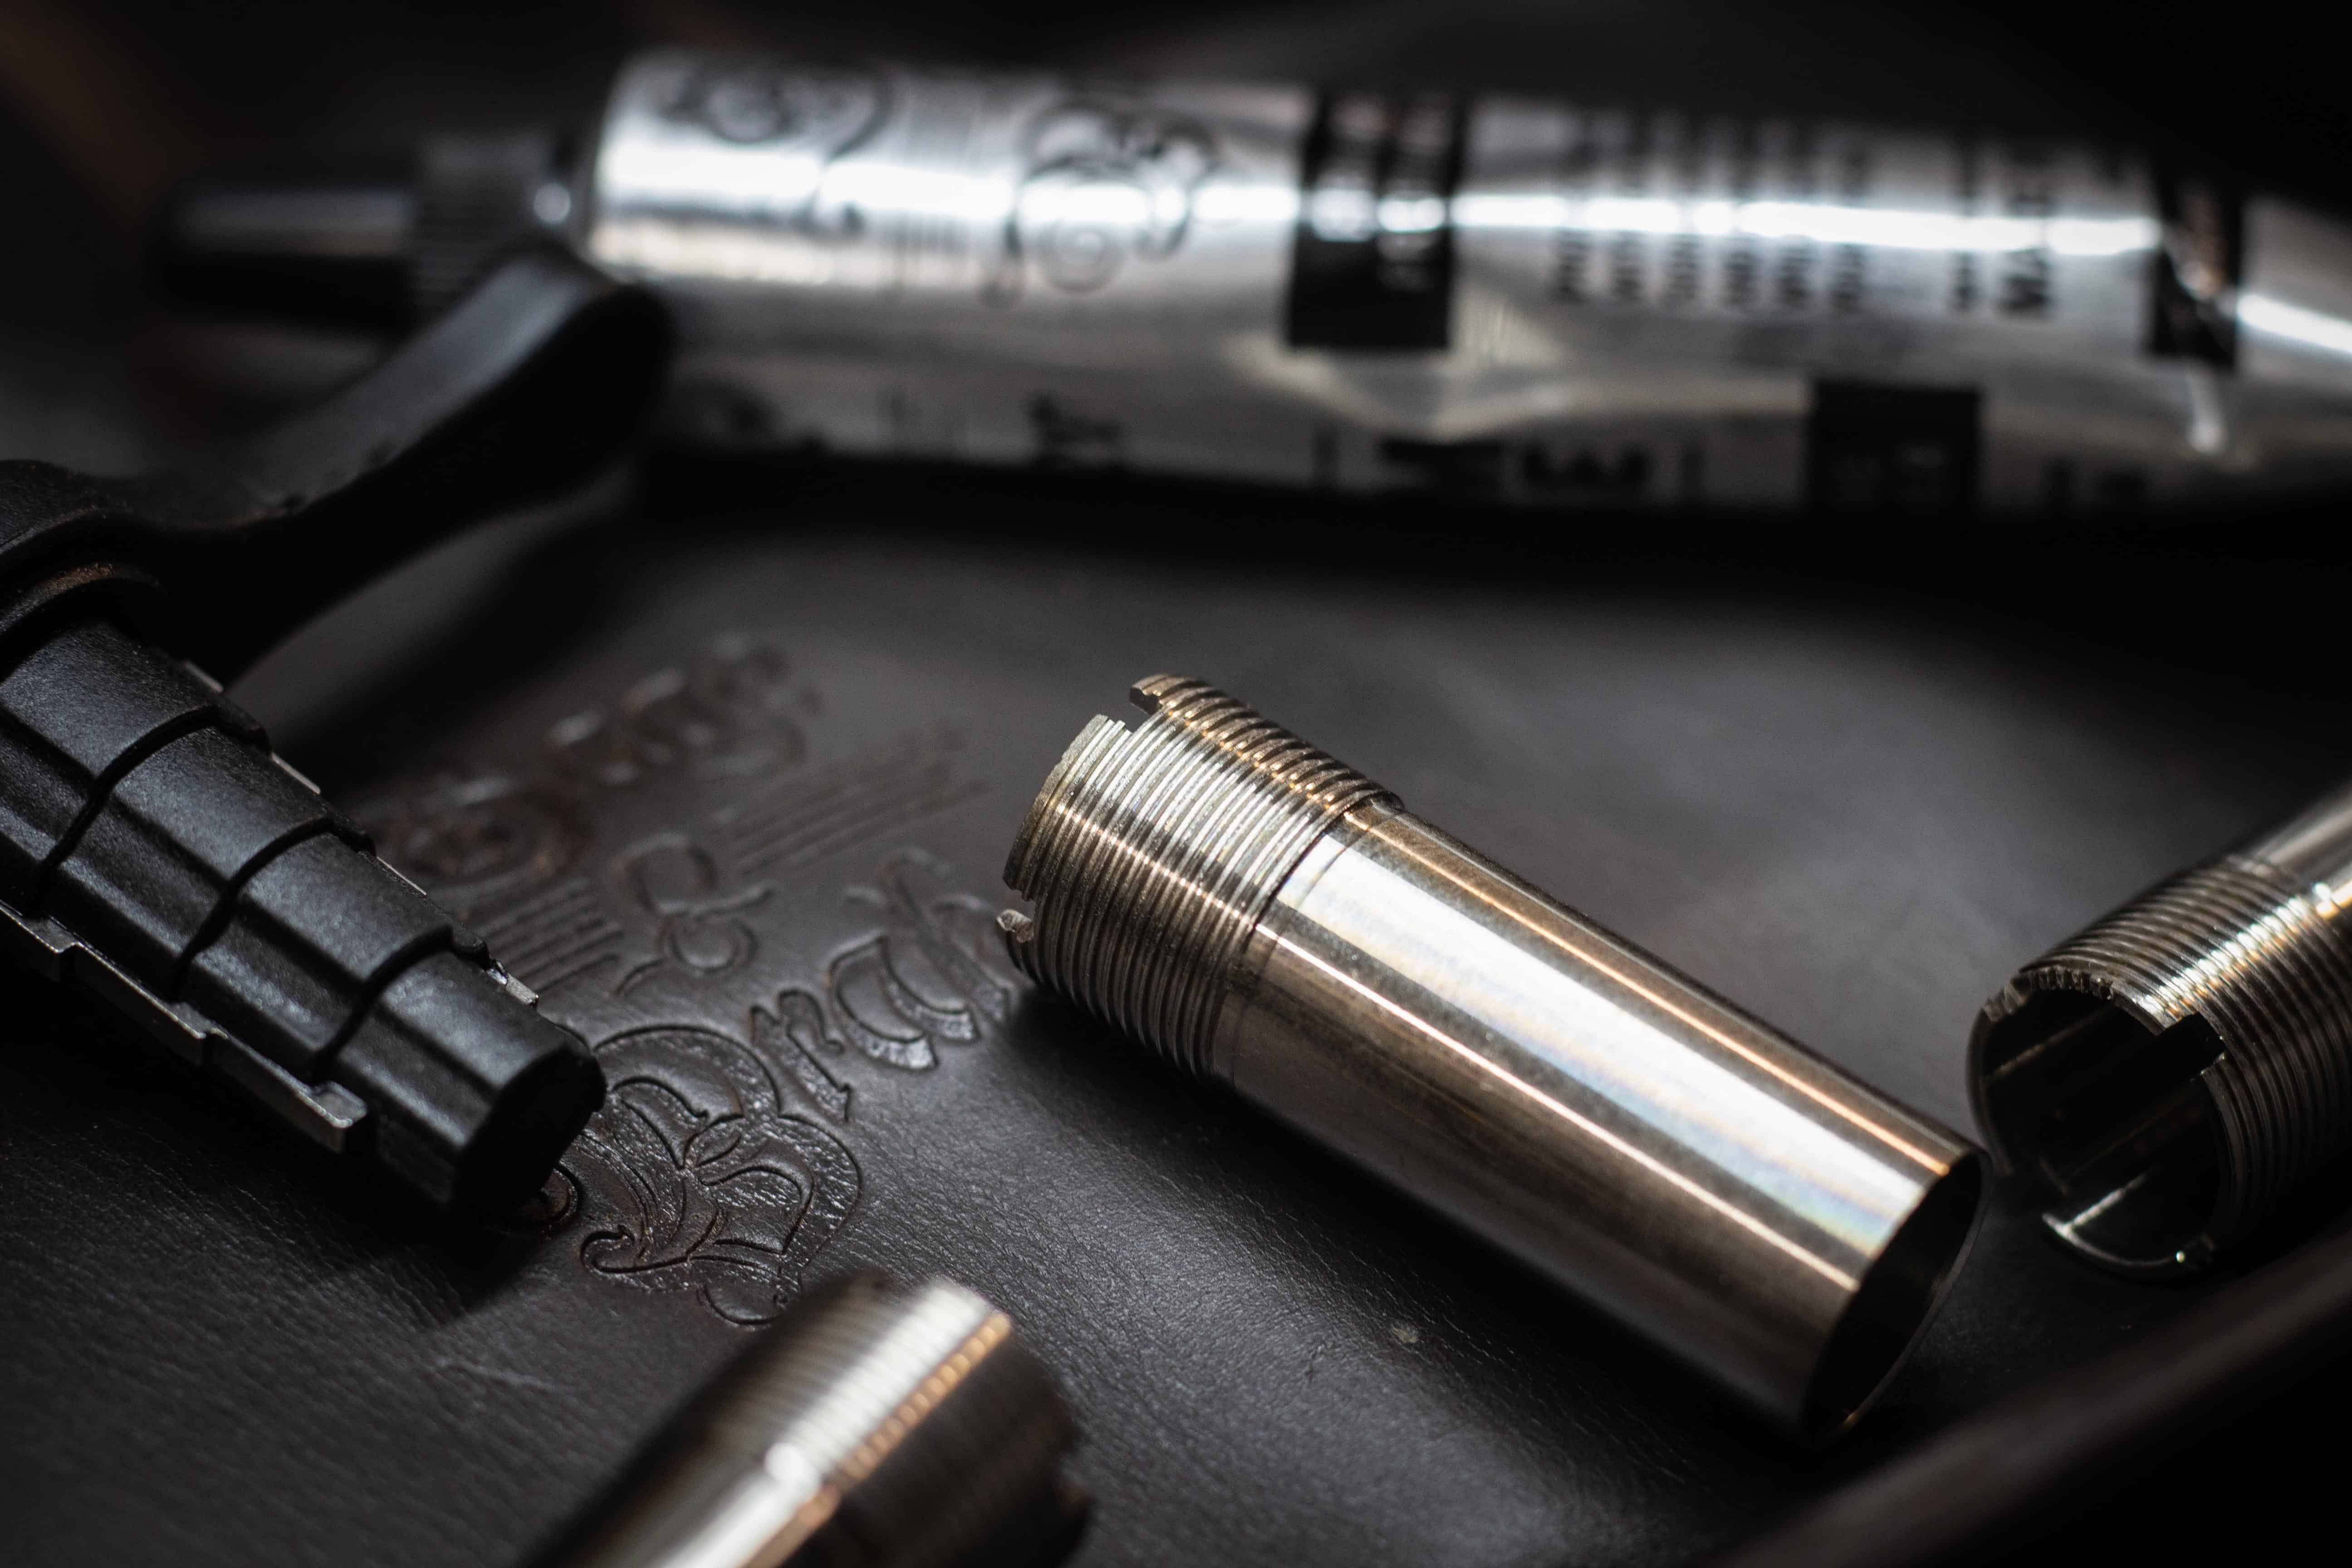
If there is one thing that the everyday shotgun shooter doesn’t do enough, it is clean their choke tubes. It also happens to be extremely easy to do, often taking less than five minutes to accomplish. To clean your choke tubes, you need a choke tube wrench, rag, and grease.
Remove the choke tubes, wipe them clean with a rag, add a dab of grease to the threads, and reinstall them taking care not to overtighten them.
This is the perfect time to inspect them for any damage, such as dents or cracks. It is very important that you do not over-tighten your choke tubes when reinstalling them! Just snug them into place a little more than finger-tight. Choke tubes use very fine threads that can easily be damaged by over-torquing them.
Doing this small step once or twice a year will prevent your choke tubes from getting stuck in place due to rust or carbon build-up.
I use Sage & Braker’s Firearm’s Grease for my choke tubes as well as my hinge points, but any gun-type grease will work!
Protecting a Wood Stock
If your Over/Under shotgun has a wood stock, using a gunstock wax will protect the wood and make it look damn good. It is easy to use and best applied before and after every hunting or sport shooting season.
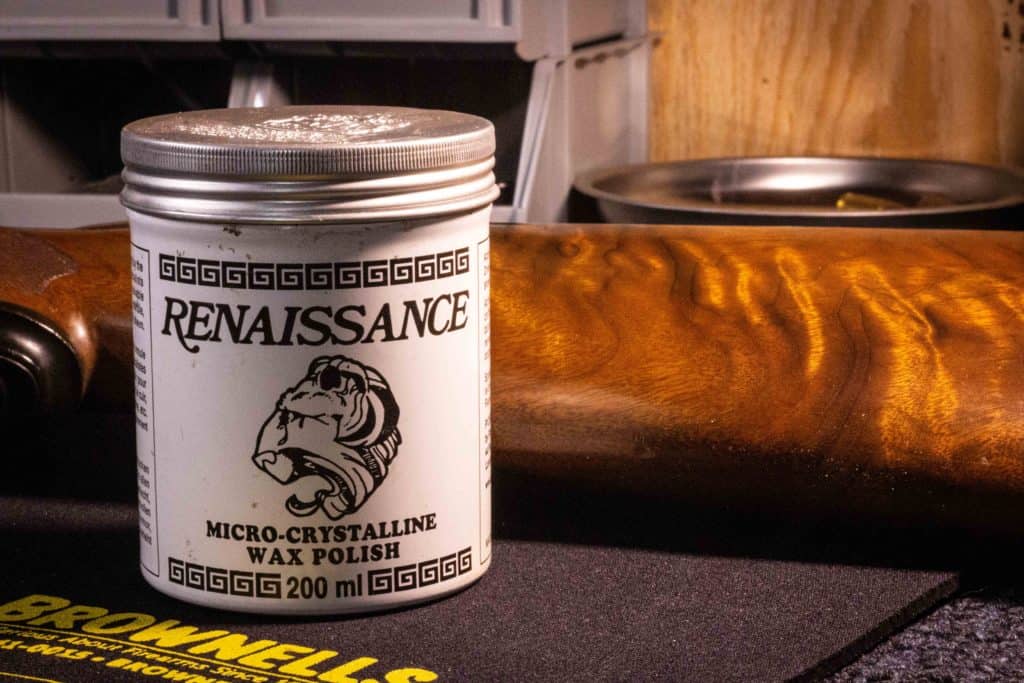
To protect your gunstock, apply the stock wax(I use Renaissance Wax), let it dry for a couple of minutes, and gently buff it off with a soft cloth.
If you are interested in using the same wax that I use, check out my article, Renaissance Wax: How to Protect Your Gunstock. In this article, I cover why it works, how I use it, and why I believe there is nothing better for protecting a wood gunstock from the elements.
How Often Should You Clean Your Over/Under Shotgun?
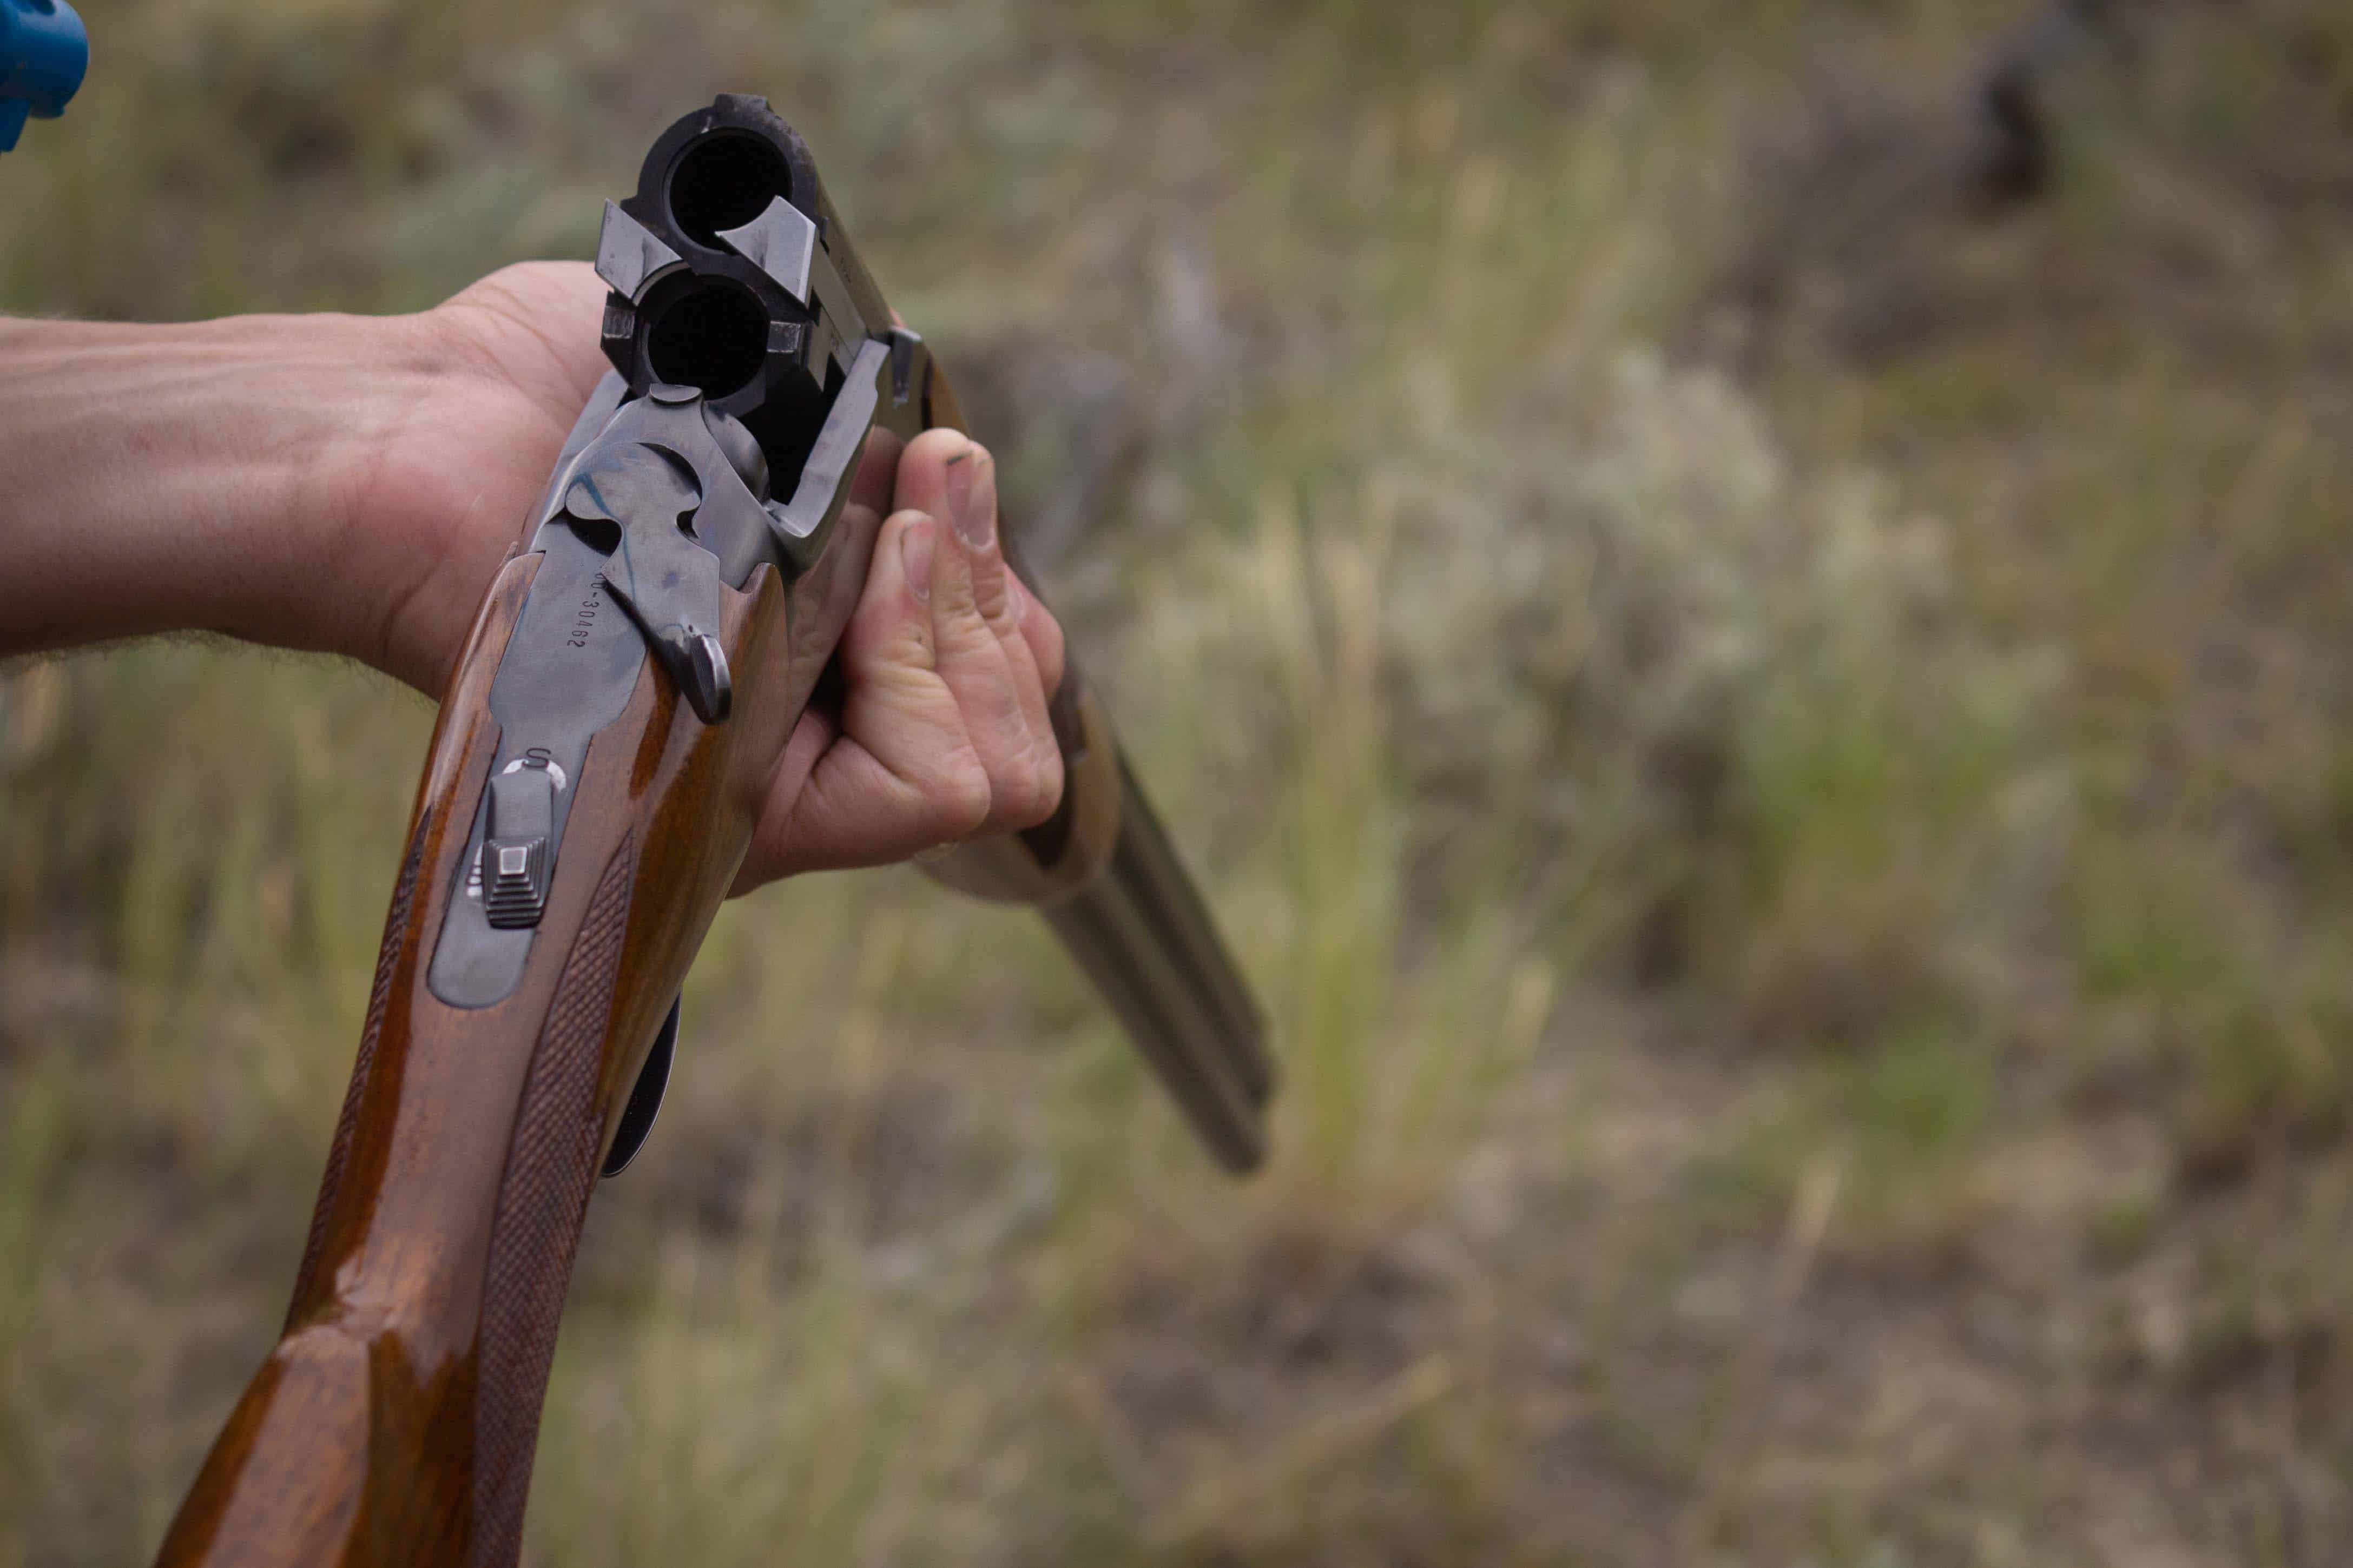
You should lightly clean your over/under shotgun after every outing. Wipe down the components with a lightly oiled rag and run a bore snake through the barrel to clear it of any debris. A more thorough cleaning should be done at the beginning and the end of each hunting season. Act accordingly if exposed to more extreme weather than normal, such as complete downpours.
Depending on how much the shotgun is used, it should be taken to a qualified gunsmith every couple of years for a detailed cleaning and parts inspection. The gunsmith will disassemble every part and check for wear or damage to any of the internal parts. Disassembling every component of an over/under shotgun is challenging enough that some gunsmiths won’t even do it. I wrote an article, How to Find the Right Gunsmith, outlining how to find one that does the work that you need.
If this is done, your over/under shotgun will keep running flawlessly and likely be passed on from generation to generation.
Written by: Kurt Martonik
Kurt is a Gunsmith, Reloader, Hunter, and Outdoorsman. He grew up in Elk County, Pennsylvania, where he became obsessed with the world of firearms. Following high school, Kurt enlisted in the United States Air Force as a Boom Operator, where he eventually rose to the position of Instructor. After his military service, he attended the Colorado School of Trades(CST) in Lakewood, CO for gunsmithing. Following graduation, he accepted a job at C. Sharps Arms in Montana, where he worked as a full time stockmaker and gunsmith.
I have a Browning 725 Trap Max 12 gage o/u. I clean the barrels and chokes every 100 or 200 rounds. I spend more time on the chokes since they get plastic from the wads. I use hoppe’s number 9 and a bore brush and a brass brush. I use gun grease on the threads. I clean the barrels and receiver the same as you do. Every 5000 rounds I have my gunsmith clean the mechanisms and replace the firing pins and springs.
Trap guns should be cleaned more often than a field gun because of the thousands of rounds it fires.
I just bought Renaissance wax because I ran out of the Stock Keep I was using. It’s great.
Your directions on how to clean an o/u were spot on. Thank you for the advice.
Thanks for the kind words! I really appreciate your input on this!